Instructor: Conor Russomanno
Week 6:
Link to OpenBCI community page once documentation is complete.
Moving forward we would like to add more graphic assets/animations as well as a score counter, and sound effects.
Hopefully, with some more work on the processing sketch, and a more careful setup, we should be able to play the game with EMG data in place of keystrokes.
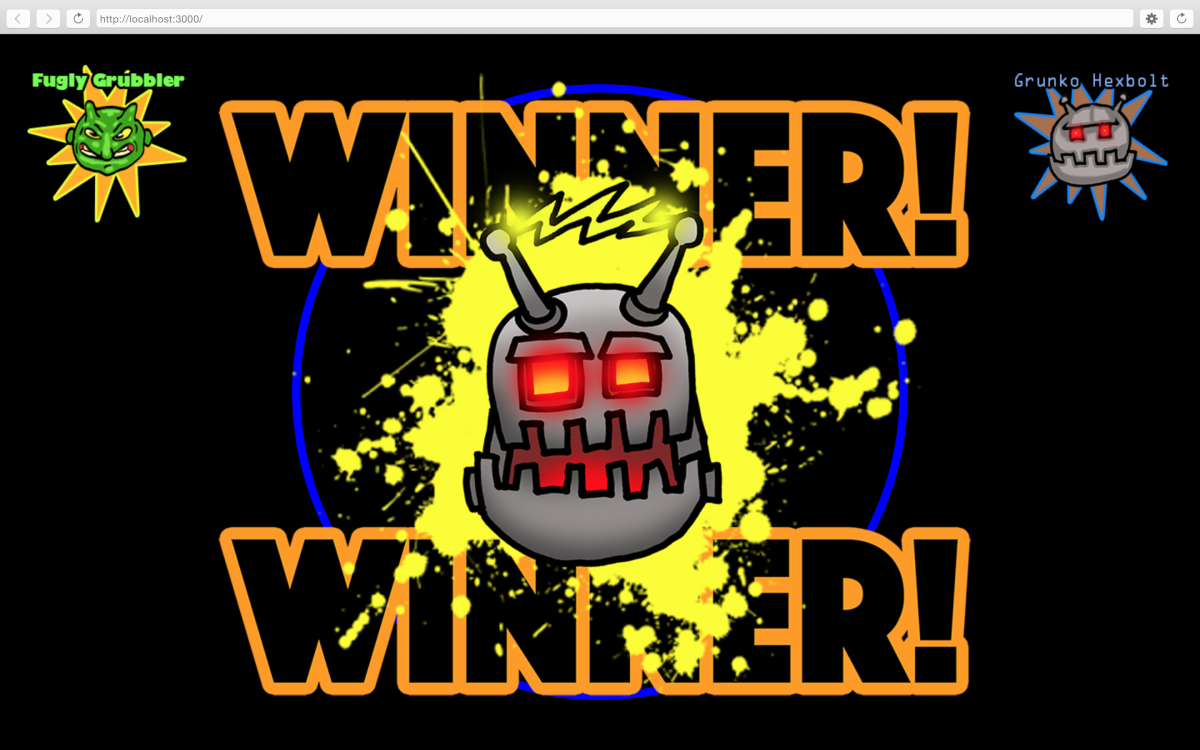
Winner screen:
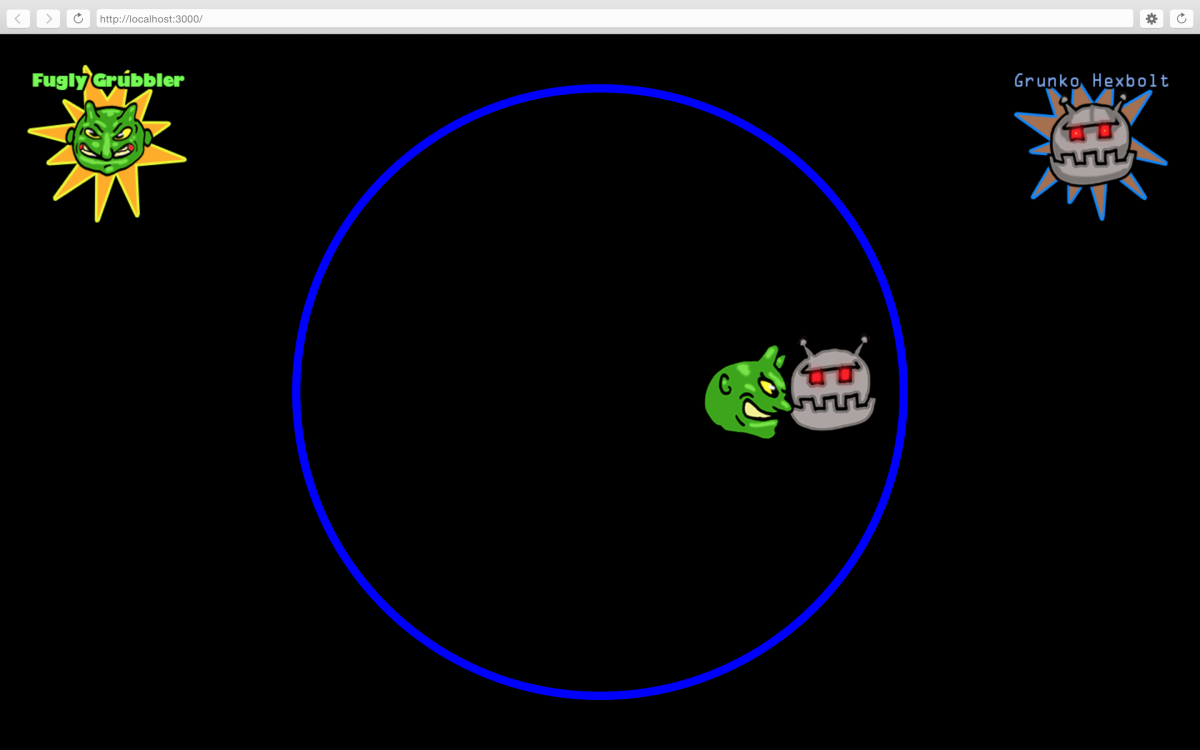
Screen capture of the gameplay:
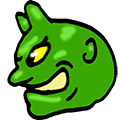
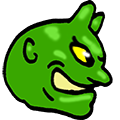
Here are the sprite assets for each character:
Goblin in green:
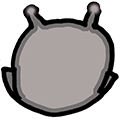
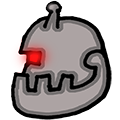
Robot in gray:
Here is the raw P5 code prior to porting it into to processing:
(We used keyPress events to stand in for the muscle input so we could prototype the gameplay. It is similar to a sumo match; either player can win by pushing the other player out of bounds, or lose by moving out of bounds accidentally. Once a win state is triggered it displays a splash image and resets the players to their starting position)
var xA = 0
var yA = 0
var xB = 0
var yB = 0
var winner
var moveRightA = 0;
var moveUpA = 0;
var moveDownA = 0;
var moveLeftA = 0;
var moveRightB = 0;
var moveUpB = 0;
var moveDownB = 0;
var moveLeftB = 0;
var channel1 = 0;
var channel2 = 0;
var channel3 = 0;
var channel4 = 0;
var channel5 = 0;
var channel6 = 0;
var channel7 = 0;
var channel8 = 0;
var circleDiameter = 100;
// load player sprites
var robF;
var robB;
var robR;
var robL;
var gobF;
var gobB;
var gobR;
var gobR;
var gobBig;
var robBig;
var robWin;
var gobWin;
var displayWinner1 = false;
var displayWinner2 = false;
// loading player sprites
function setup() {
winner = false
robBig = loadImage(“assets/robBig.png”)
gobBig = loadImage(“assets/gobBig.png”)
robF = loadImage(“assets/robF.png”);
robB = loadImage(“assets/robB.png”);
robR = loadImage(“assets/robR.png”);
robL = loadImage(“assets/robL.png”);
gobF = loadImage(“assets/gobF.png”);
gobB = loadImage(“assets/gobB.png”);
gobR = loadImage(“assets/gobR.png”);
gobL = loadImage(“assets/gobL.png”);
robWin = loadImage(“assets/robWin.png”)
gobWin = loadImage(“assets/gobWin.png”)
ellipseMode(CENTER);
imageMode(CENTER);
createCanvas(windowWidth, windowHeight);
xA = width * (1 / 3);
yA = height / 2;
xB = width * (2 / 3);
yB = height / 2;
}
function draw() {
//Keeps the circle from going past the edges of the canvas
if (xA > width – circleDiameter / 2) {
xA = width – circleDiameter / 2
}
if (yA > height – circleDiameter / 2) {
yA = height – circleDiameter / 2
}
if (xA < 0 + circleDiameter / 2) {
xA = 0 + circleDiameter / 2
}
if (yA < 0 + circleDiameter / 2) {
y = 0 + circleDiameter / 2
}
if (xB > width – circleDiameter / 2) {
xB = width – circleDiameter / 2
}
if (yB > height – circleDiameter / 2) {
yB = height – circleDiameter / 2
}
if (xB < 0 + circleDiameter / 2) {
xB = 0 + circleDiameter / 2
}
if (yB < 0 + circleDiameter / 2) {
yB = 0 + circleDiameter / 2
}
// channel1 = random(0, 255);
// channel2 = random(0, 255);
// channel3 = random(0, 255);
// channel4 = random(0, 255);
// channel5 = random(0, 255);
// channel6 = random(0, 255);
// channel7 = random(0, 255);
// channel8 = random(0, 255);
//Displays Gob the Goblin Player sprites when keys are pressed
//Moves players when keys are pressed
if (keyIsDown(LEFT_ARROW))
xB -= 5;
if (keyIsDown(RIGHT_ARROW))
xB += 5;
if (keyIsDown(UP_ARROW))
yB -= 5;
if (keyIsDown(DOWN_ARROW))
yB += 5;
if (keyIsDown(65))
xA -= 5;
if (keyIsDown(68))
xA += 5;
if (keyIsDown(87))
yA -= 5;
if (keyIsDown(83))
yA += 5;
var distance = dist(xA, yA, xB, yB) // test distance between players
// If players are touching, stronger player determines direction.
if (distance < circleDiameter) {
if (keyIsDown(LEFT_ARROW)) {
xB -= 5
xA -= 10
}
if (keyIsDown(RIGHT_ARROW)) {
xB += 5;
xA += 10;
}
if (keyIsDown(UP_ARROW)) {
yB -= 5;
yA -= 10;
}
if (keyIsDown(DOWN_ARROW)) {
yB += 5;
yA += 10;
}
if (keyIsDown(65)) {
xA -= 5;
xB -= 10;
}
if (keyIsDown(68)) {
xA += 5;
xB += 10;
}
if (keyIsDown(87)) {
yA -= 5;
yB -= 10;
}
if (keyIsDown(83)) {
yA += 5;
yB += 10;
}
}
// moveUpA = map(channel1, 0, 255, 0, 10);
// moveDownA = map(channel2, 0, 255, 0, 10);
// moveLeftA = map(channel3, 0, 255, 0, 10);
// moveRightA = map(channel4, 0, 255, 0, 10);
// moveUpB = map(channel5, 0, 255, 0, 10);
// moveDownB = map(channel6, 0, 255, 0, 10);
// moveLeftB = map(channel7, 0, 255, 0, 10);
// moveRightB = map(channel8, 0, 255, 0, 10);
// xA += moveRightA;
// yA += moveUpA;
// yA += moveDownA;
// xA += moveLeftA;
// xB += moveRightB;
// yB += moveUpB;
// yB += moveDownB;
// xB += moveLeftB;
background(0);
stroke(0, 0, 255);
noFill();
strokeWeight(10);
ellipse(width / 2, height / 2, height – 130, height – 130);
noStroke();
fill(0, 0, 255);
image(robBig, width – 130, 130);
image(gobBig, 130, 130)
//Displays Rob the Robot Player sprites when keys are pressed
if (keyIsDown) {
if (keyIsDown(LEFT_ARROW)) {
image(robL, xB, yB)
} else if (keyIsDown(RIGHT_ARROW)) {
image(robR, xB, yB)
} else if (keyIsDown(UP_ARROW)) {
image(robB, xB, yB)
} else if (keyIsDown(DOWN_ARROW)) {
image(robF, xB, yB)
} else {
image(robF, xB, yB)
}
if (keyIsDown) {}
if (keyIsDown(65)) {
image(gobL, xA, yA)
} else if (keyIsDown(68)) {
image(gobR, xA, yA)
} else if (keyIsDown(87)) {
image(gobB, xA, yA)
} else if (keyIsDown(83)) {
image(gobF, xA, yA)
} else image(gobF, xA, yA)
}
// ellipse(xA, yA, circleDiameter, circleDiameter);
// ellipse(xB, yB, circleDiameter, circleDiameter);
var outsideA = dist(xA, yA, width / 2, height / 2); // test of player A out of bounds
var outsideB = dist(xB, yB, width / 2, height / 2); // test of player B out of bounds
if (outsideA >= height / 2 – 60 && winner == false) {
displayWinner1 = true
displayWinner2 = false
winner = true
setTimeout(function() {
displayWinner1 = false;
winner = false;
xA = width * (1 / 3);
yA = height / 2;
xB = width * (2 / 3);
yB = height / 2;
}, 5000)
}
if (outsideB >= height / 2 – 60 && winner == false) {
displayWinner2 = true
displayWinner1 = false
winner = true
setTimeout(function() {
displayWinner2 = false;
winner = false;
xA = width * (1 / 3);
yA = height / 2;
xB = width * (2 / 3);
yB = height / 2;
}, 5000)
}
if (displayWinner2) image(gobWin, width / 2, height / 2);
if (displayWinner1) image(robWin, width / 2, height / 2);
}
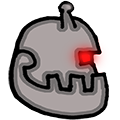
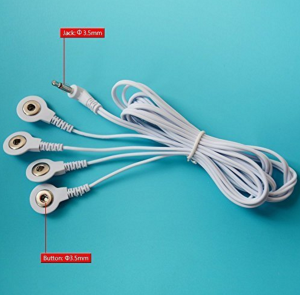
Need four more electrode pads and we will be ready for some two player action!
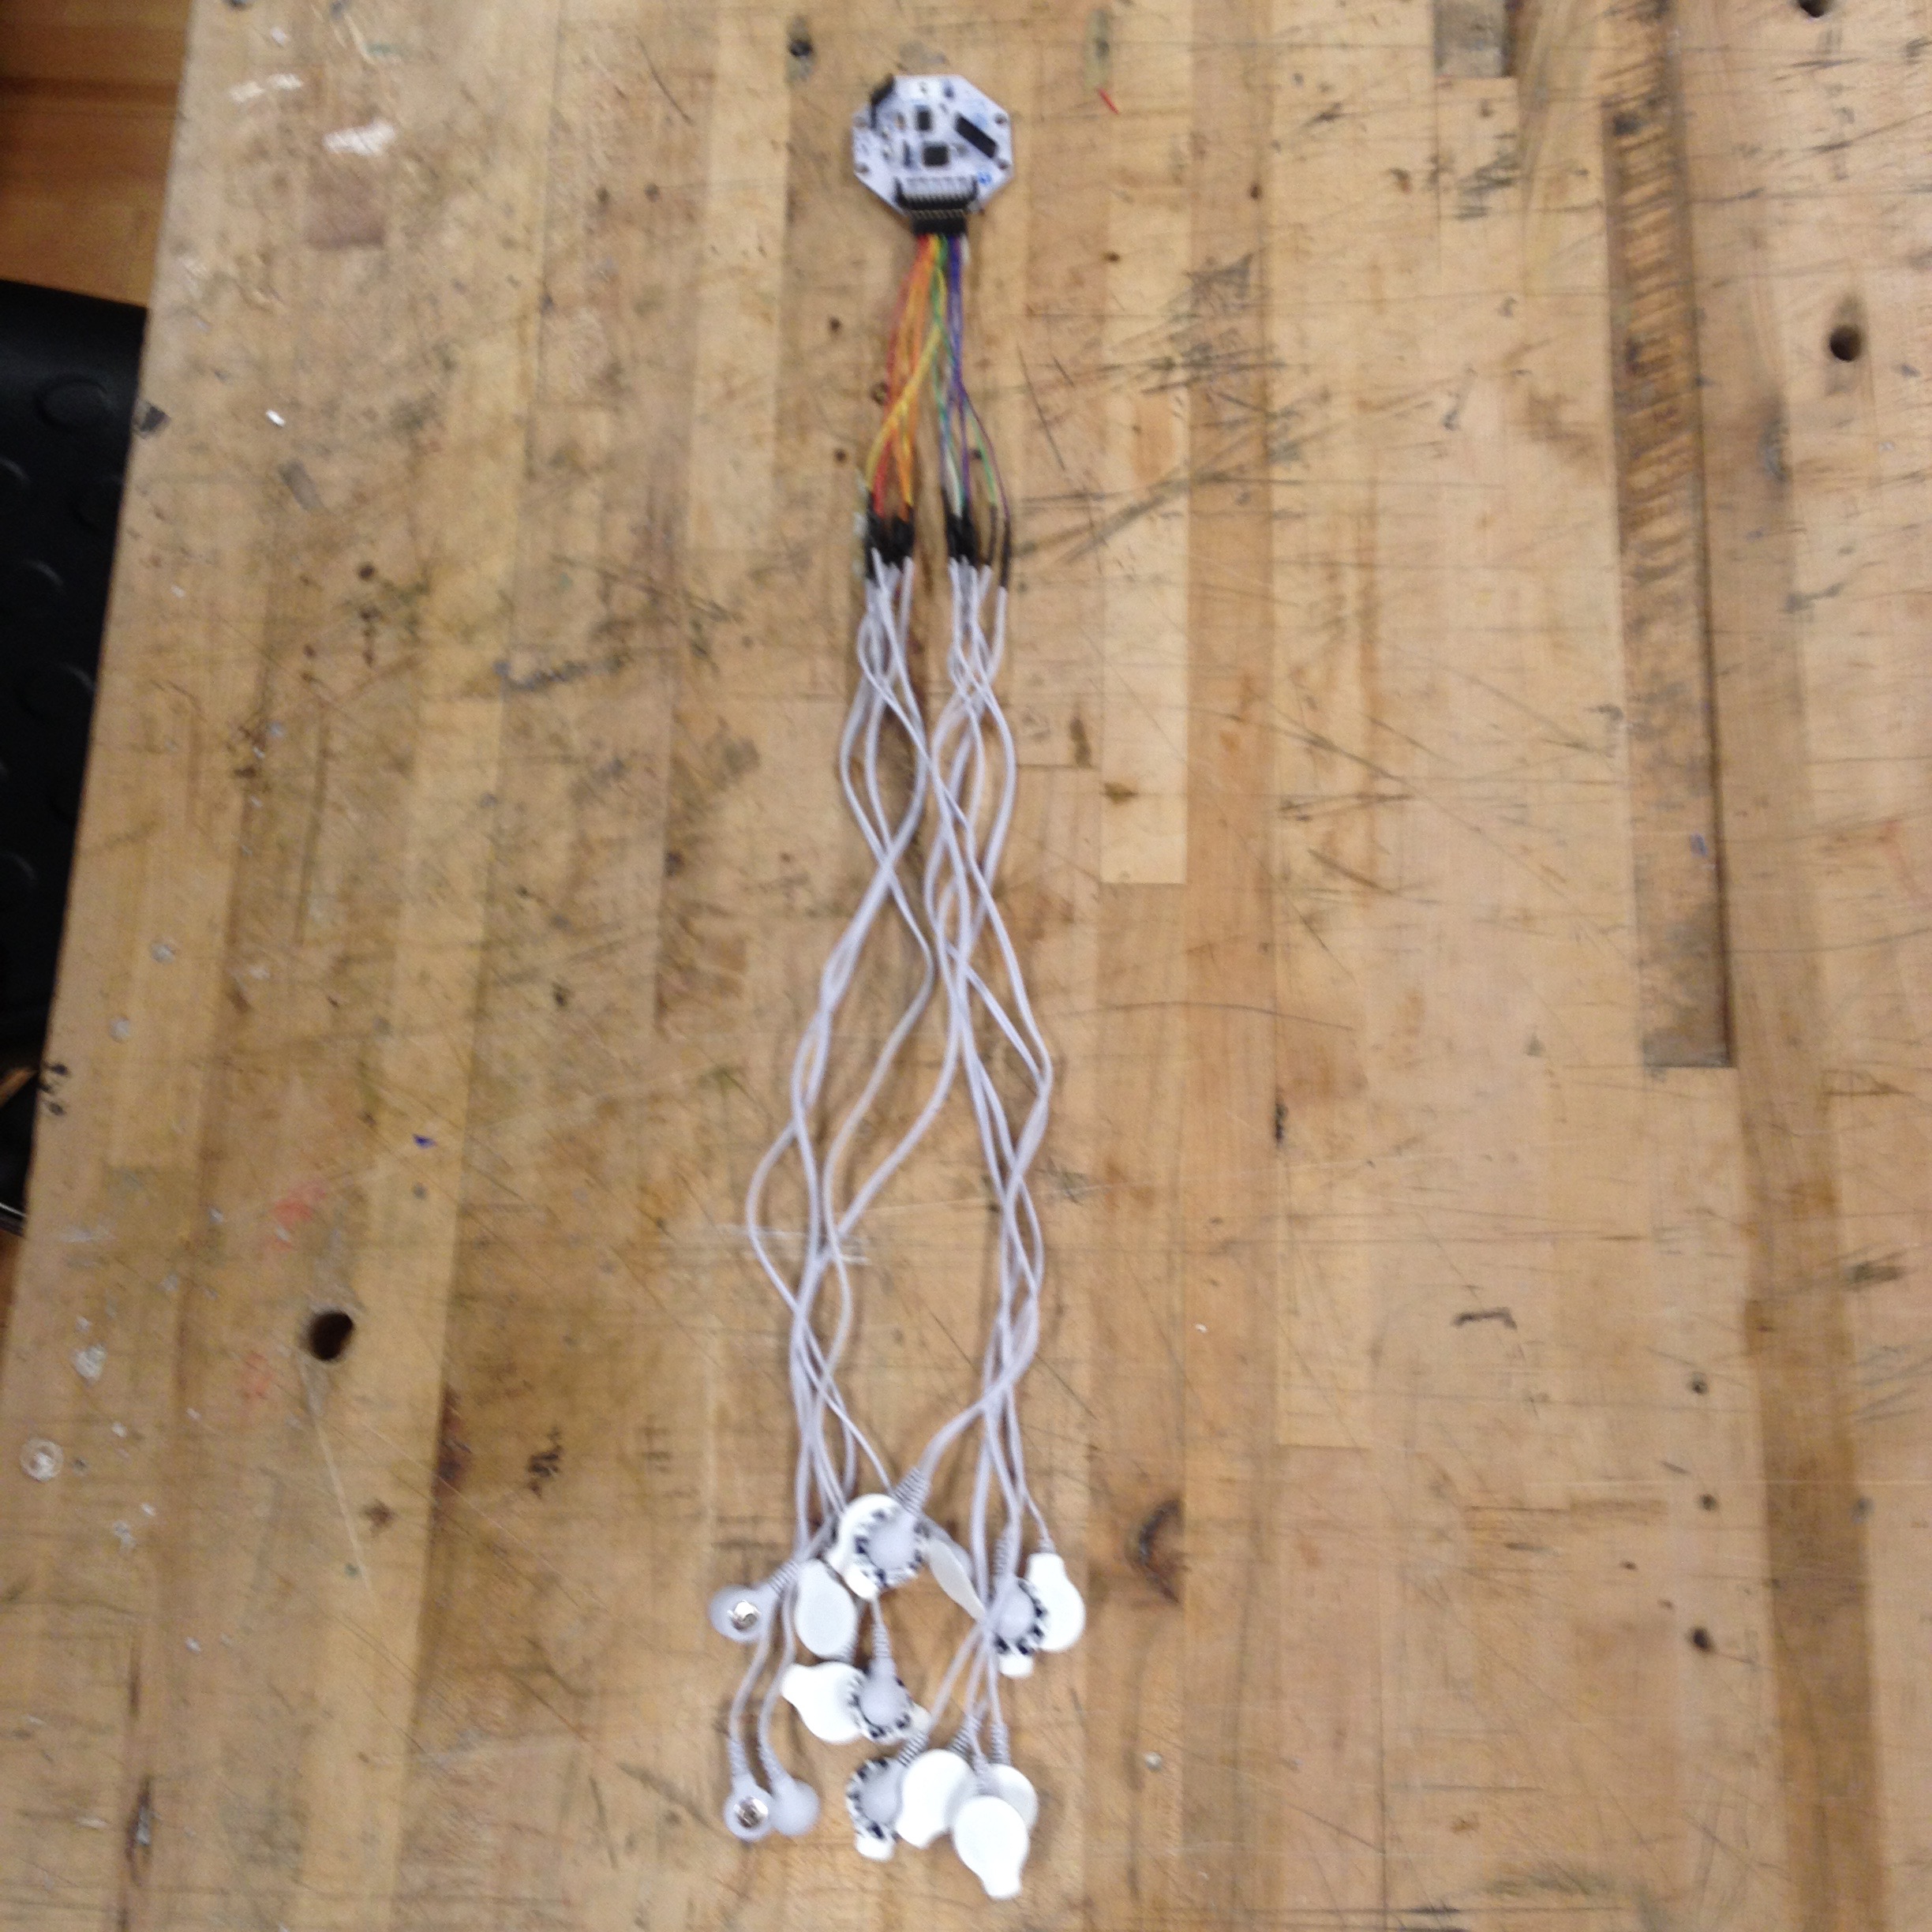
Finished soldering the snap electrodes to the color coded female header wires.
Week 5:
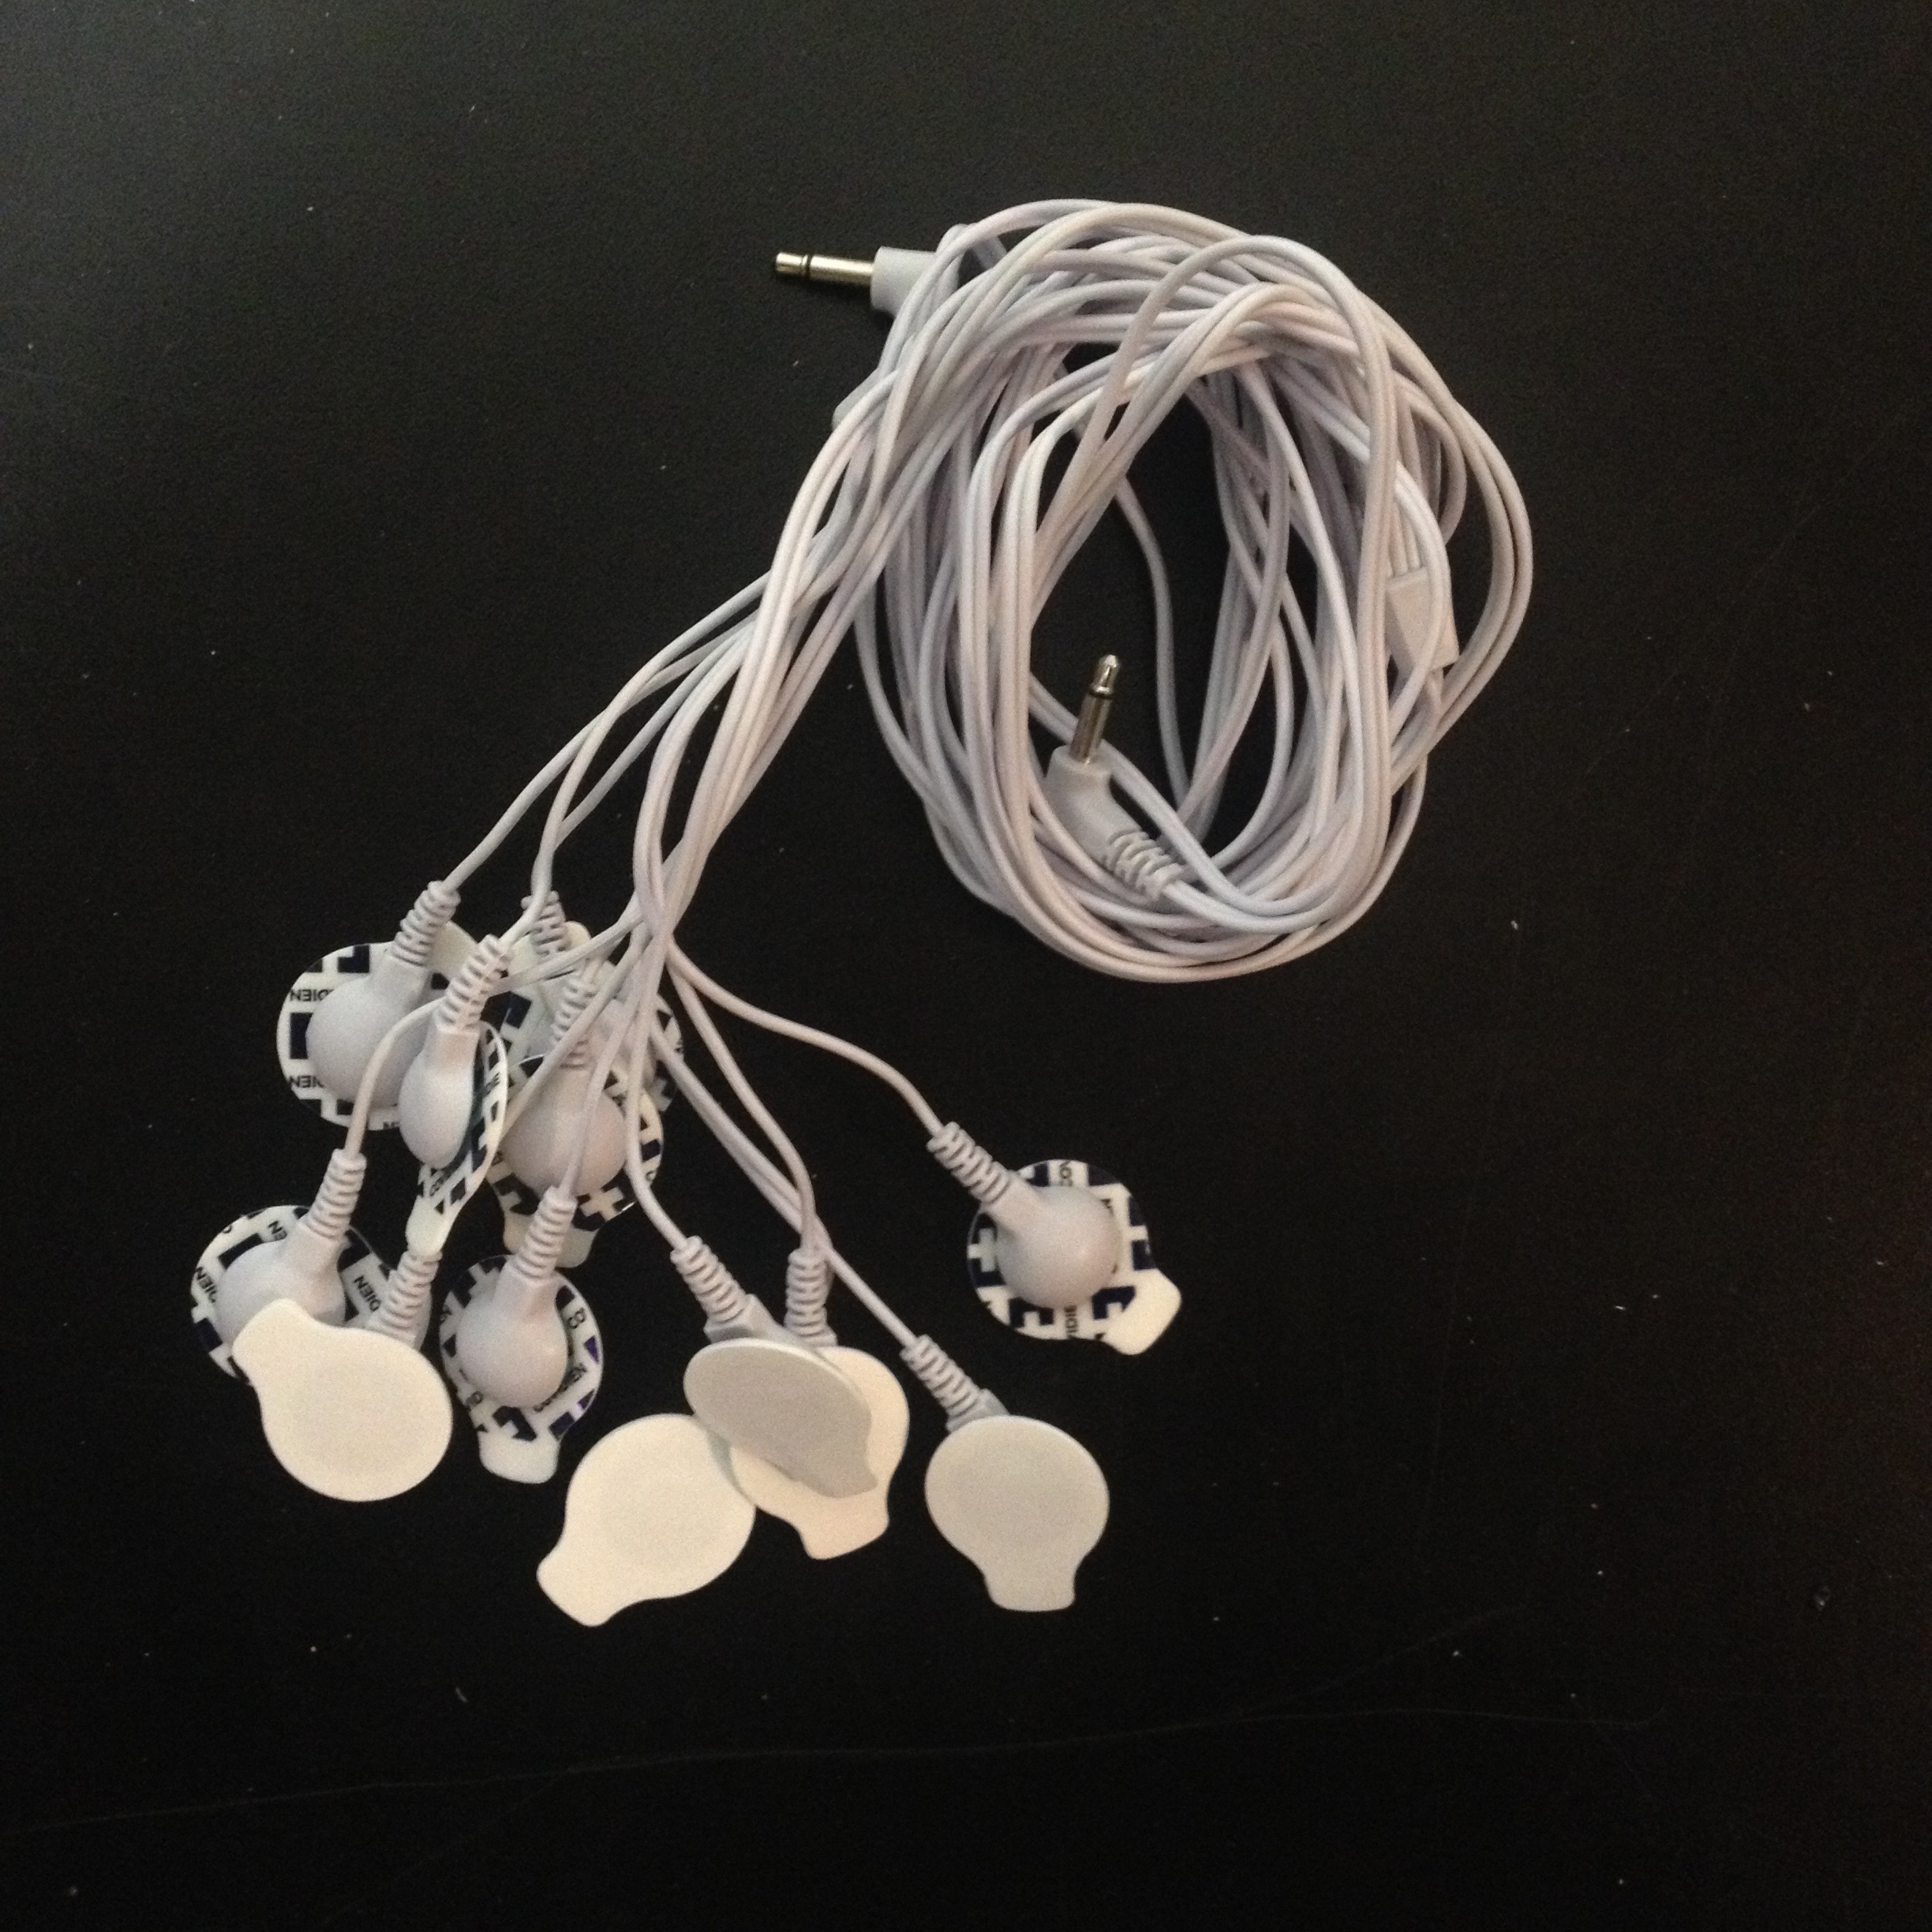
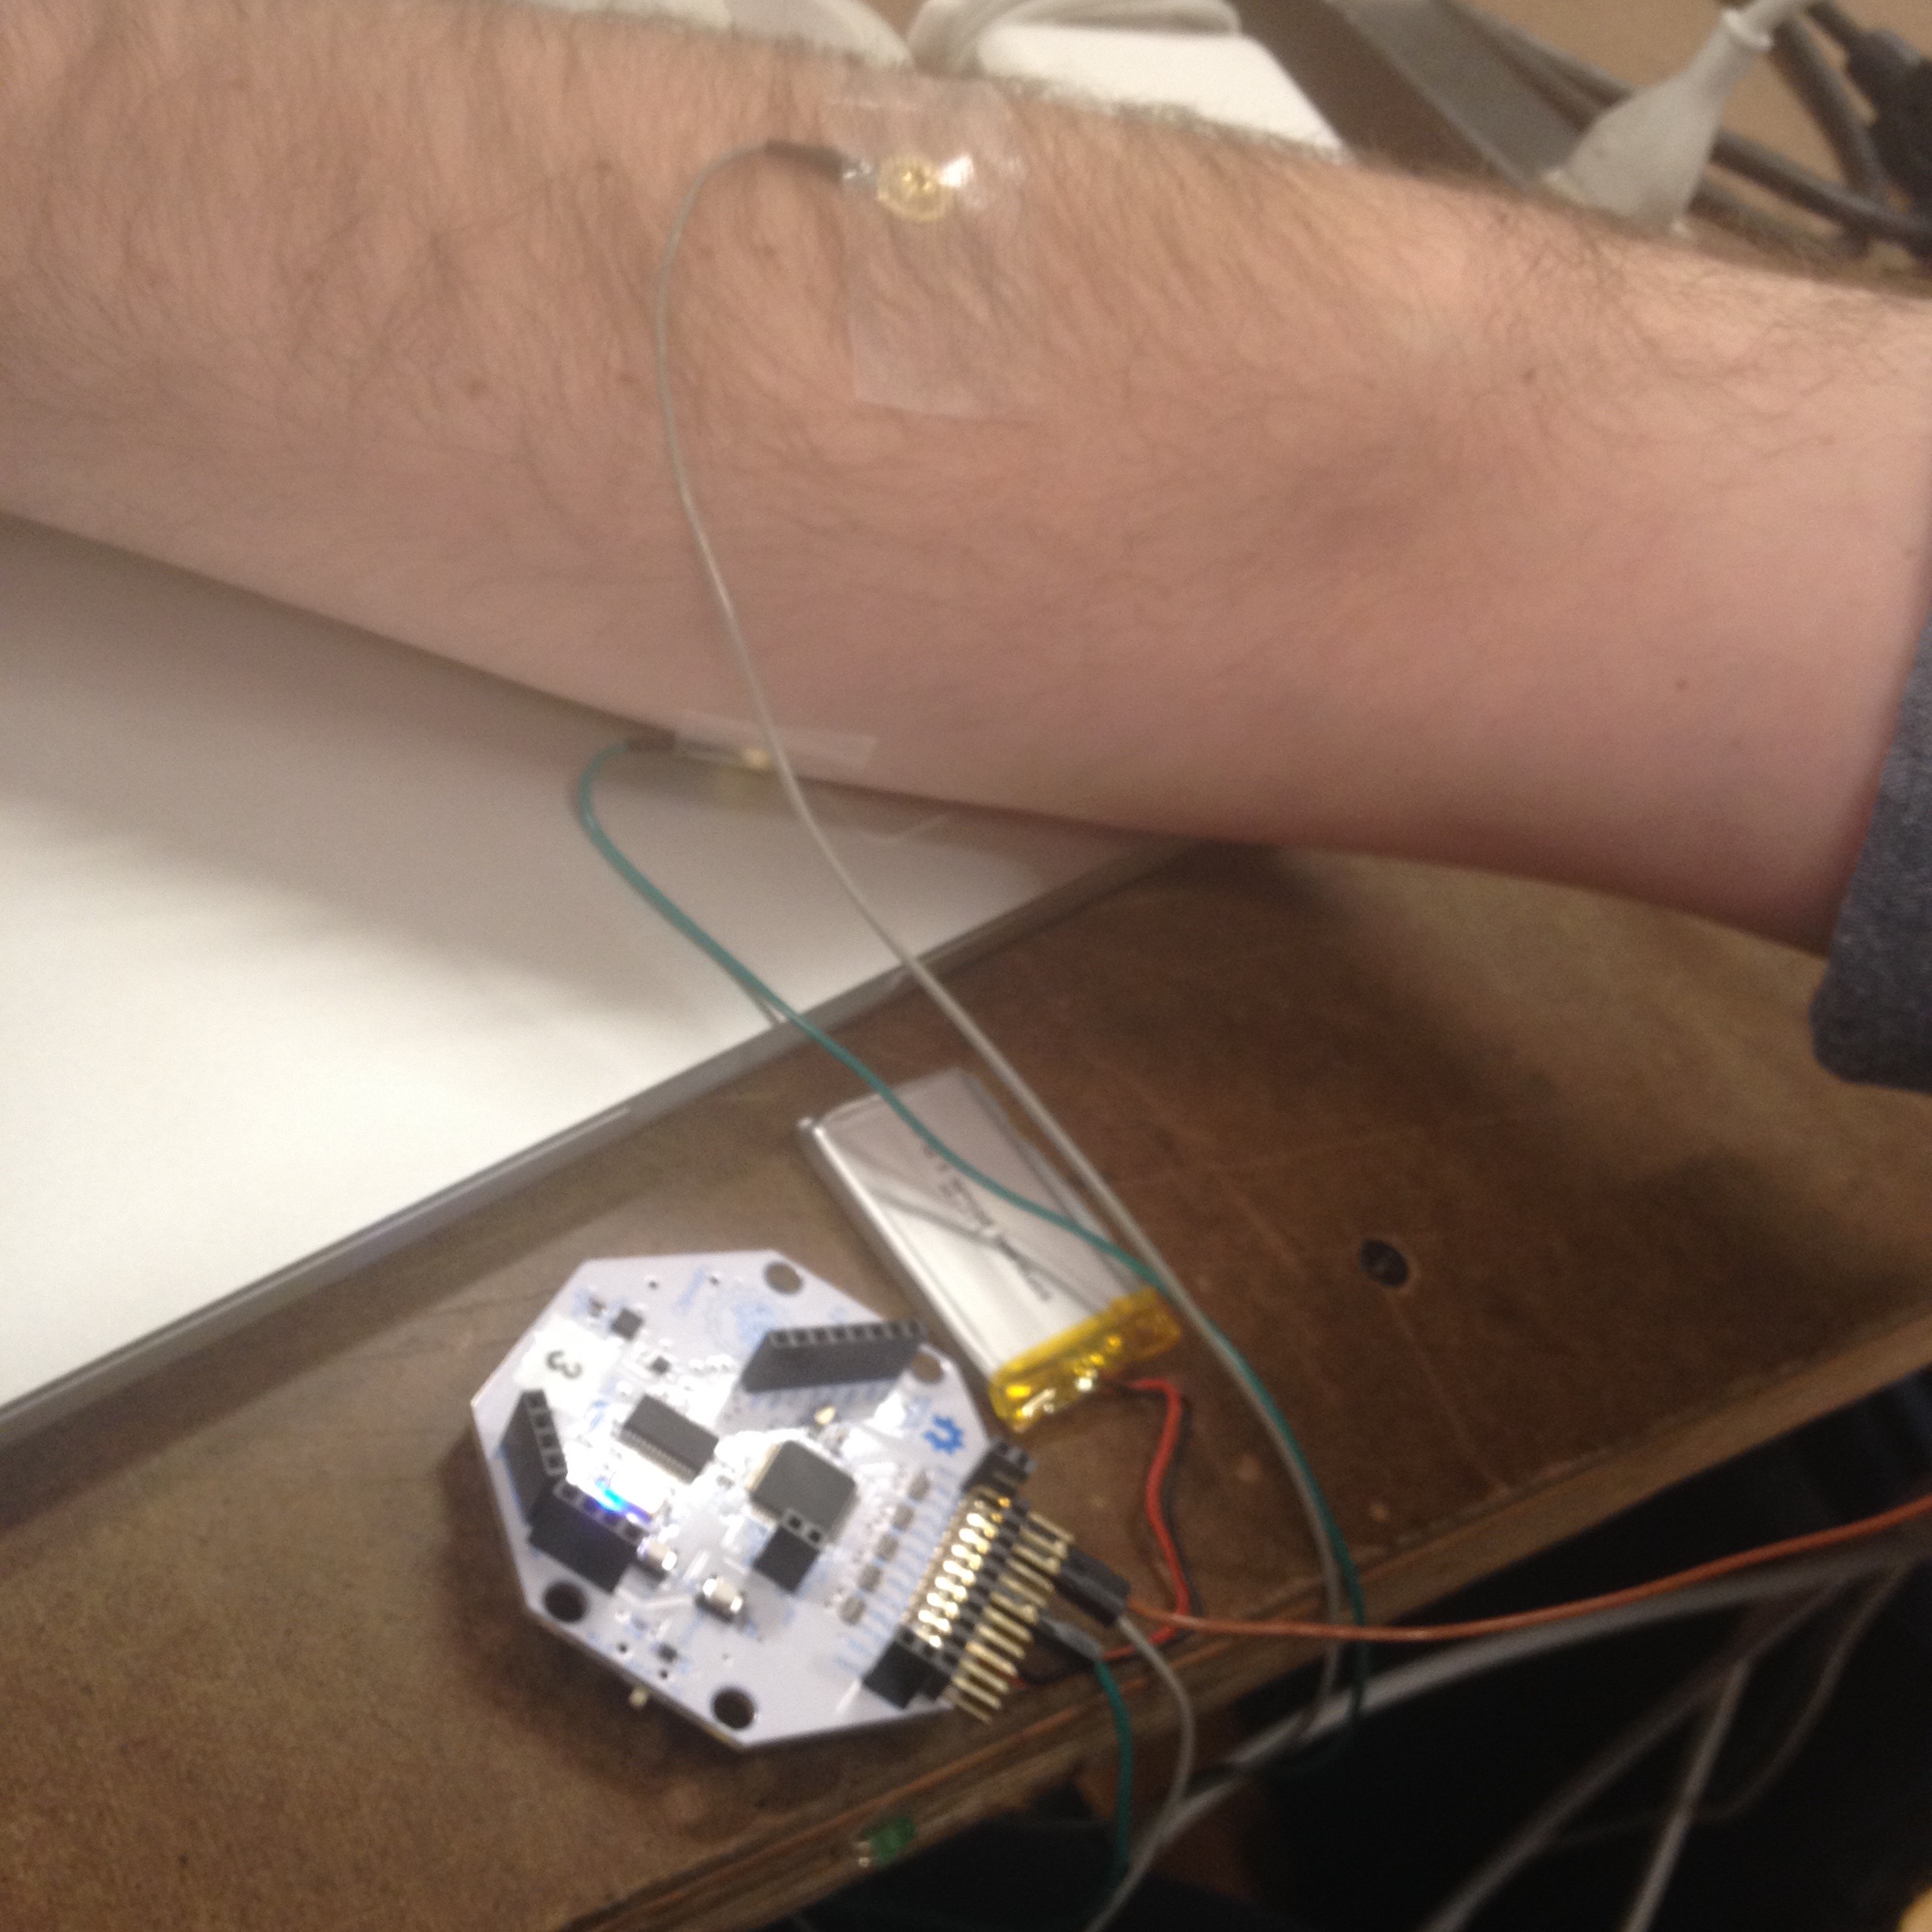
Muscle electrodes arrived!
Our controller got a big upgrade in efficacy with some adjustments to the signal processing in OpenBCI thanks to Conor. Later versions of the OpenBCI GUI will likely feature discrete presets for EMG versus EEG.
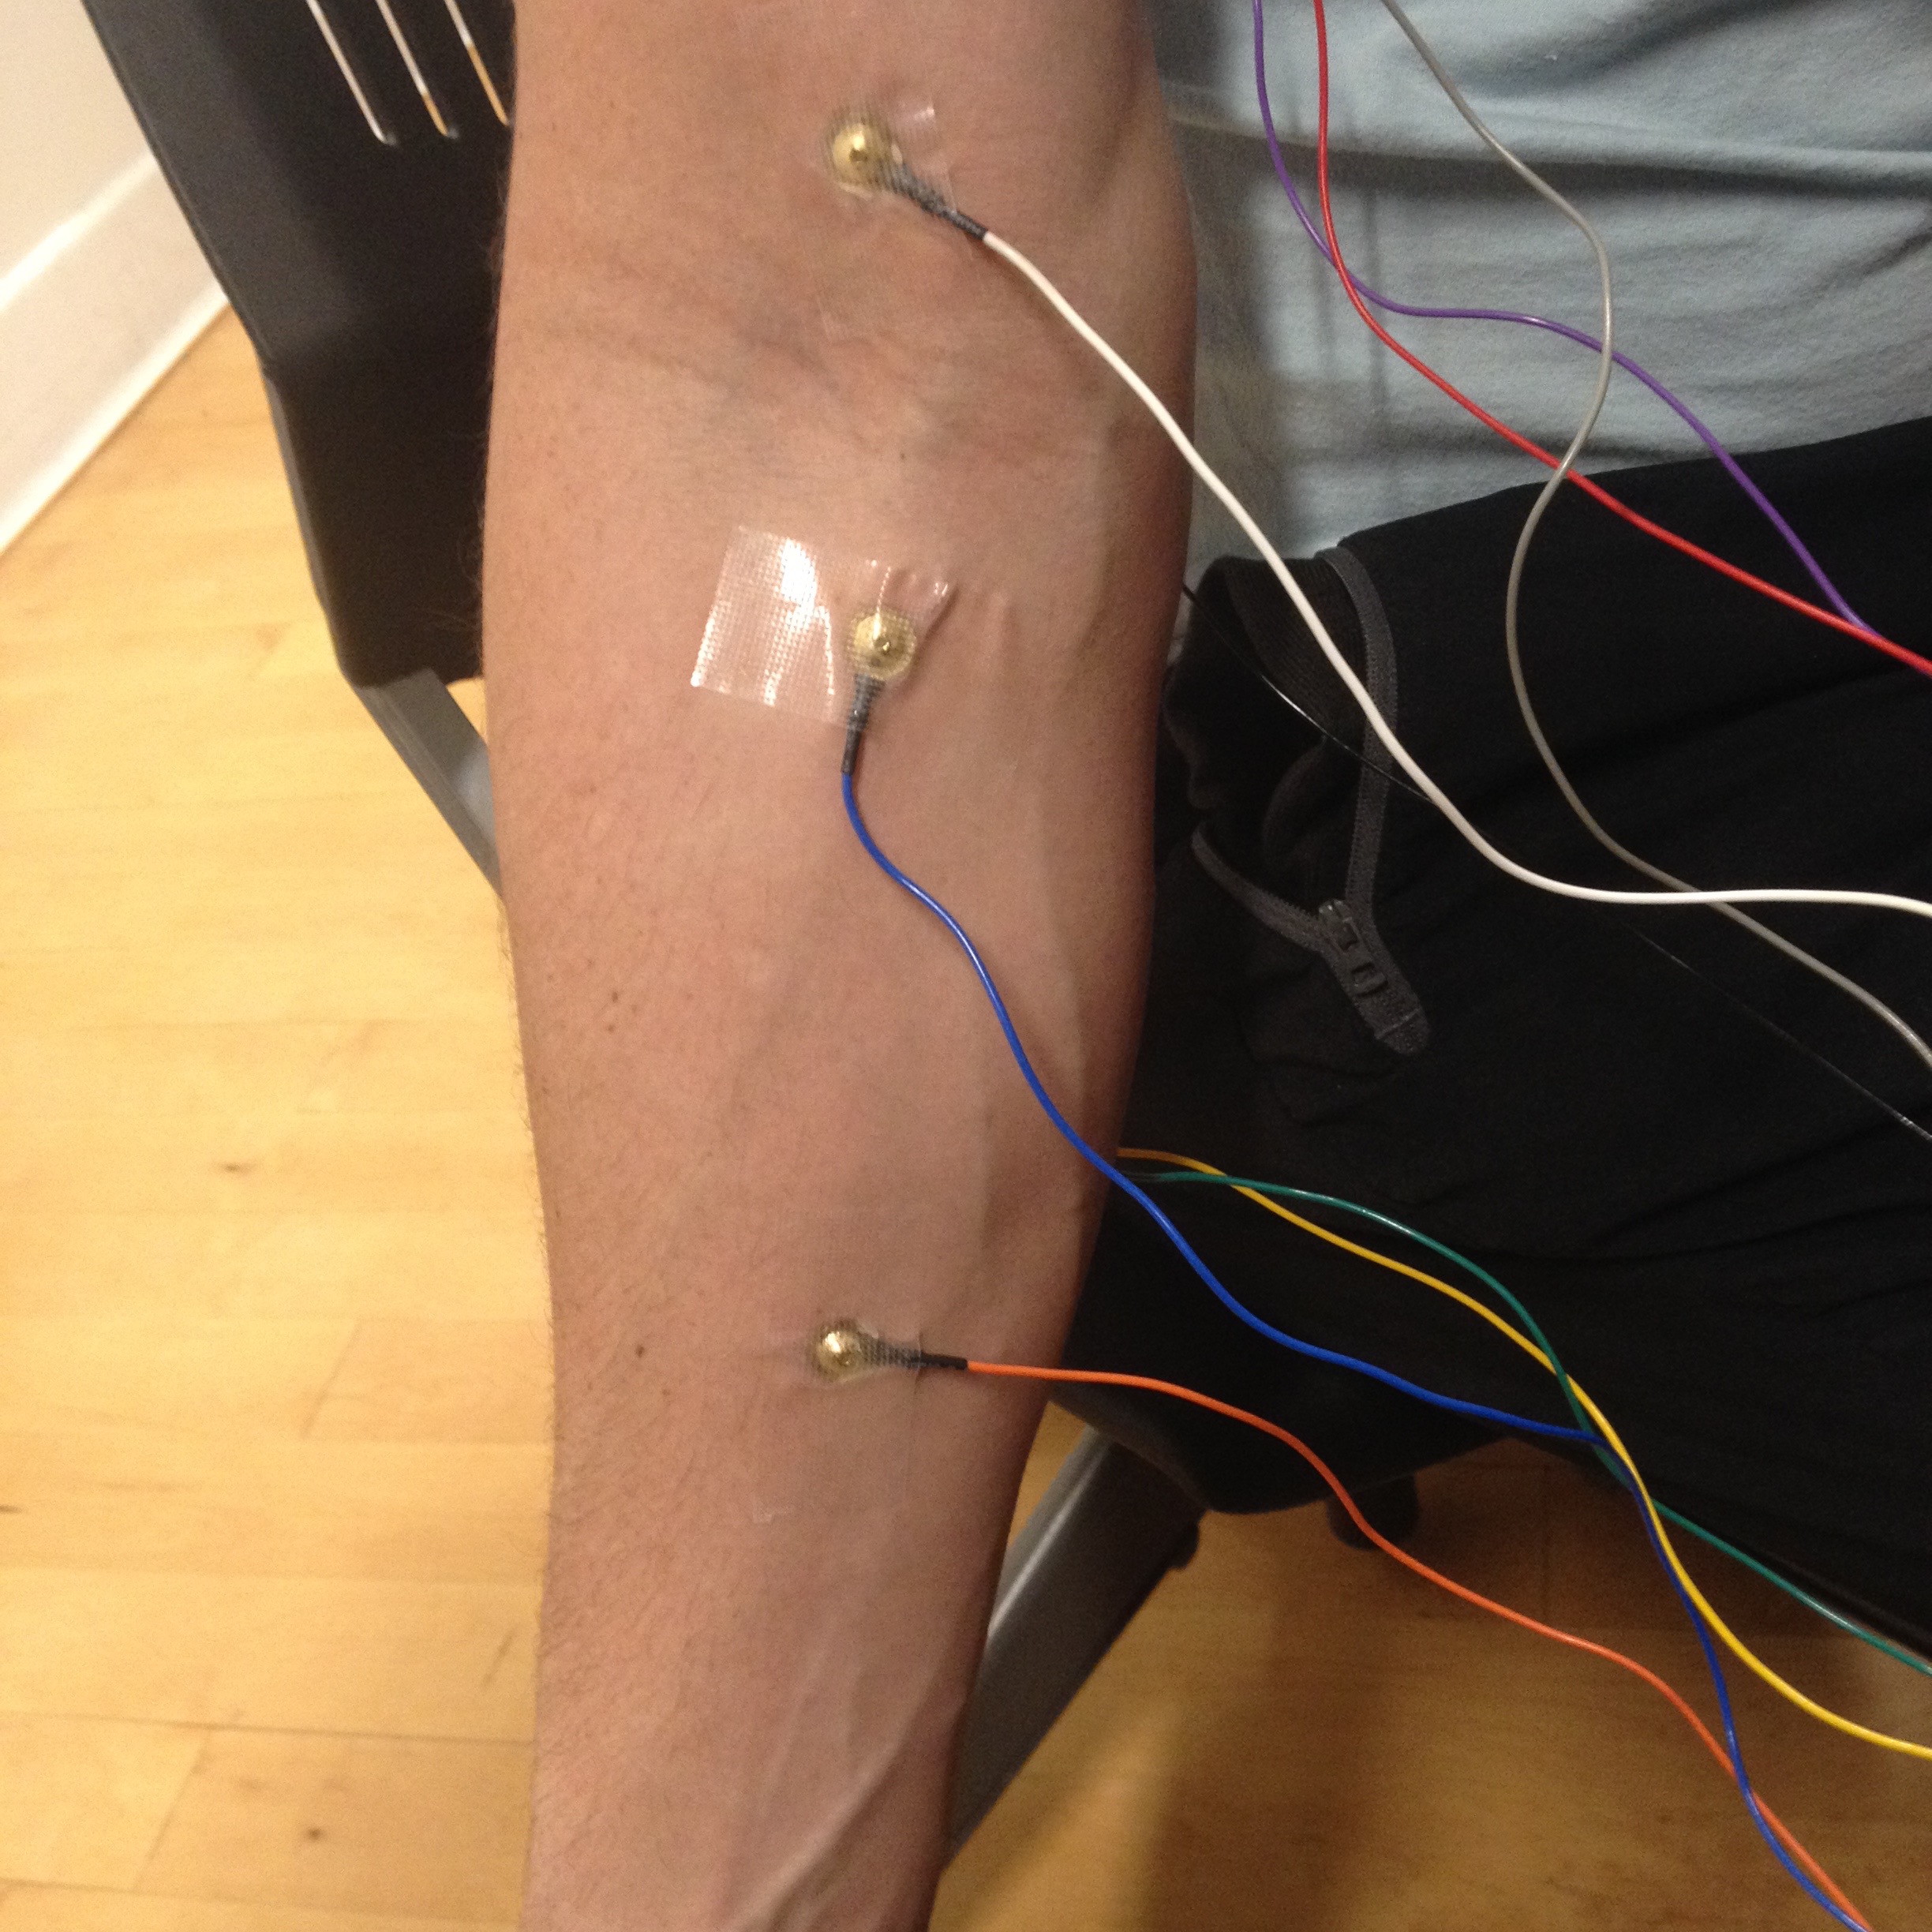
Bicep = up, tricep = down, forearm extensor = right, forearm = tensor
OpenBCI EMG Controller from Blue Water Multimedia on Vimeo.
Transcranial direct current stimulation. Conflicting evidence of its efficacy. The wild west regulation-wise. There is no clear roadmap for its effective use. Lots of DIY and community experimentation.
Ethical concerns exist, especially with regards to commercial applications. Some of the initial funding for OpenBCI came from DARPA.
The ultimate privacy issue; are you entitled to the security of your own thoughts in your own head.
Testing electrode layout with conductive paste.
Met with Conor on Friday and got some valuable direction and advice on how to improve our EMG signal clarity. Got some conductive paste to experiment with and a few extras. Also got to see the behind the scenes work going on at OpenBCI, including the next generation of the Ultracortex which is currently in development.
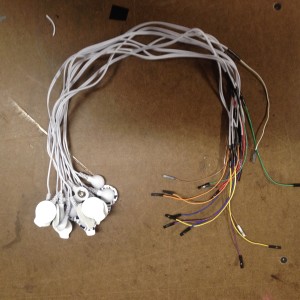
On Conor’s advice I have ordered two sets of pre-gelled biosensing pads,
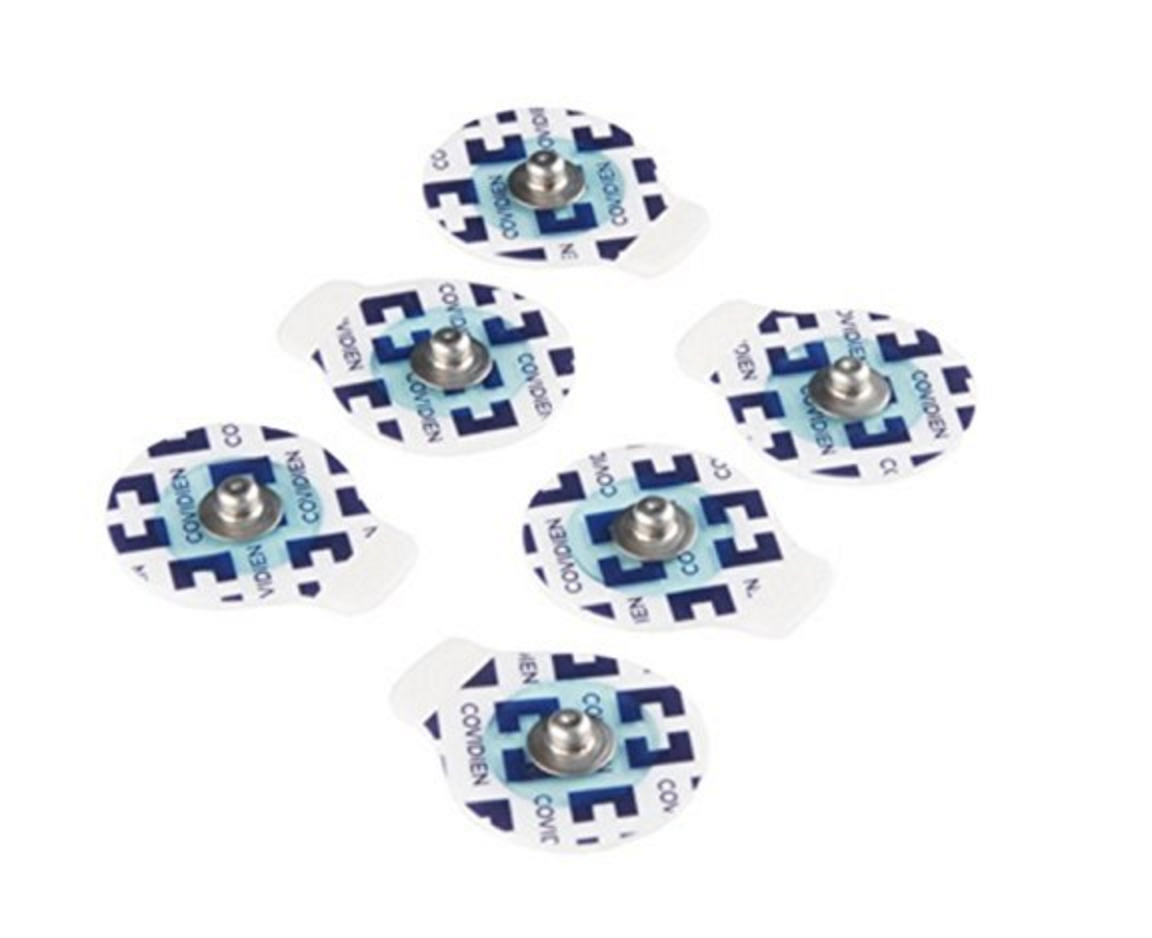
as well as connectors which will need to be modified for the board.
Week 4:
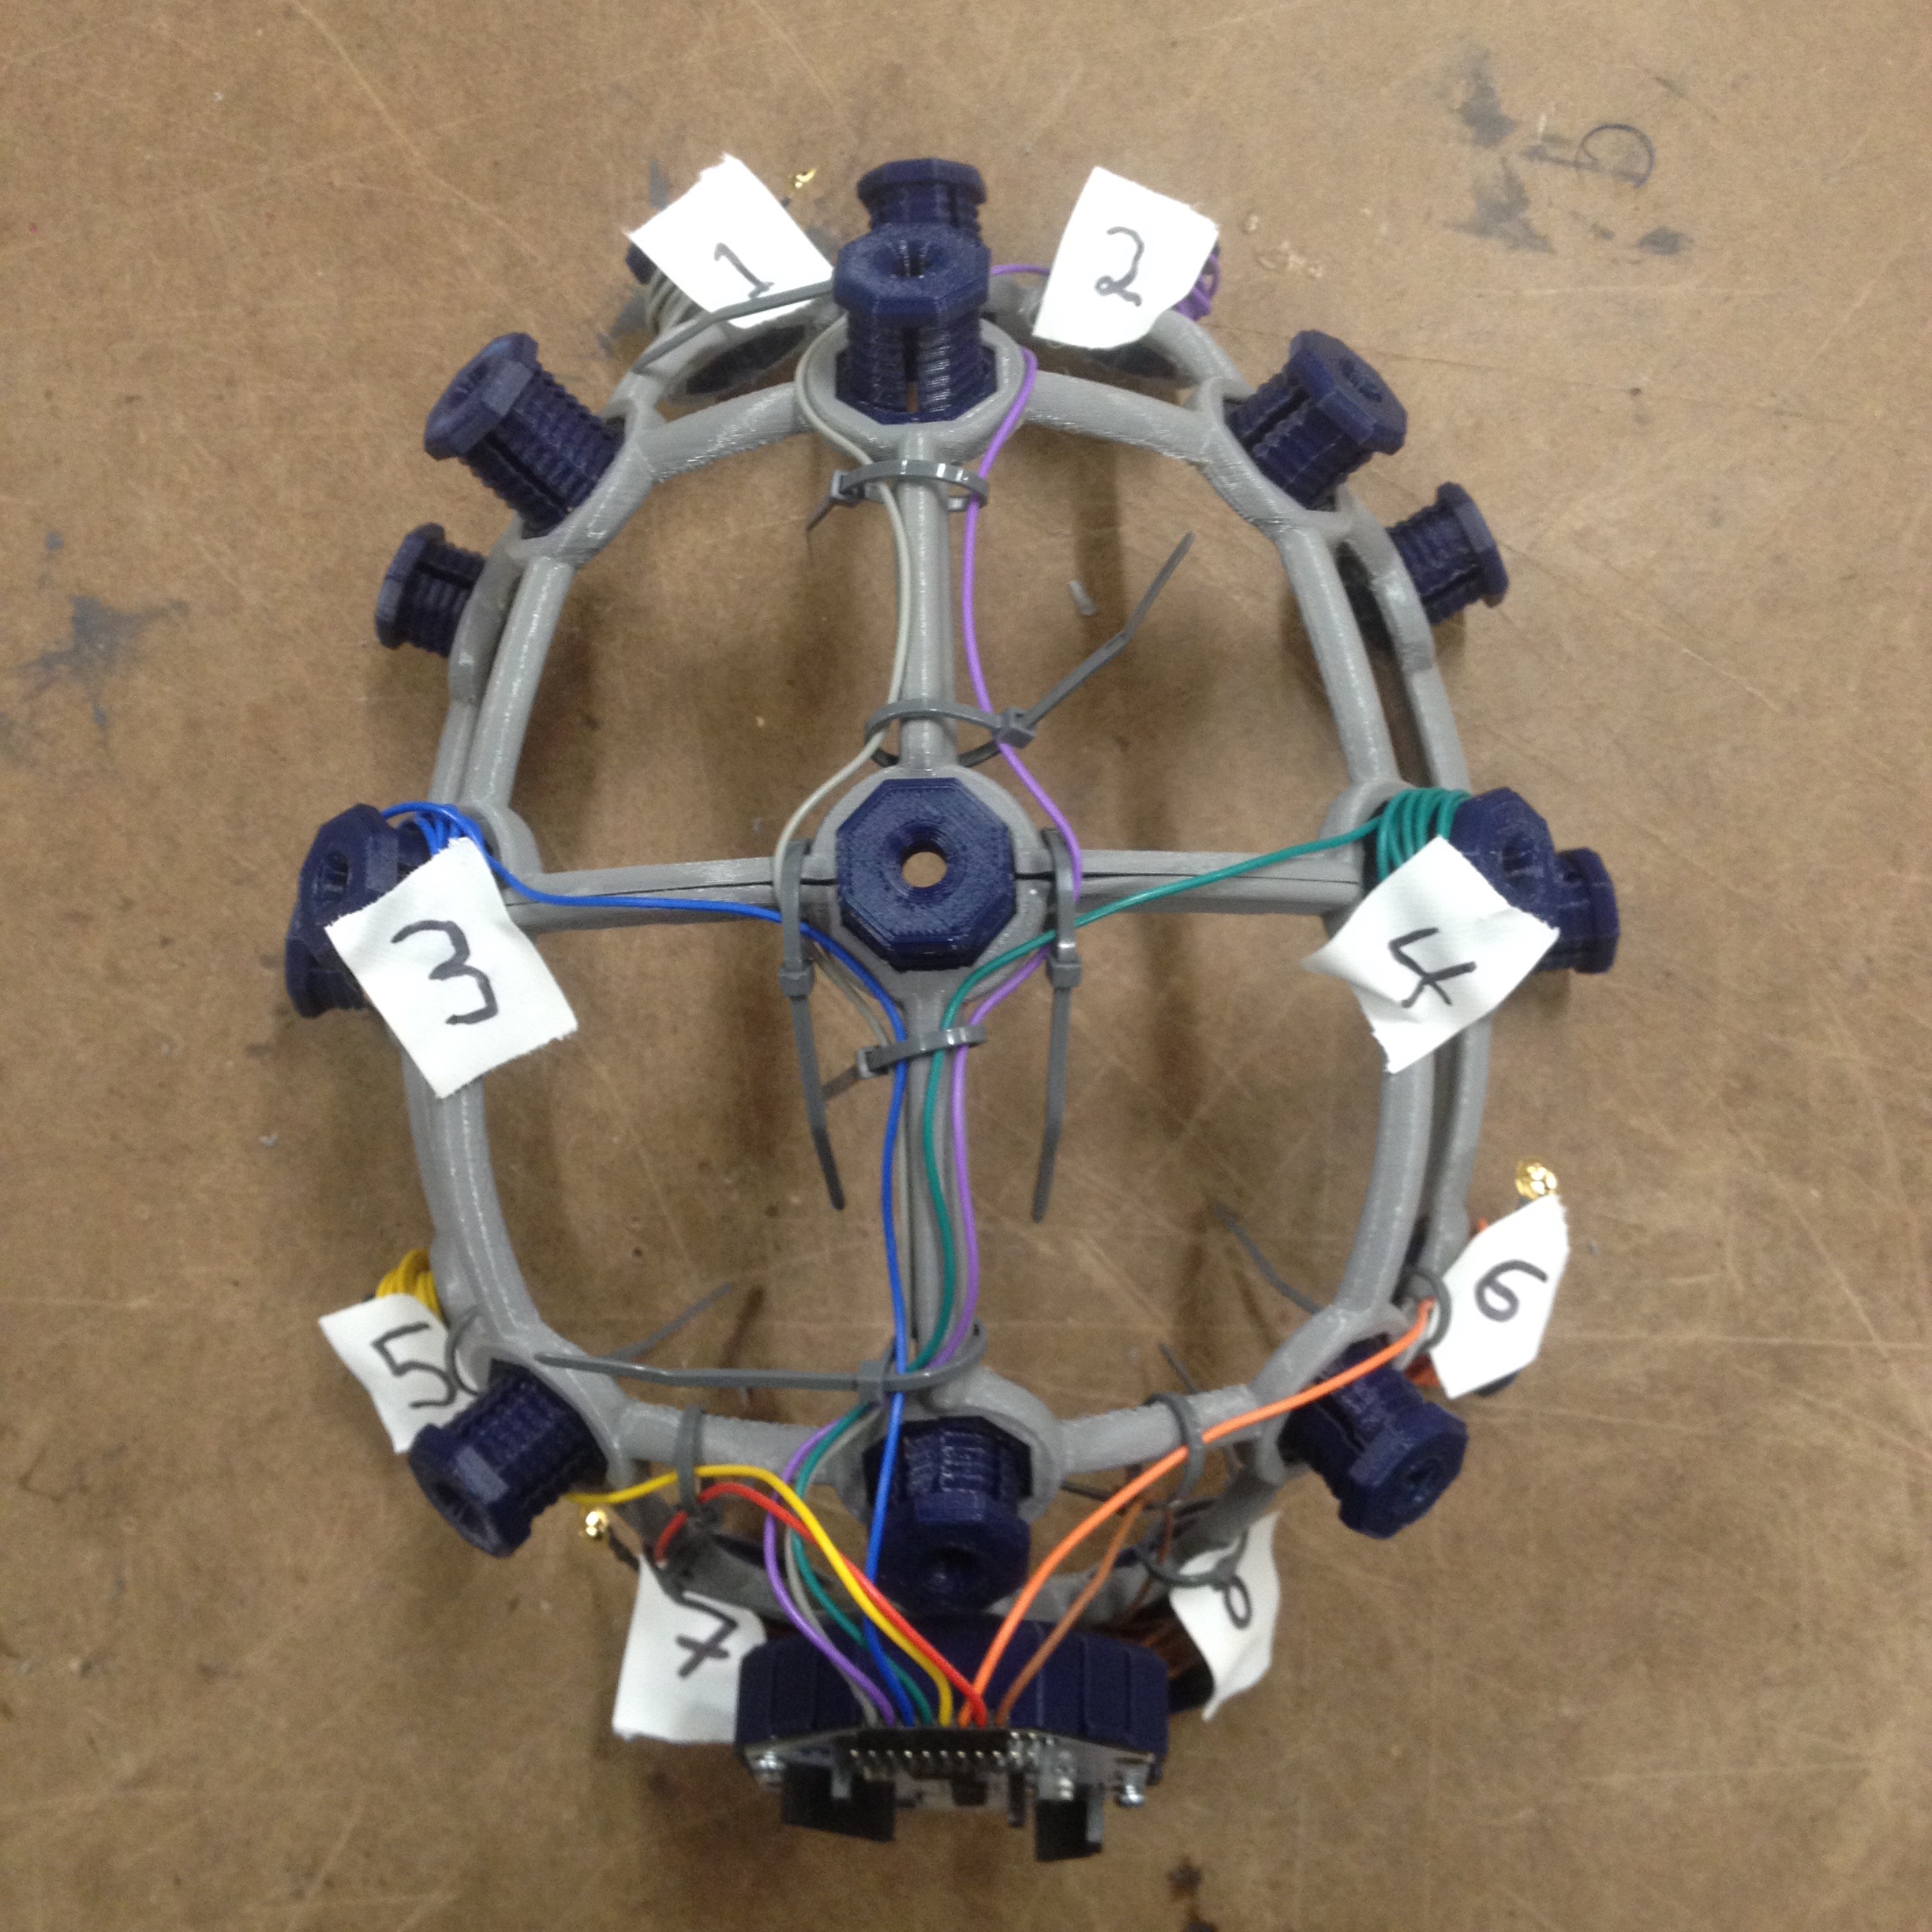
Beyond assembling the Ultracortex, we worked to refine the cable management so that there would be a minimum of interference from cable wobble. During this process we discovered that a certain amount of slack was necessary to prevent the wires from winding off of the electrodes or breaking when adjusting the hex screws. When making adjustments it is prudent to adjust the electrode pins by gently turning them; allowing the wires to untwist. We also added some nifty labels to keep track of electrodes are acting up.
After experimenting with the working unit on ourselves and volunteers we found ourselves confronted with a limitation of discrete control one could expect from an average user. During brainstorming session most of our project ideas required some type of one-to-one control, which is difficult for untrained users to perform with EEG signalling.
We decided to work with muscle; electromyography.
Specifically the muscles of the forearm.
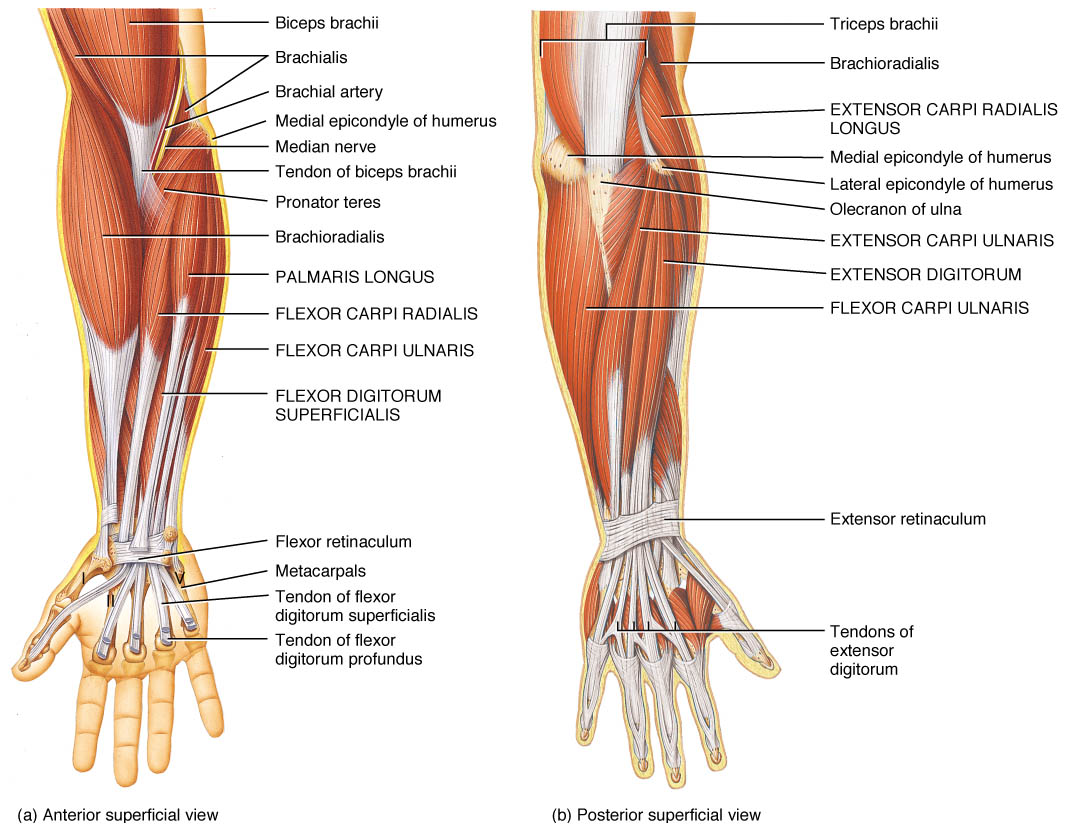
The idea for our project is to isolate signals from different muscles in the forearm to create granular, one-to-one data for control in two axes. Up – Down and Left – Right. Hopefully enough to control a mouse cursor, or play a first person video game character.
A draft program was written in P5.js for a simple up-down-left-right visual cue. The incoming values from the Ganglion board would be remapped to discrete movements of the red circle.
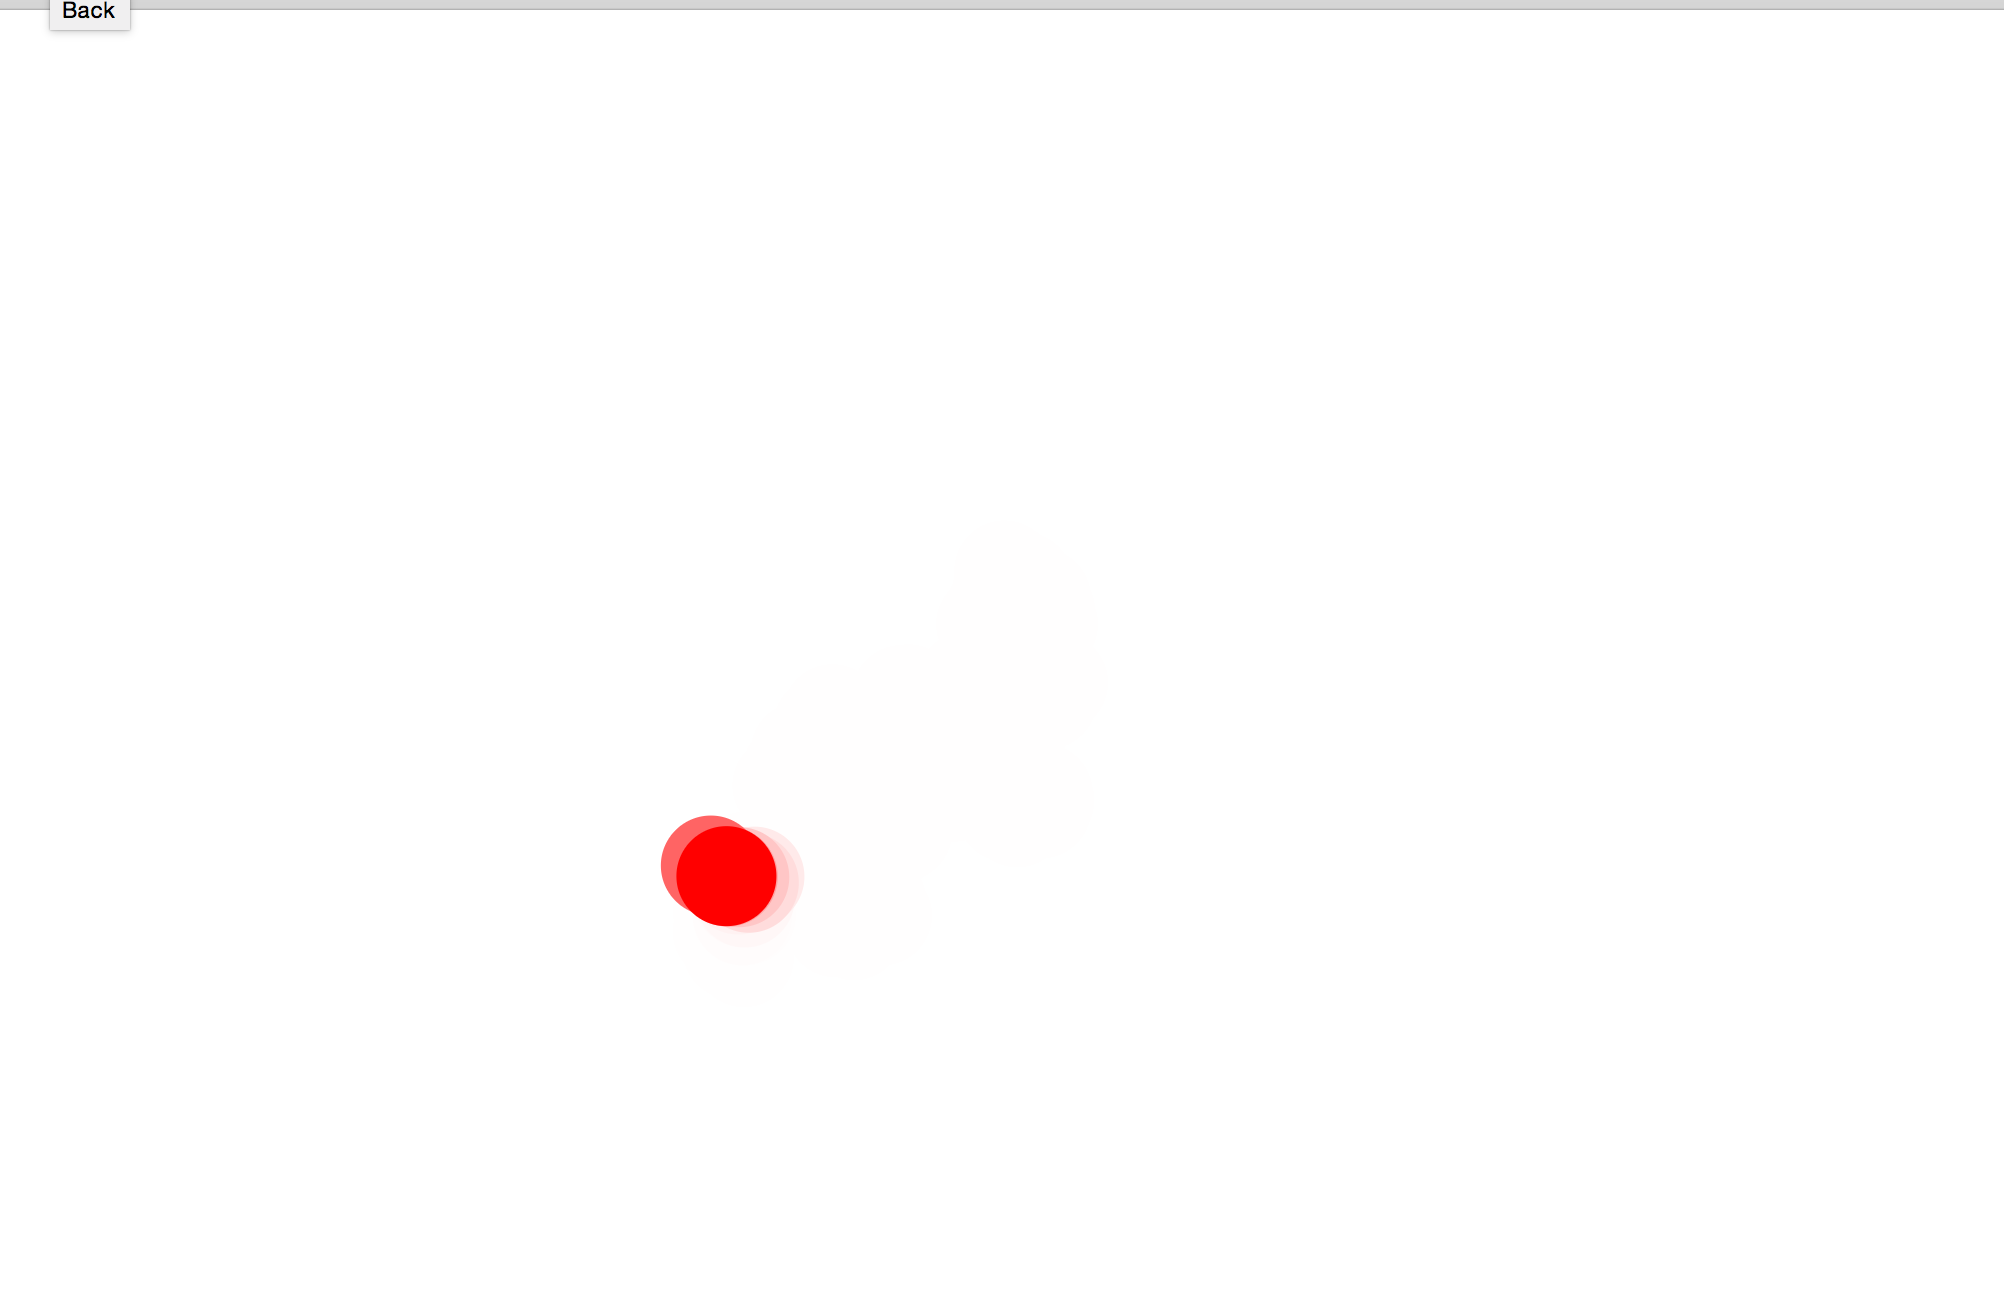
Digging into the Open BCI program code we duplicated the threshold calibrating function for four input channels. Once we had four channels to work with it took some time to figure out how to draw over the EEG visualizer with our code (now translated into processing 3).
The general electrode attachment points shown here are at the extensor group for Up, and the flexor group for Down. We are still experimenting with ideal positioning.
We had the most success with two electrodes performing Up and Down. Generating intentional, responsive movement of the marker up and down the canvas with muscle group contraction.
We experimented long and hard with adding Left and Right but there is enough overlap in the muscle contraction that the control becomes unpredictable. We are also hoping to get better results with a wetter electrode during demonstration Monday.

Week 3:
Calibrating the device. Working with the open BCI graphic interface.
Filtering out the 60 hertz alternating current present in wired buildings.
Channels 1 and 2 (frontal cortex) detect eye movement and blinking. Channels 2 and 3 (motor strip) light up with jaw clenching.
Channels can be turned on and off in the GUI. The bias is an intelligent ground that cancels out electrical noise by inverting the waveform and pumping it back into the body. You do not need noise cancellation for muscle or heart monitoring.
Open BCI_GUI is where most global variables are located
OpenBCI_GUI.pde
-setup
-draw
–update
–draw
Control_Panel.pde
Gui_Manager (graphs, head plot, filter buttons, etc.)
–Scattertrace.pde
–Headplot.pde
OpenBCI_ADS1299.pde (communicates with BCI board in arduino, data processing)
-EEE_Processing_User
-do your own stuff here
datafiles.pde
data_forDisplay_uV[0][100] (channel 1, 250 packets)
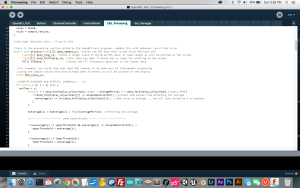
processing sketch used for adjusting threshold range finder.
Some people can create alpha waves with their eyes open by calming down but it is a smaller signal.
Week 2:
Spatial versus temporal resolution:
EEG has excellent temporal but limited spatial data (limited to the surface of the head).
Reddit DIY tDCS.
Functionality has an inverse relationship with usability.
EGG is currently not very useful for direct control of devices. More useful for analysis of how the brain is reacting to stimuli.
P300 ERP (event related potential) Brain response that occurs in response to surprising or overwhelming stimuli. 300 millisecond delay between stimuli and response. Correlates with pupil dilation.
Mobile EEG as a tool to study brain related disease and decline.
10-20 System is the international standard for EEG electrode placement. Based on 10% and 20% incriments of cranial circumference.
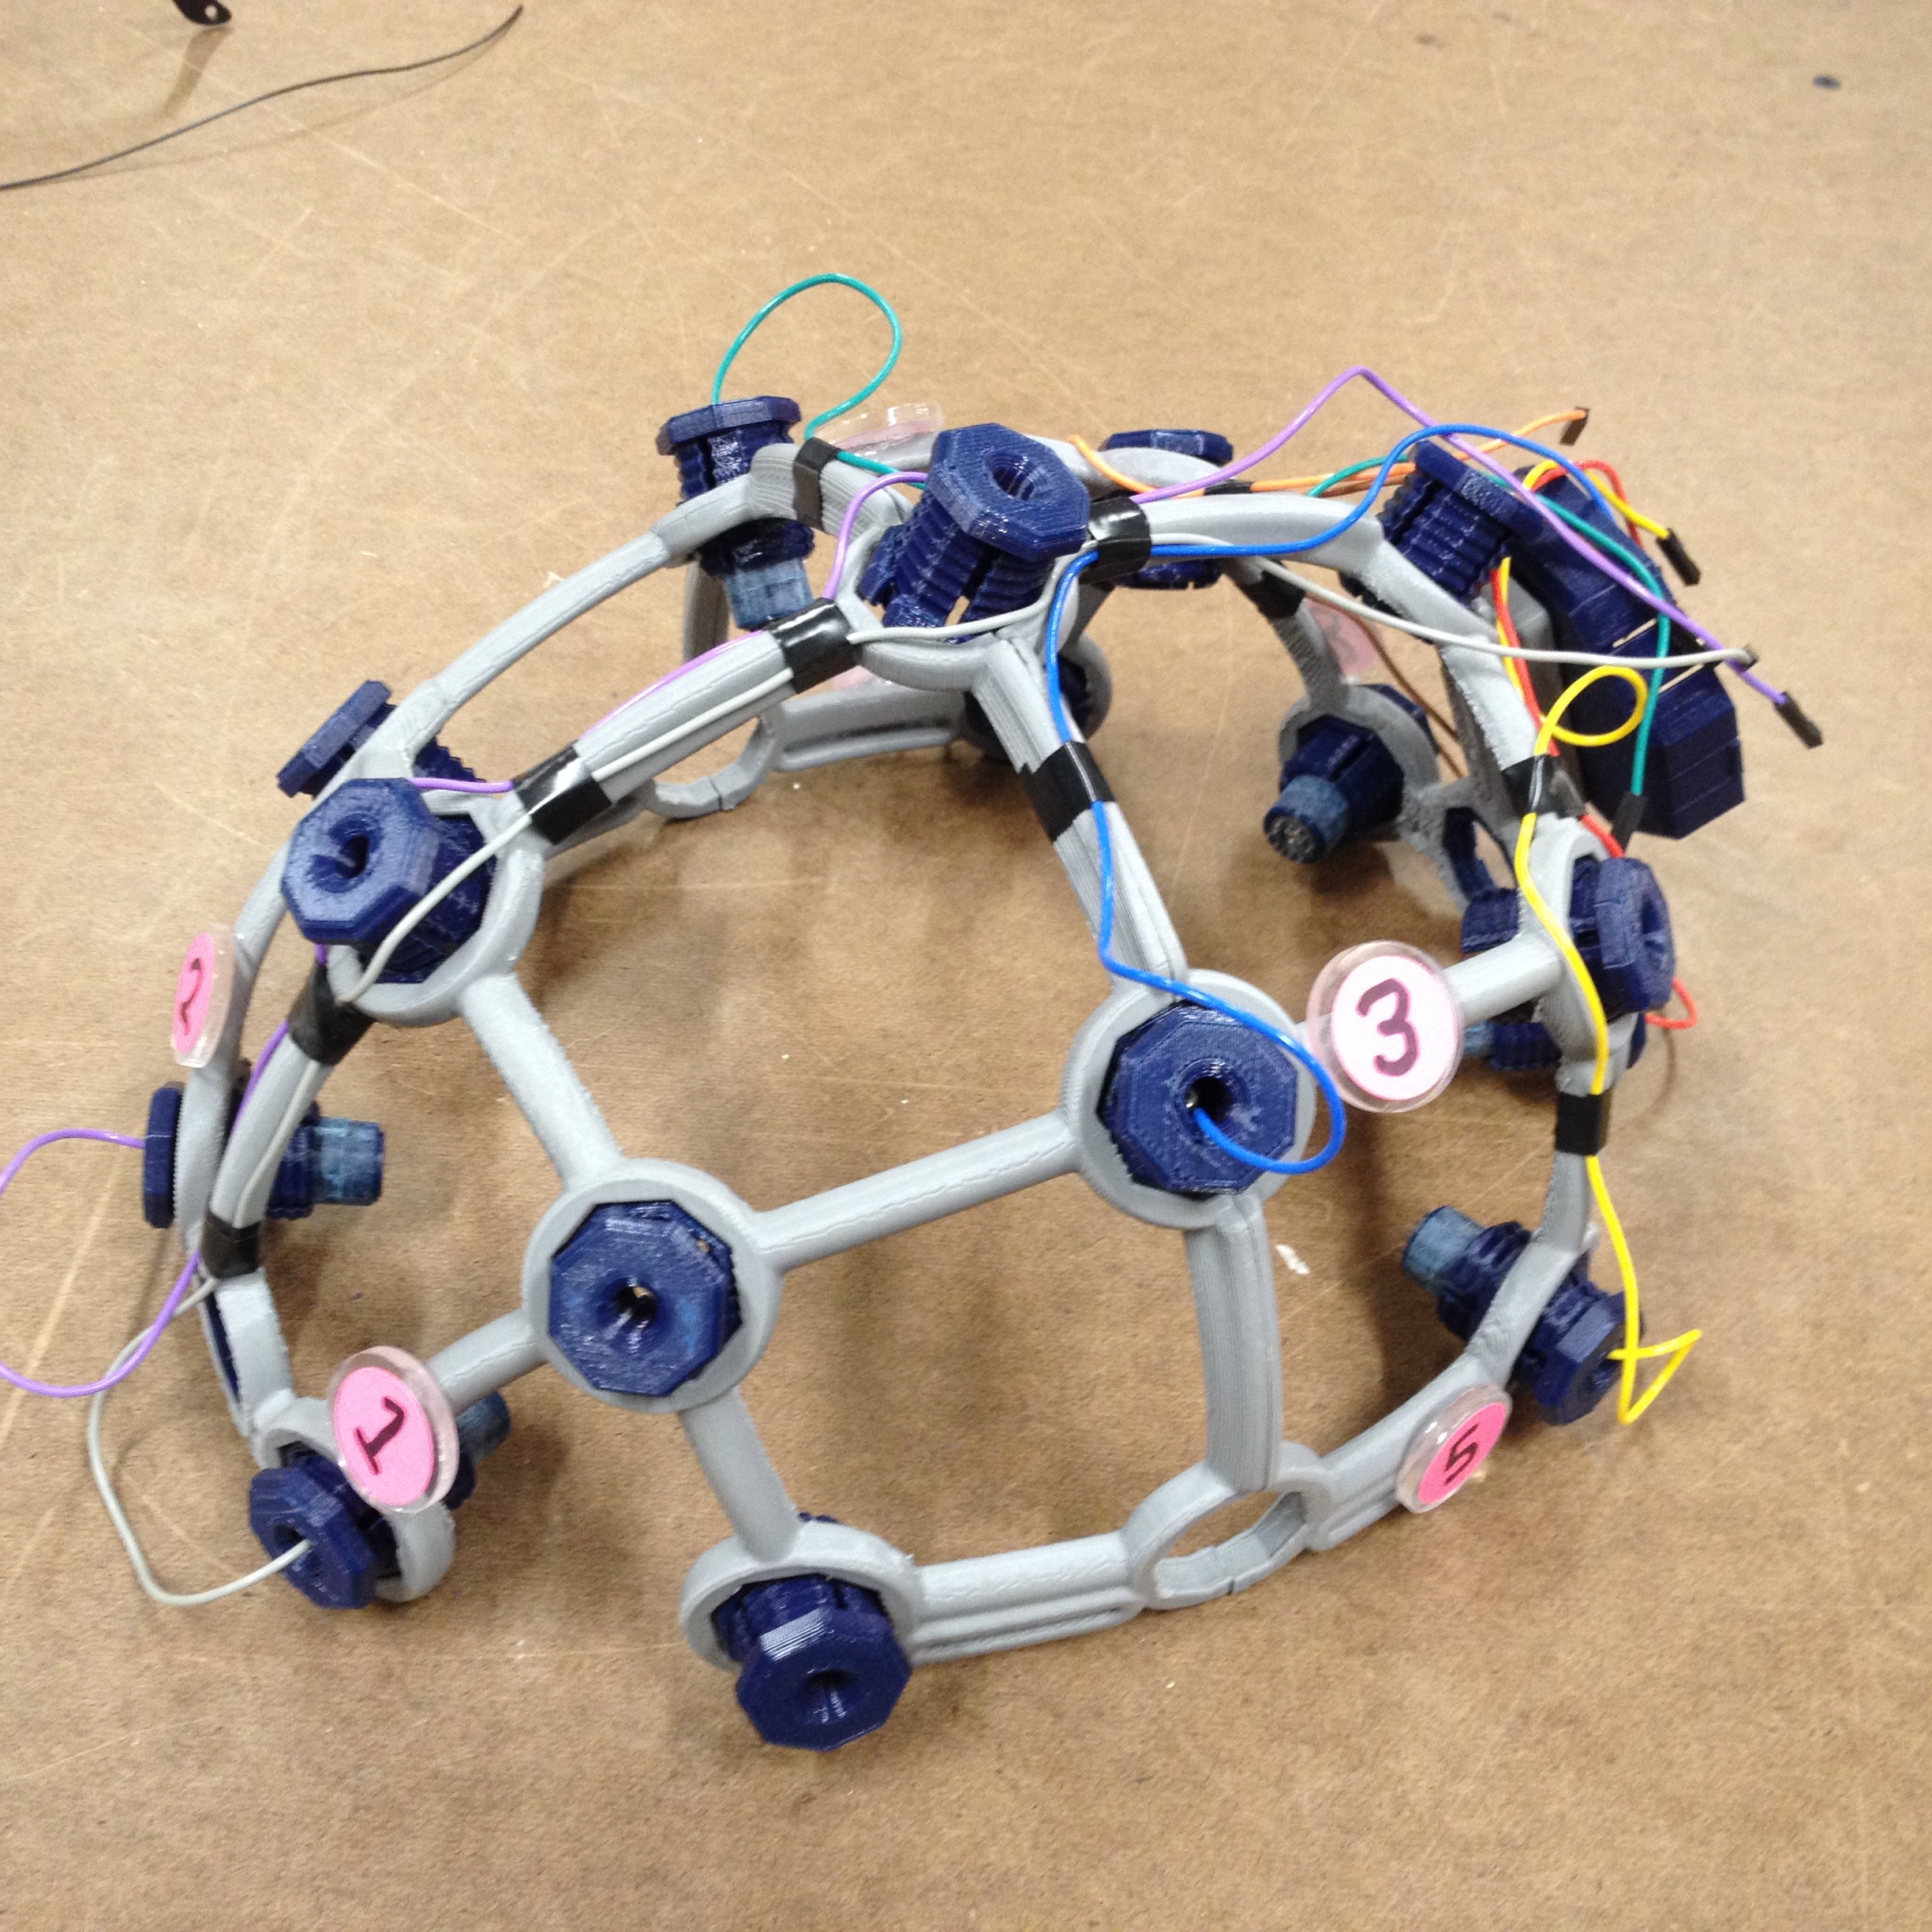
Ultracortex Mark III Assembly:
Out of the bags:
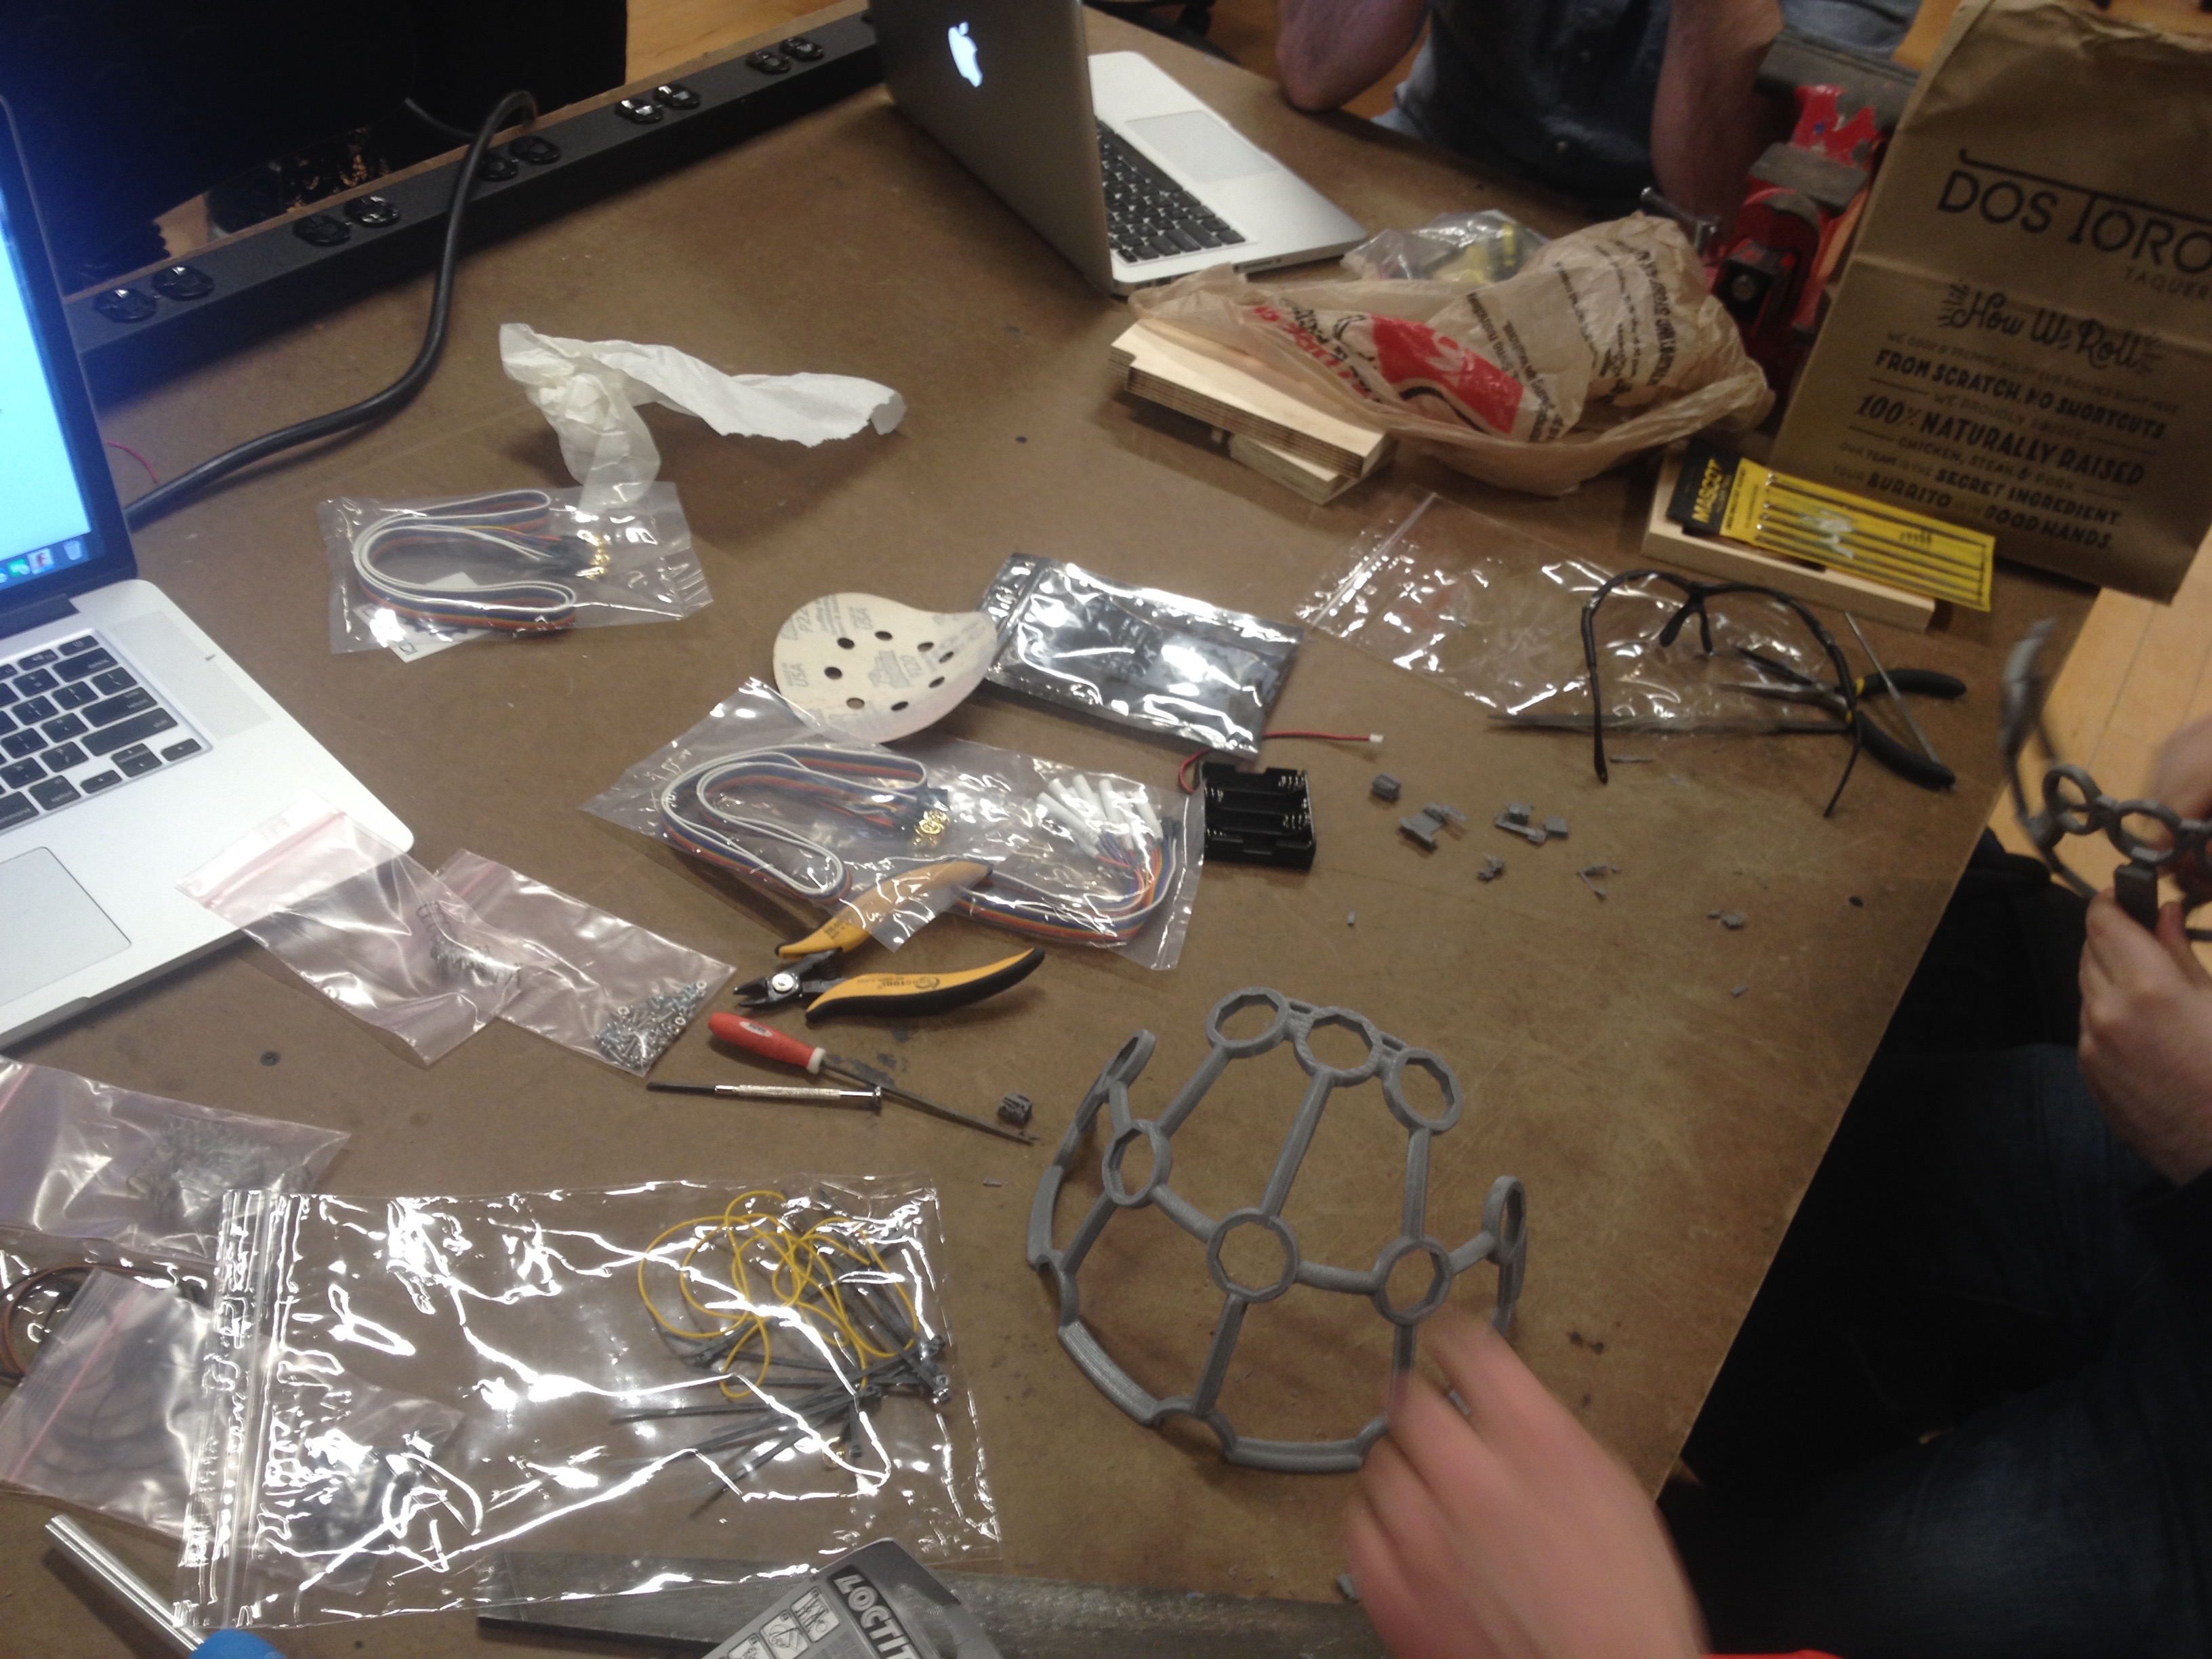
The sanding of the electrode mounts is definitely the most tedious part of the process. We decided to label and color code the electrodes and the wiring to correspond to the numbering and color convention of the default OpenBCI GUI.
We also tried to keep the wires secured to the struts to minimize noise from movement.
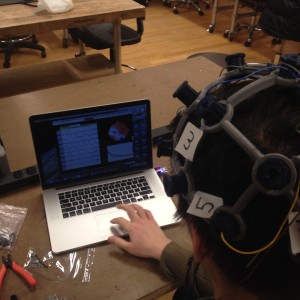
Up and running. Each user requires some fitting time to get good signal but once everything is in place the interface lights up with activity.
Week 1:
First Thoughts:
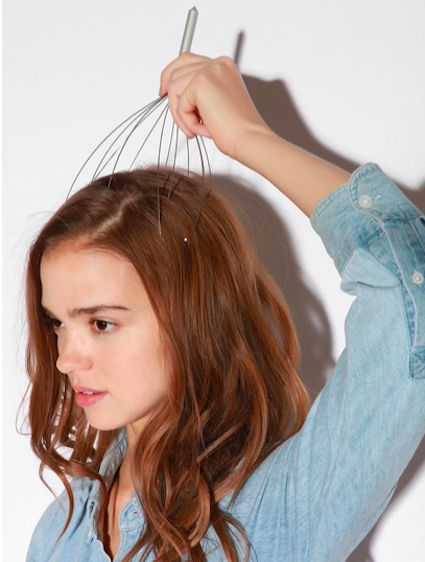
What if you could build a device that captures the resolution of a dense array eeg with the ease and comfort of a scalp massager.