
Introduction to 3D Printing
Instructor: Xuedi Chen
Week 6:
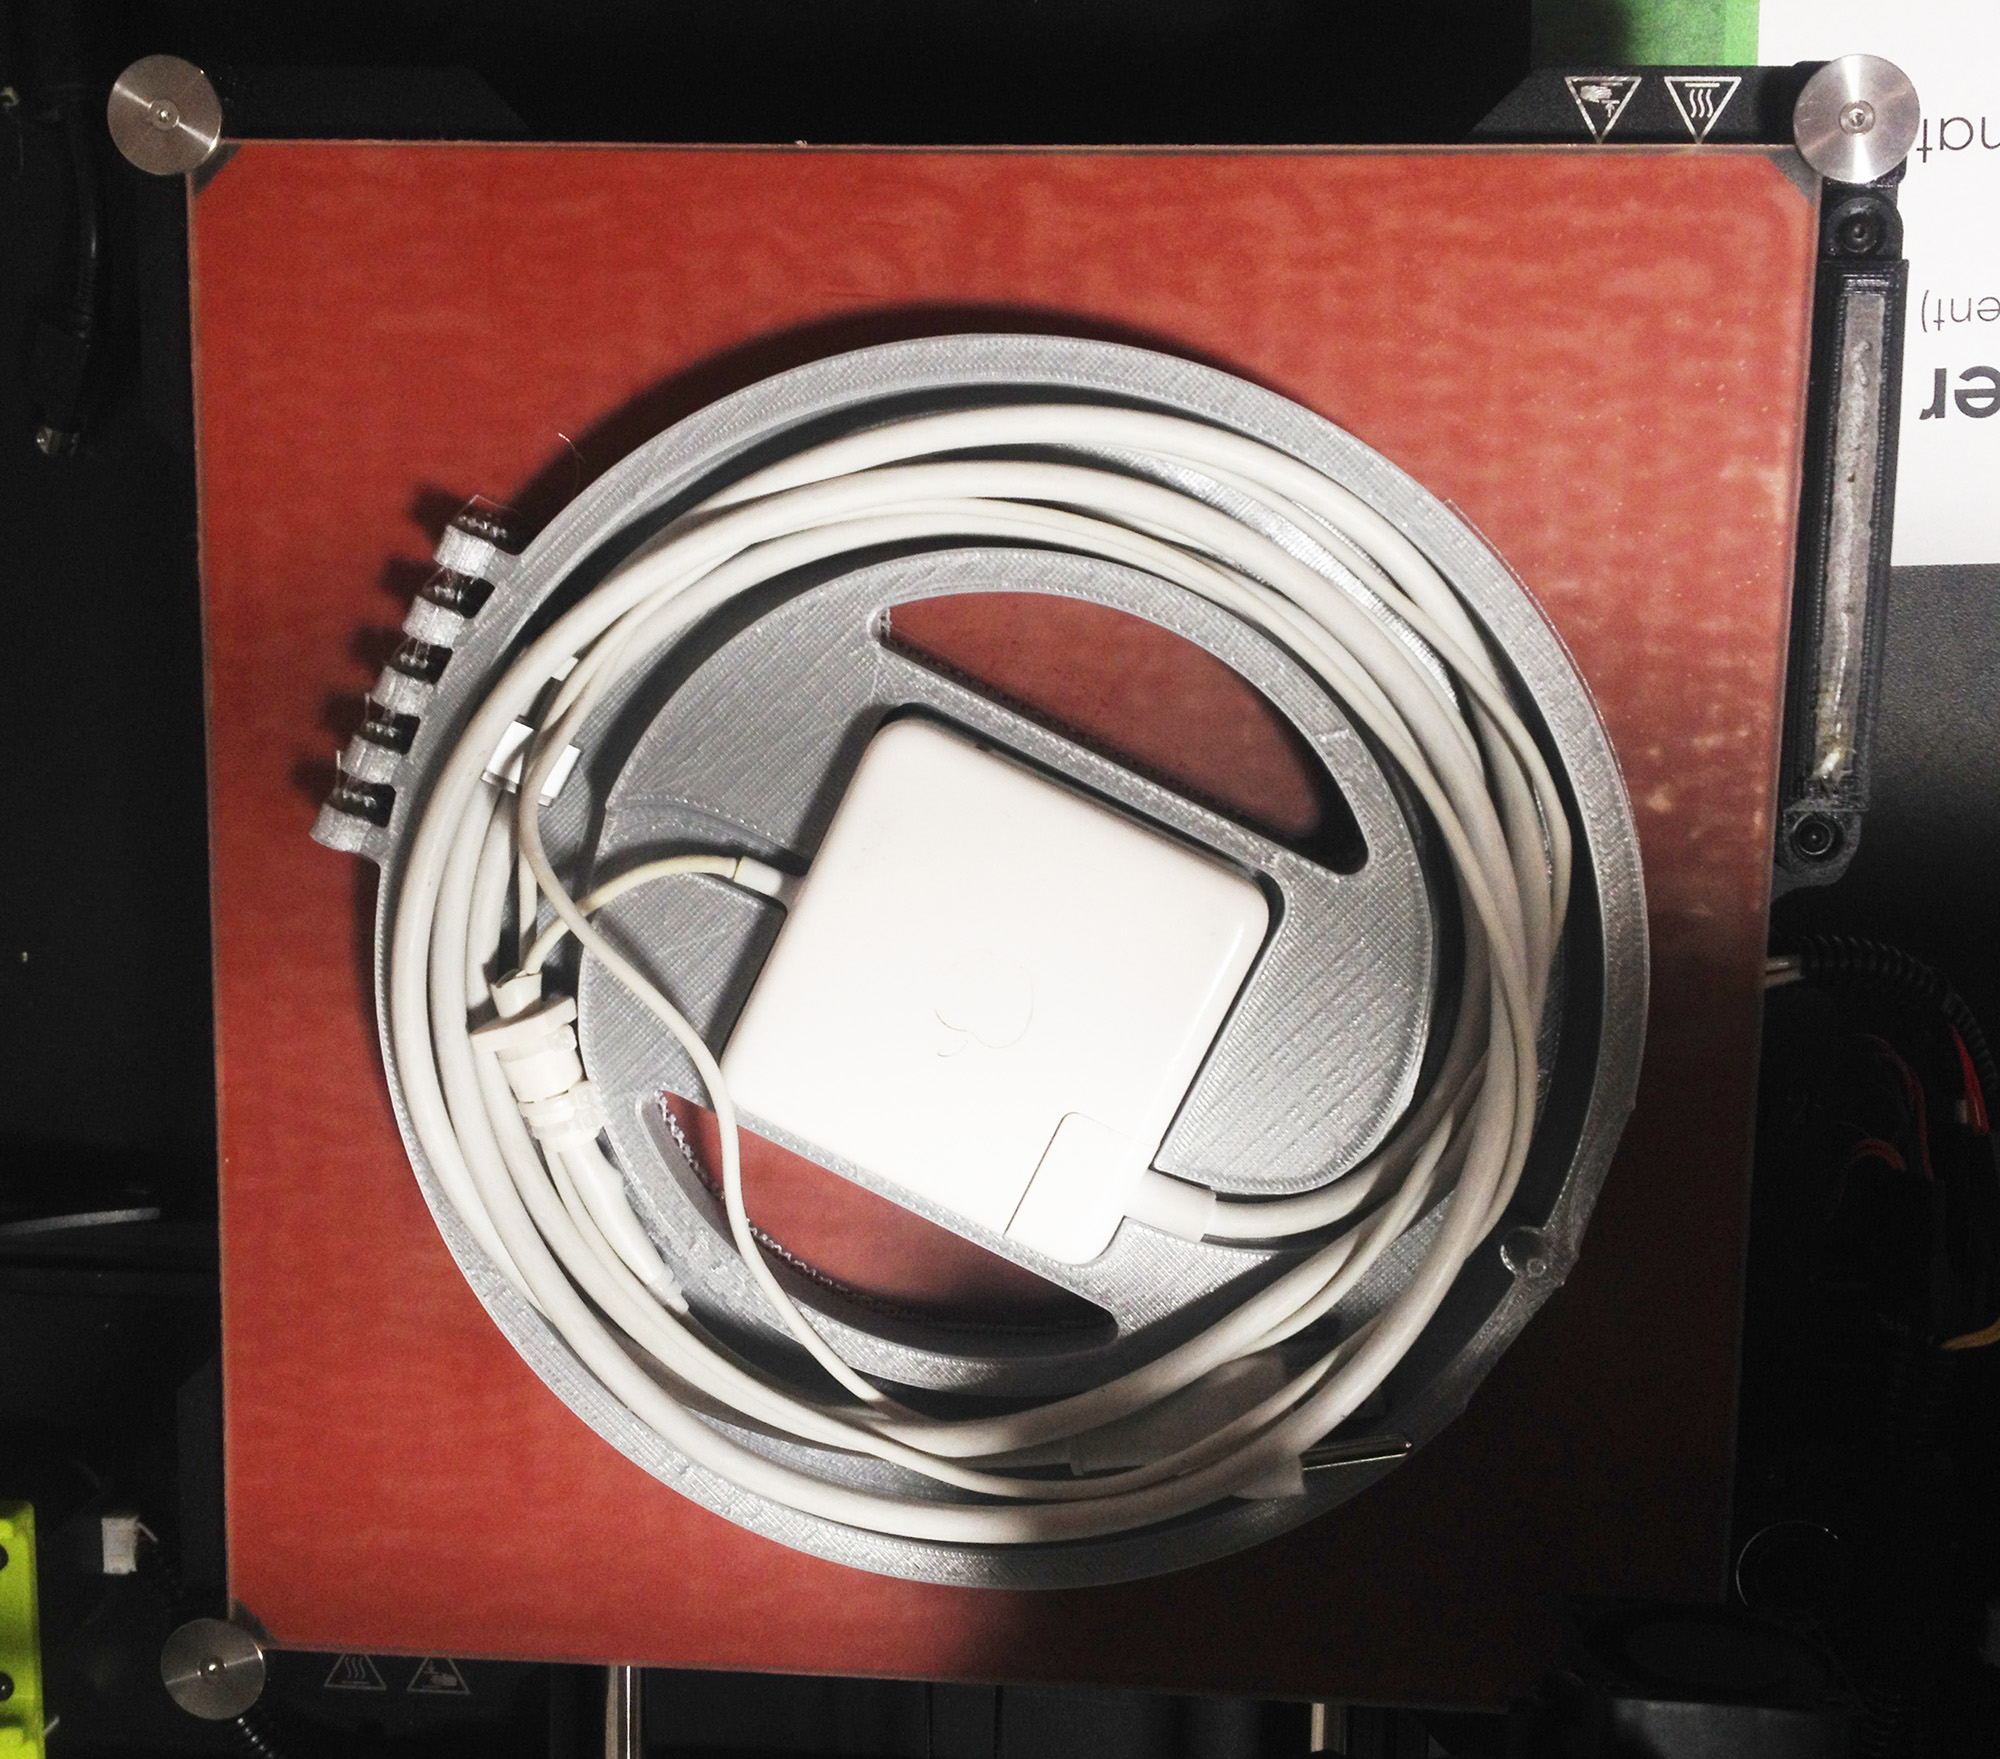
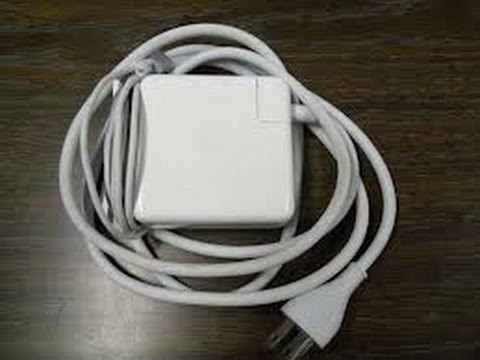
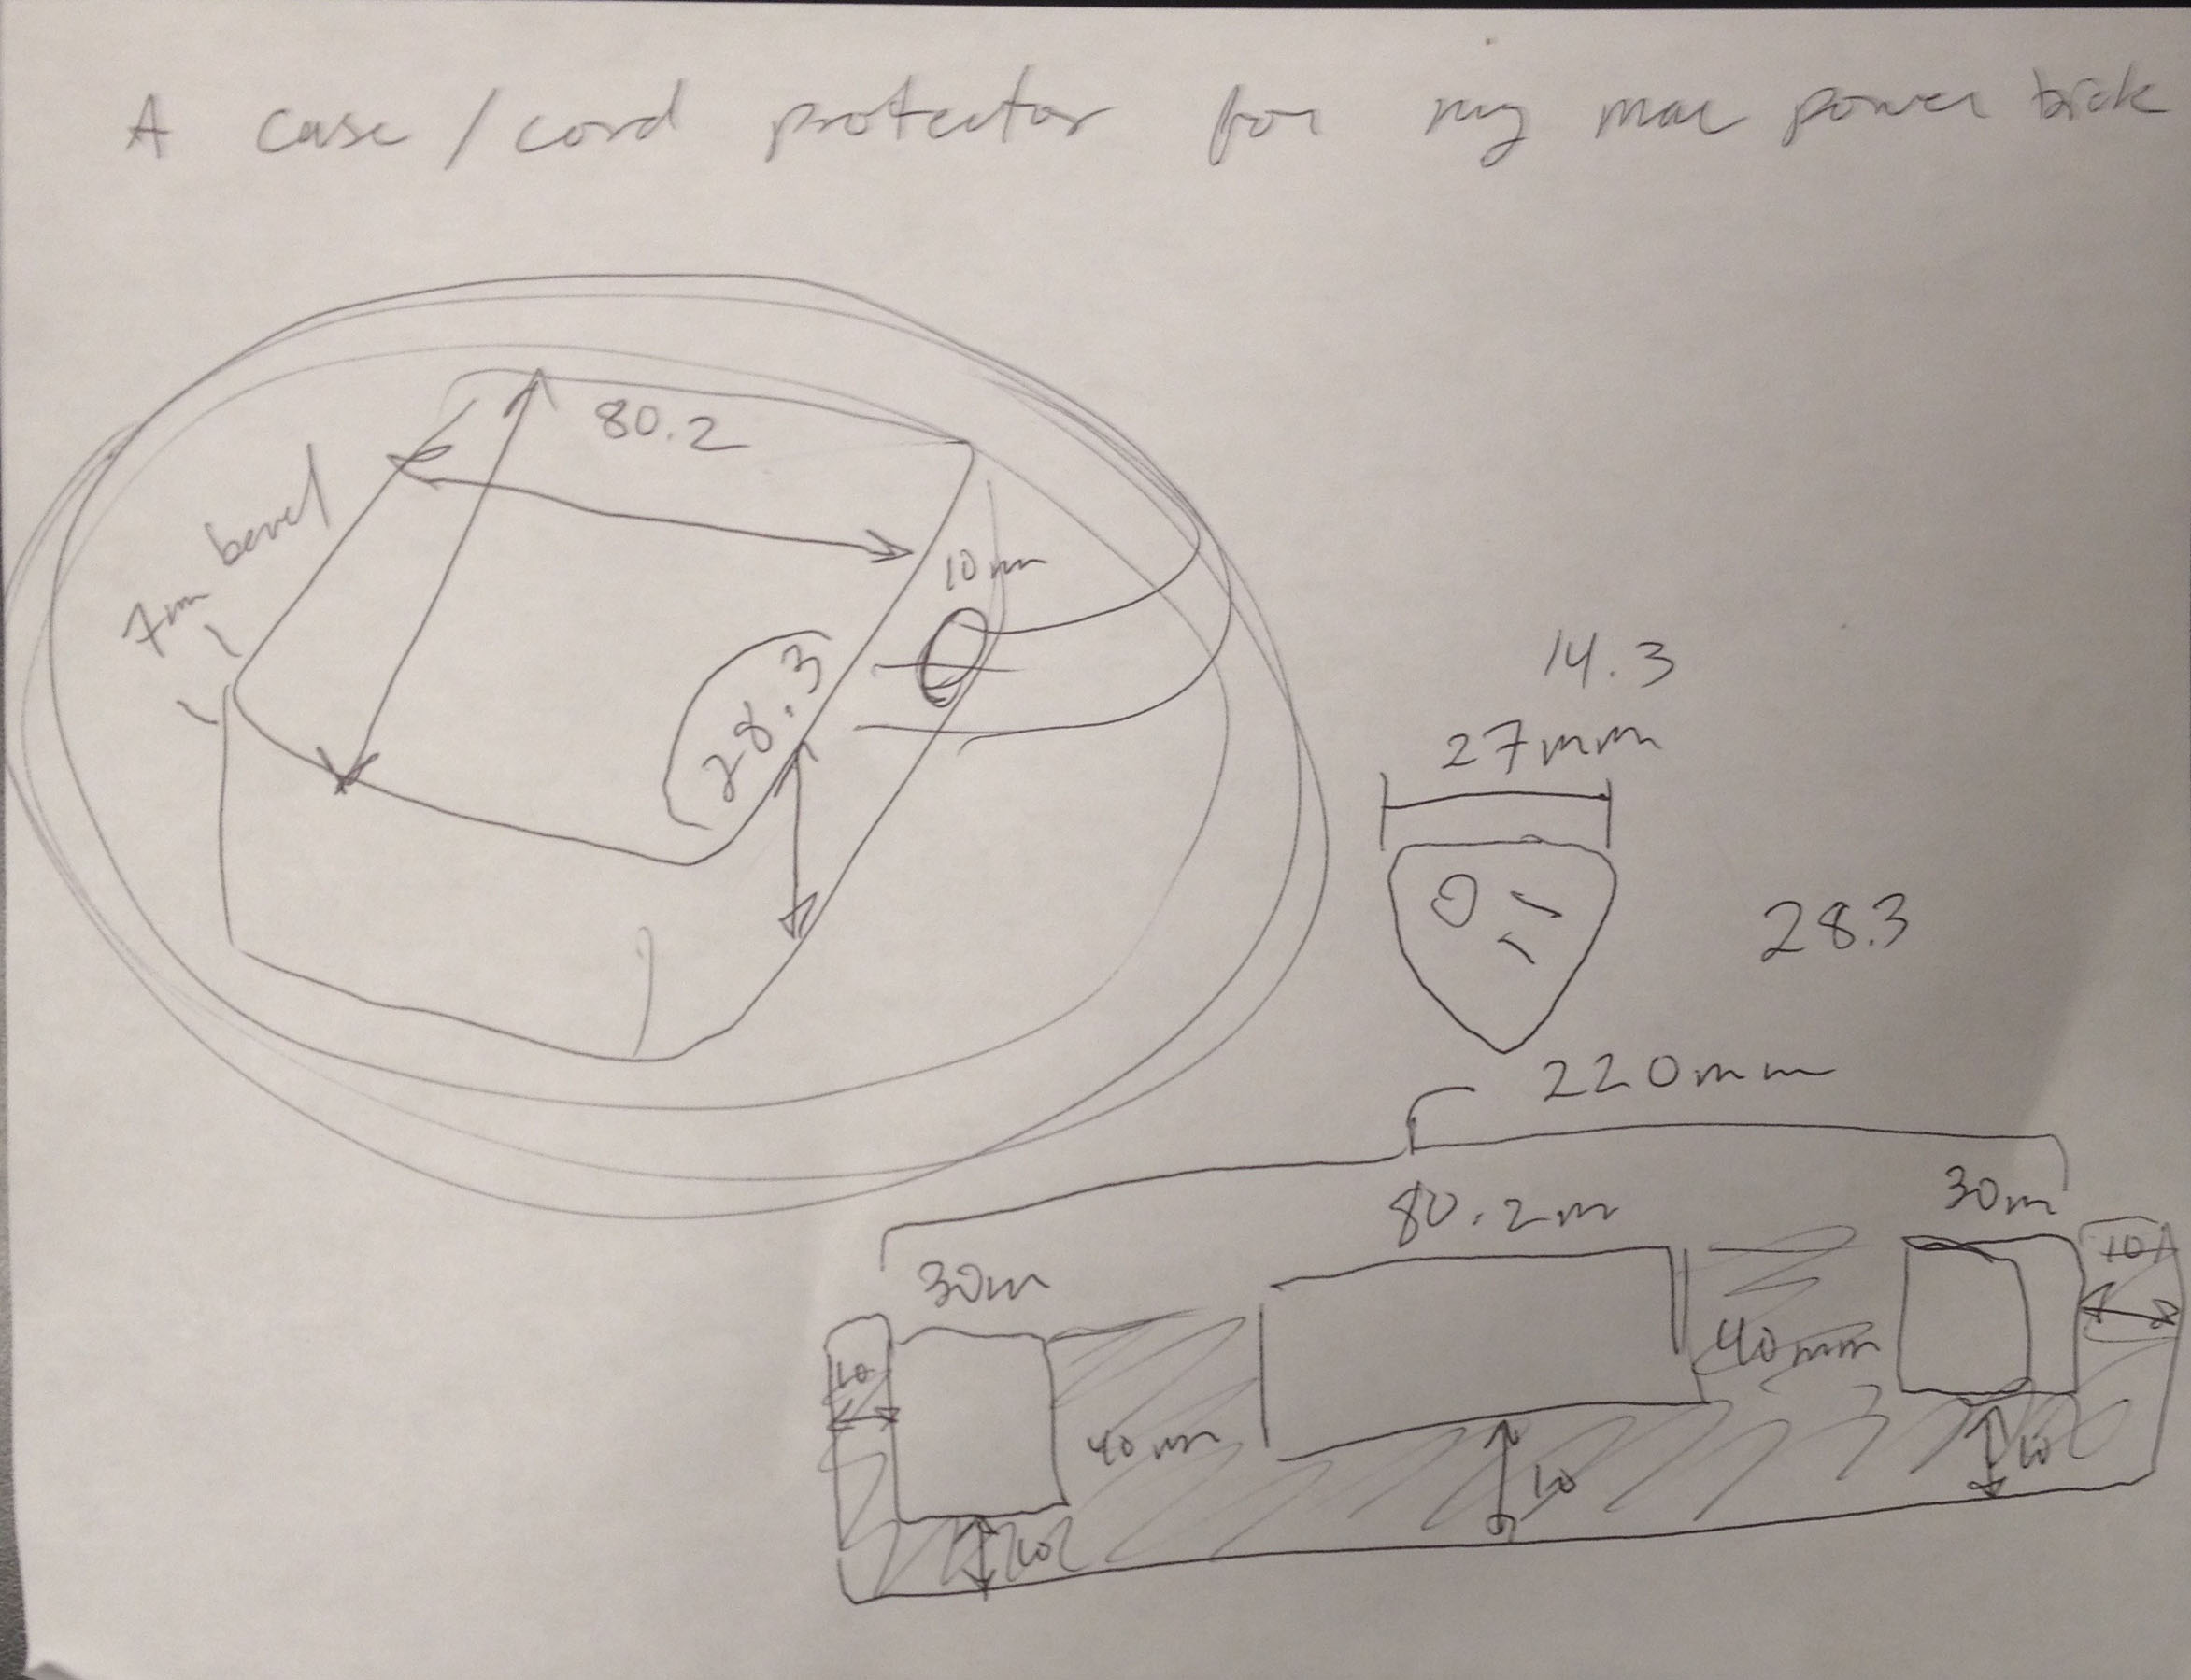
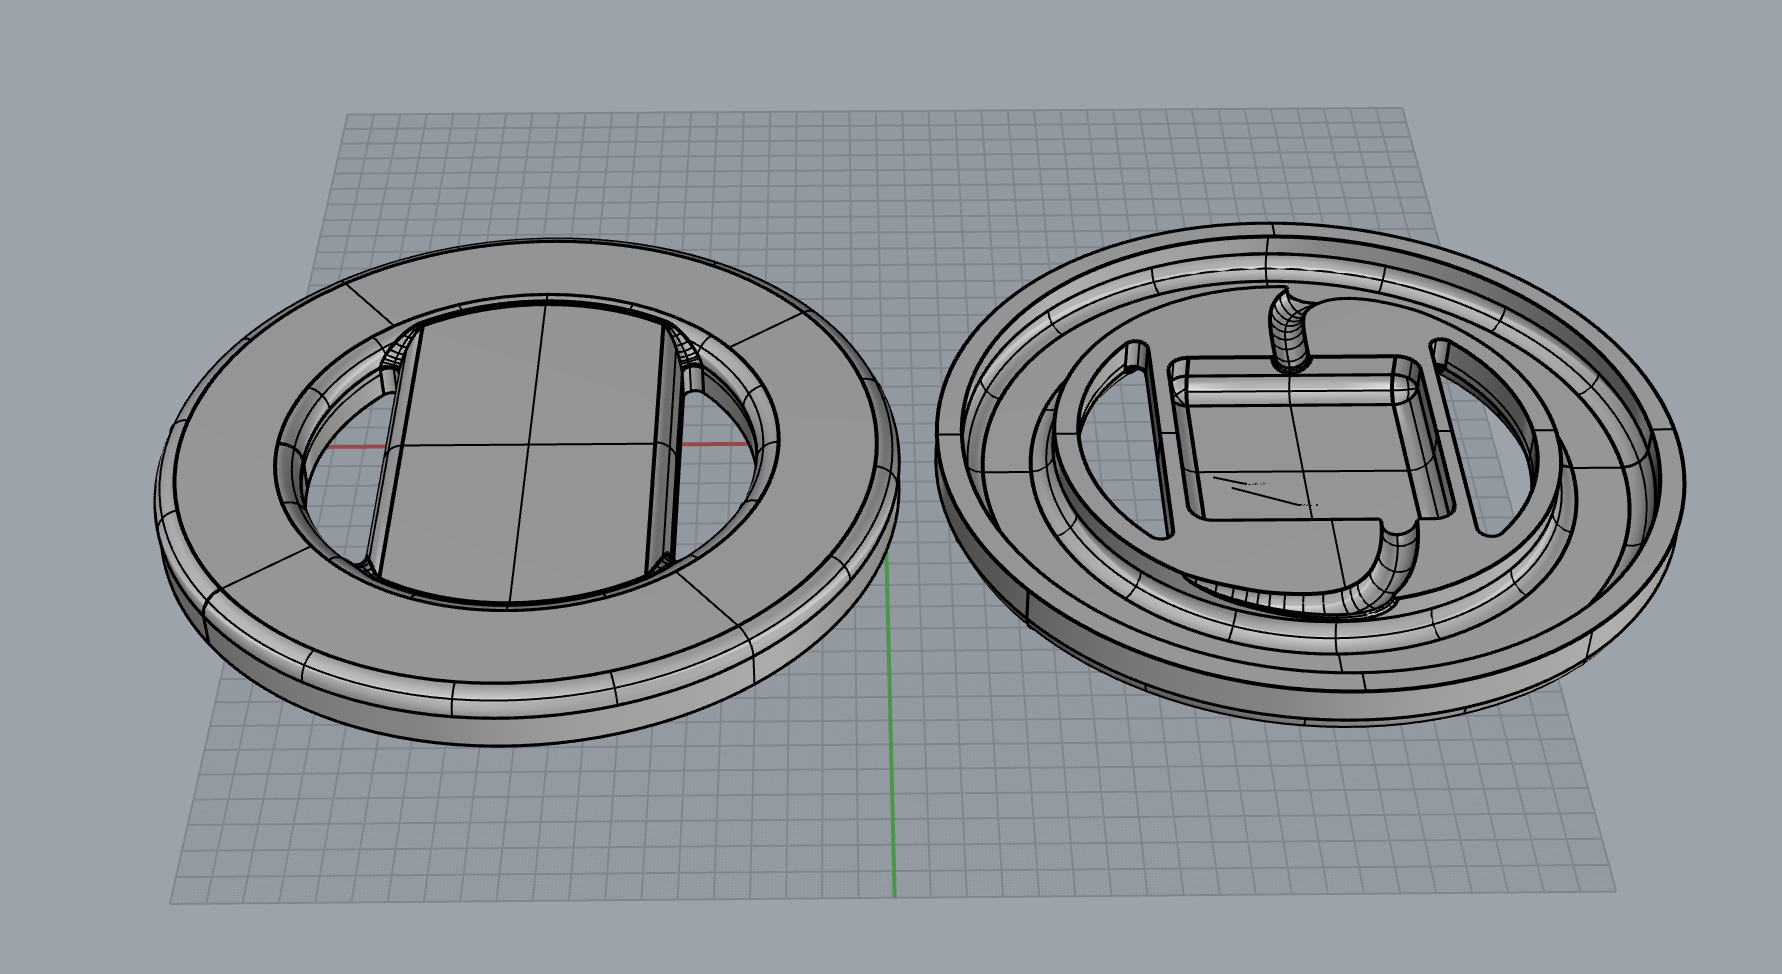
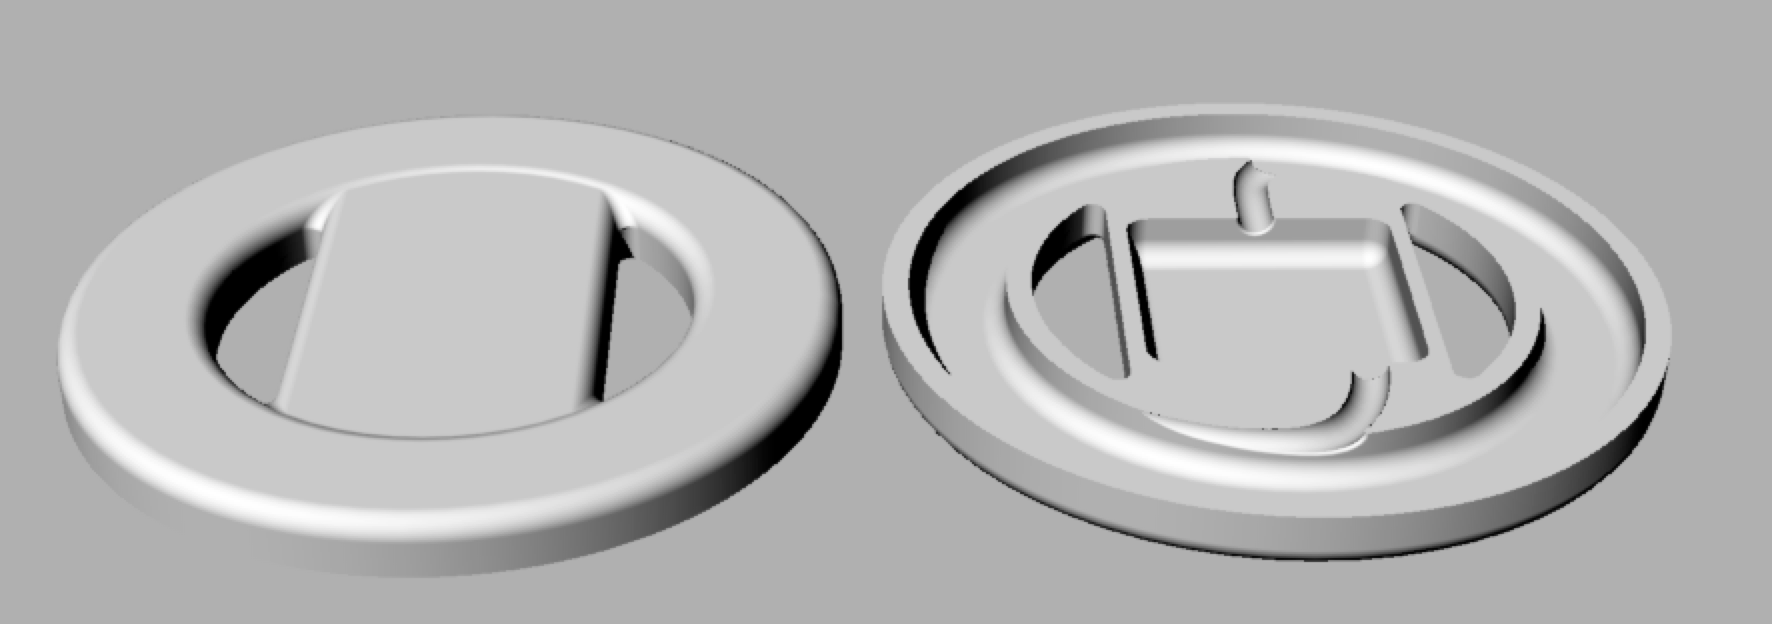
Final Project: Apple Power Adapter Case
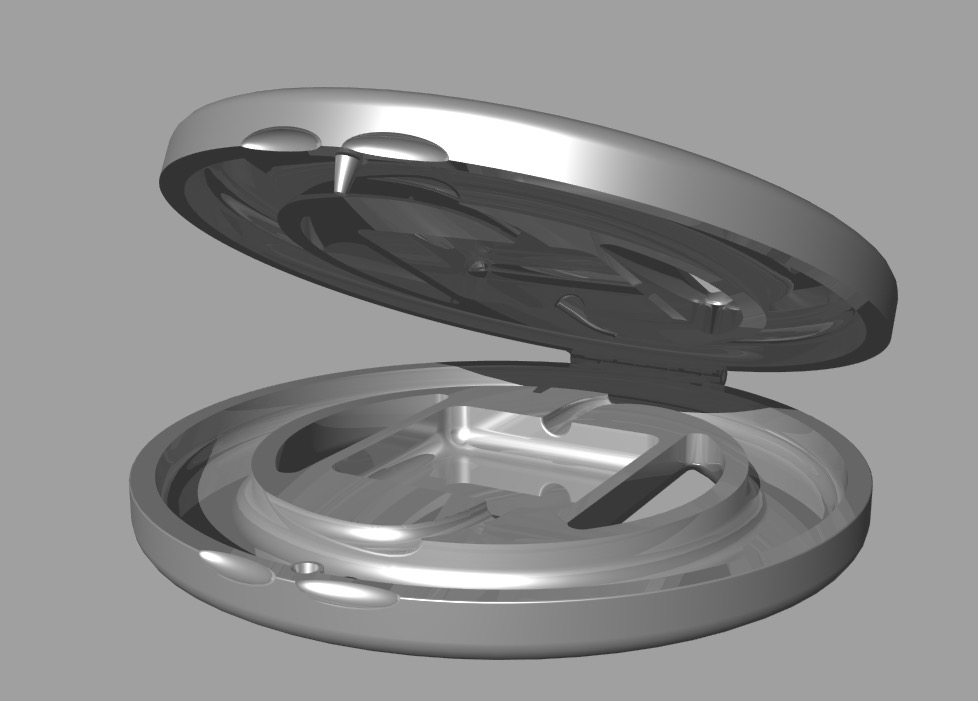
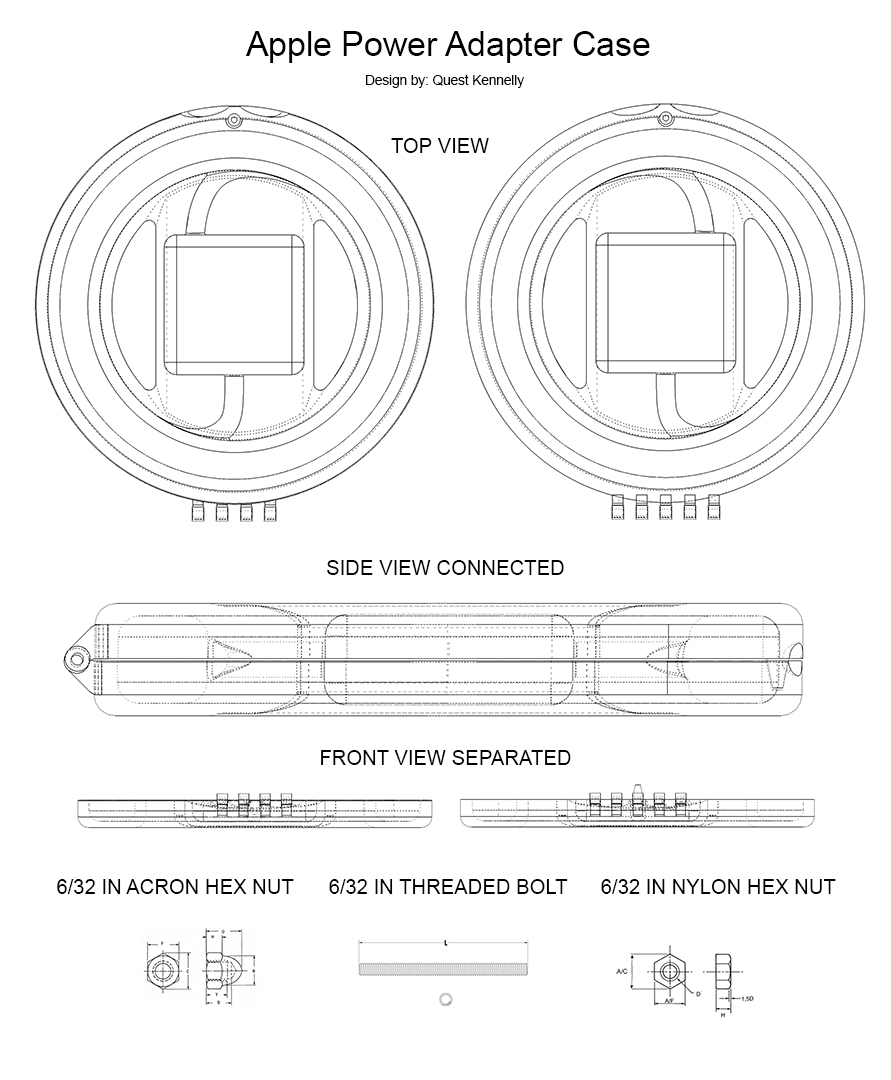
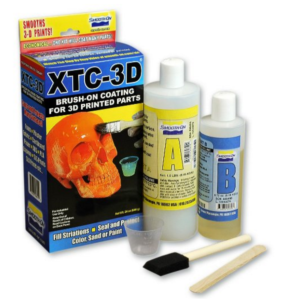
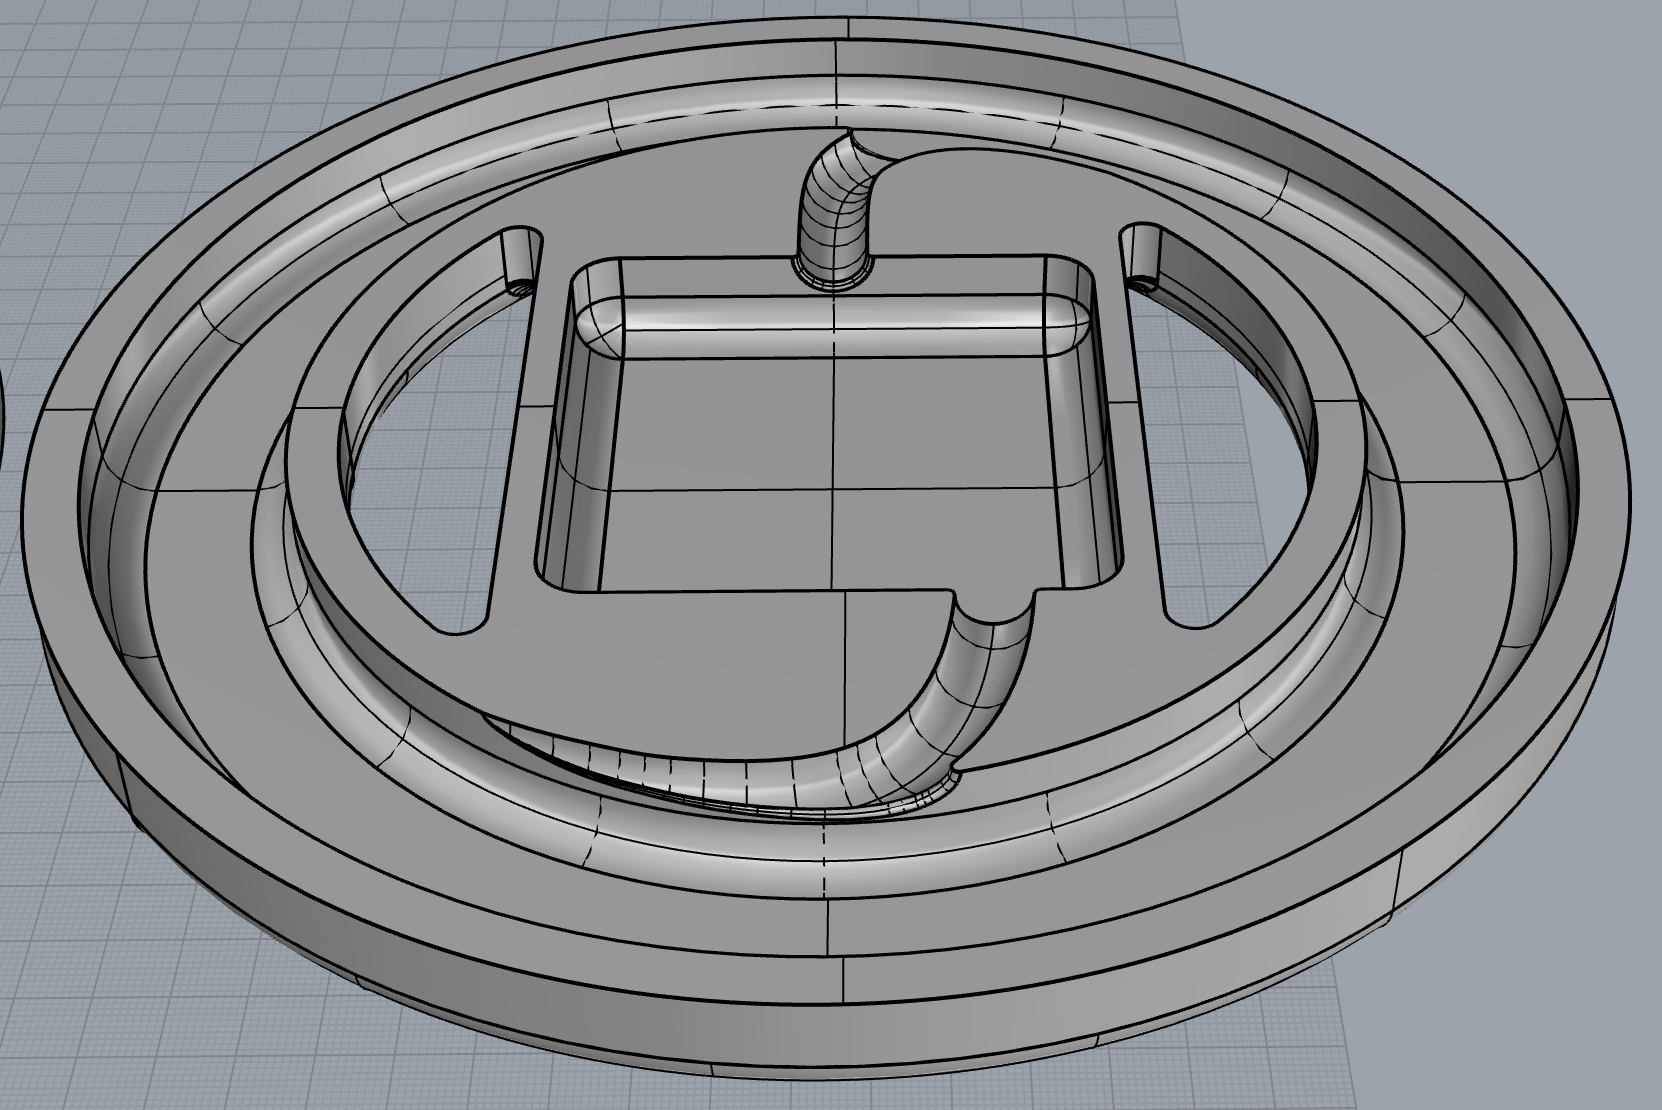
Each of the the 3D printed parts were designed in Rhino from measurements taken from an Apple Macbook Pro Power Adapter with digital calipers. The case encloses the charger in a way that protects the cord from the bending that causes these type of cords to eventually break. Each half of the case was printed using the Lulzbot Taz 6 3D printer at fast setting with light infill. Fitting the hinges together required some sanding to get the fit correct. The pin was threaded at a 6/32 inch using the shop tap and die set. Nylon nuts and steel acorn nuts were used to secure the pin. The movement is smooth but the closure is not perfect. The surface was finished using Smooth On XTC-3D brush on epoxy coating formulated specifically for FDM objects. The product fills in the layering texture creating a smoother surface with minimal sanding.
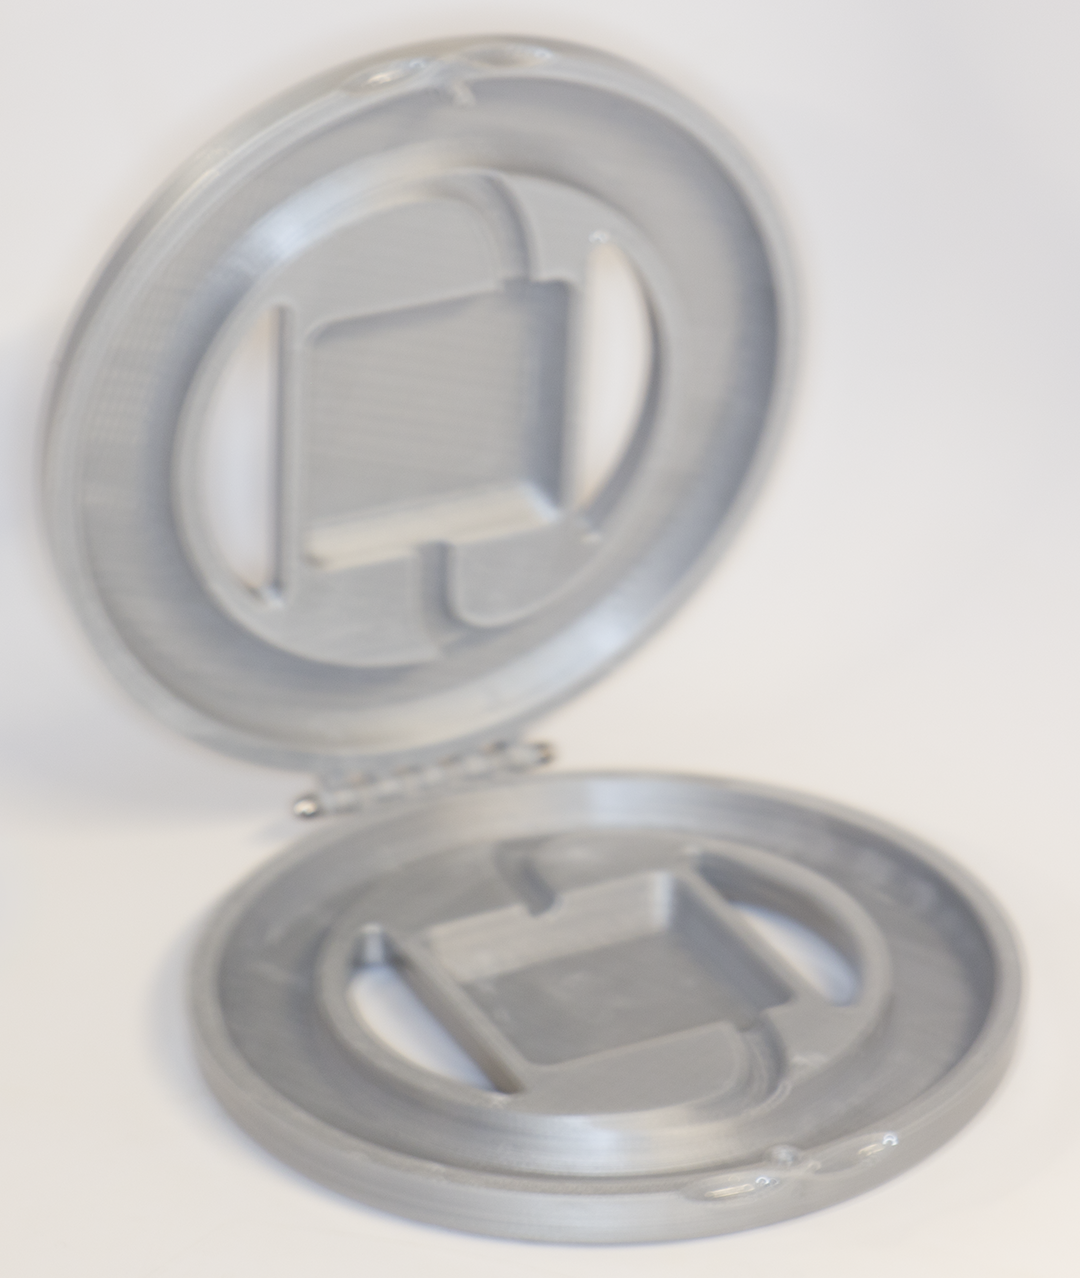
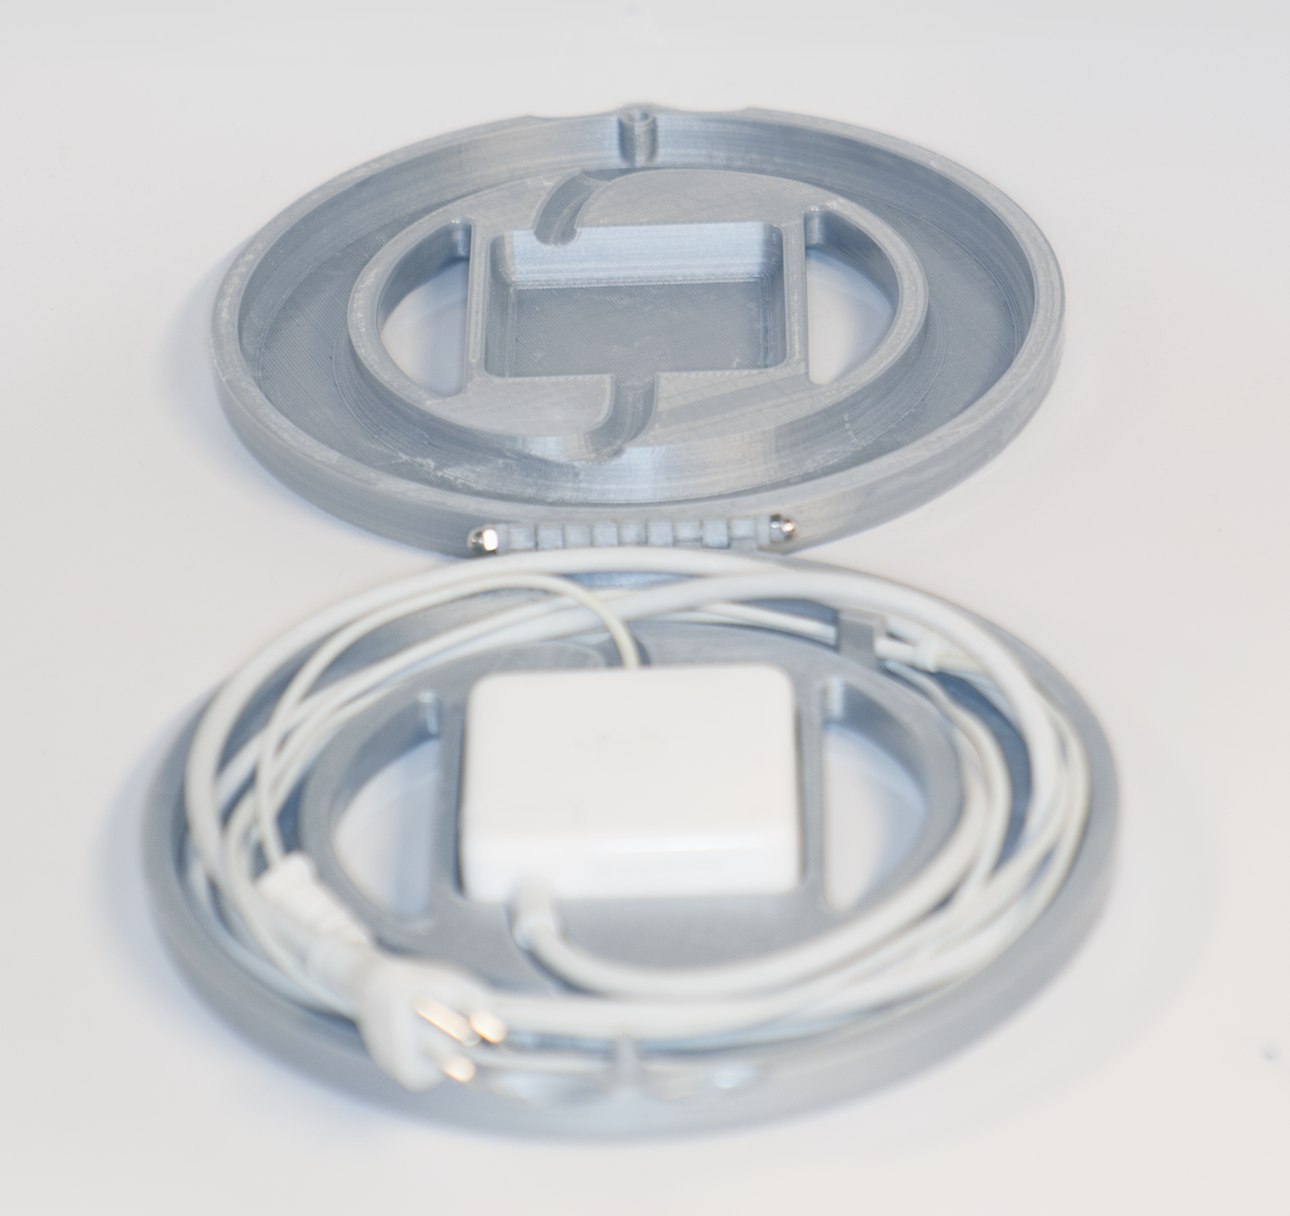
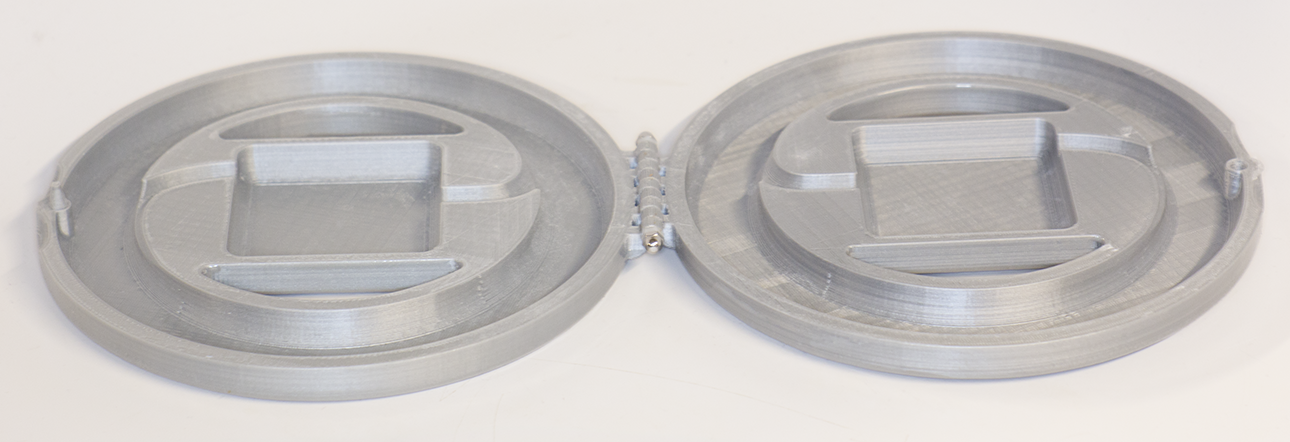
The charger fits but requires careful placement to get the lid to close completely. Having a physical prototype of the case to test with the charger has given me the information I need for a superior redesign.
Week 5:
Progress on final 3D print:
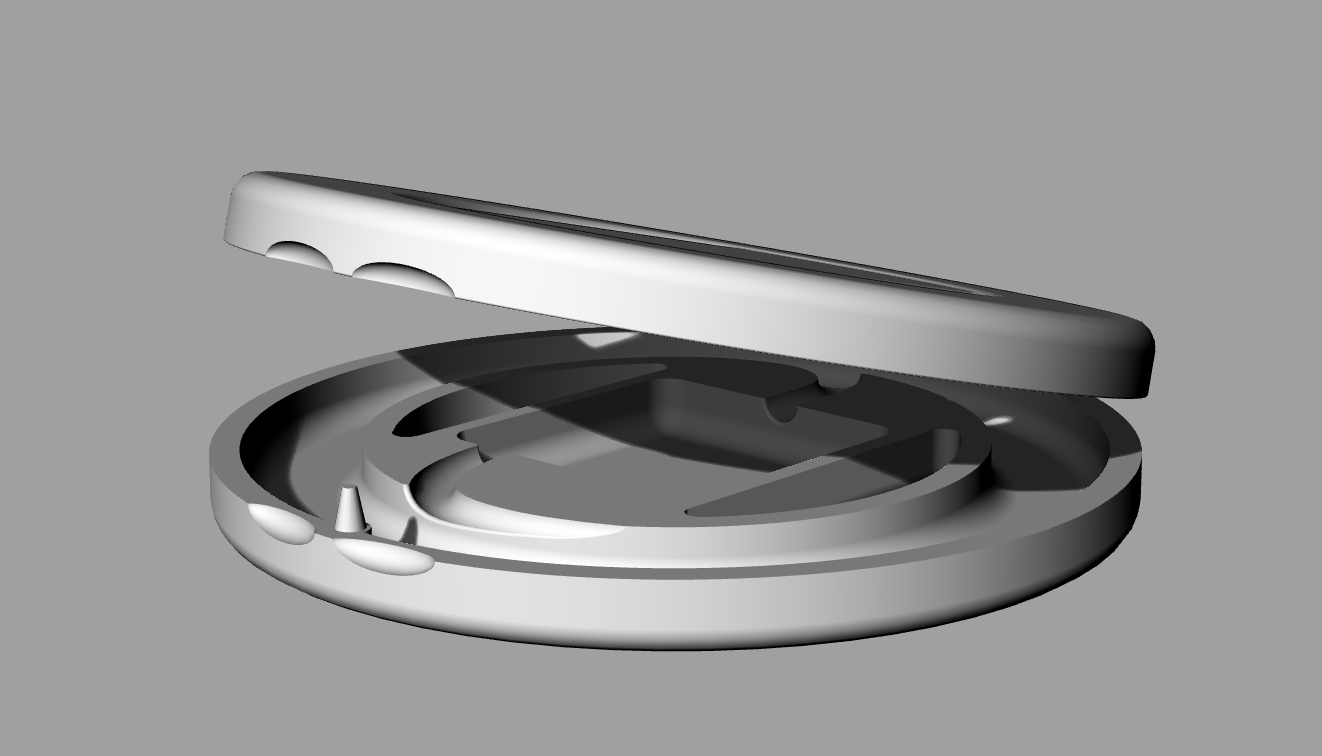
Design and build hinges.
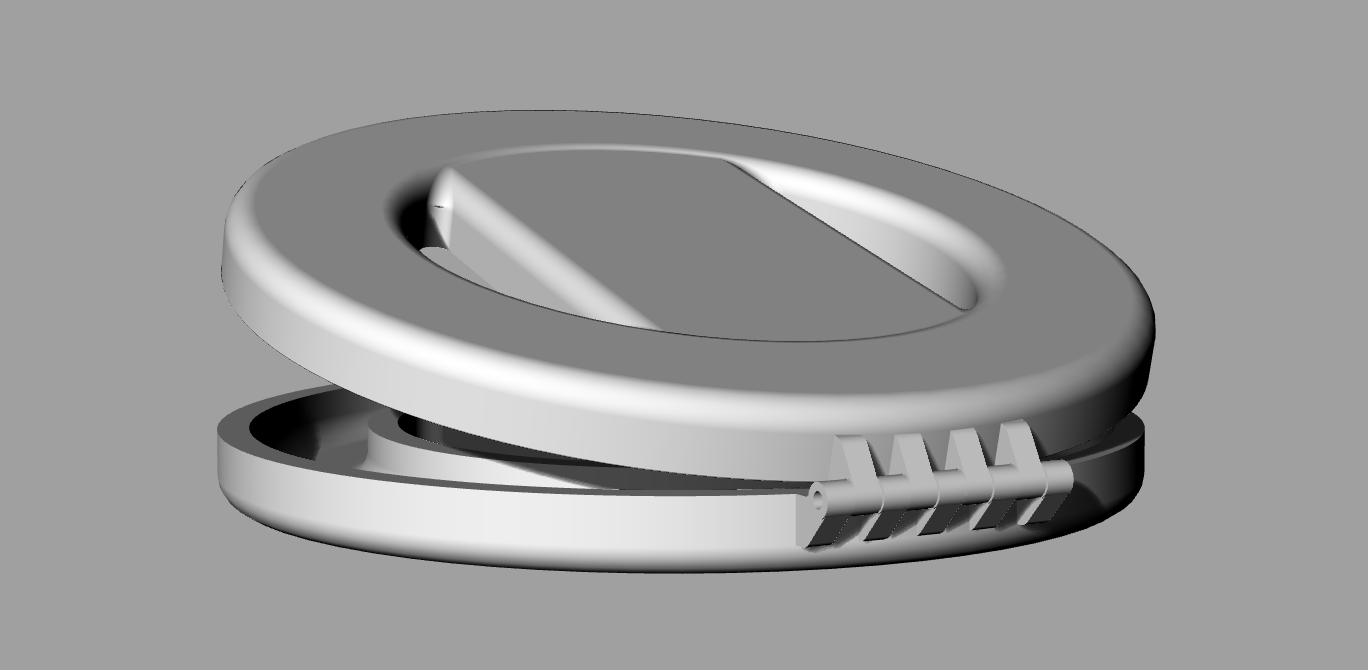
Design and build friction closure.
8 Hour printjob:

Good fit!
Week 4:
Idea for final: Open Cell Hinged Jaw Dragon Mask
Just in time for Halloween. Or, add a hinge and clasp to my earlier macbook pro charger case.
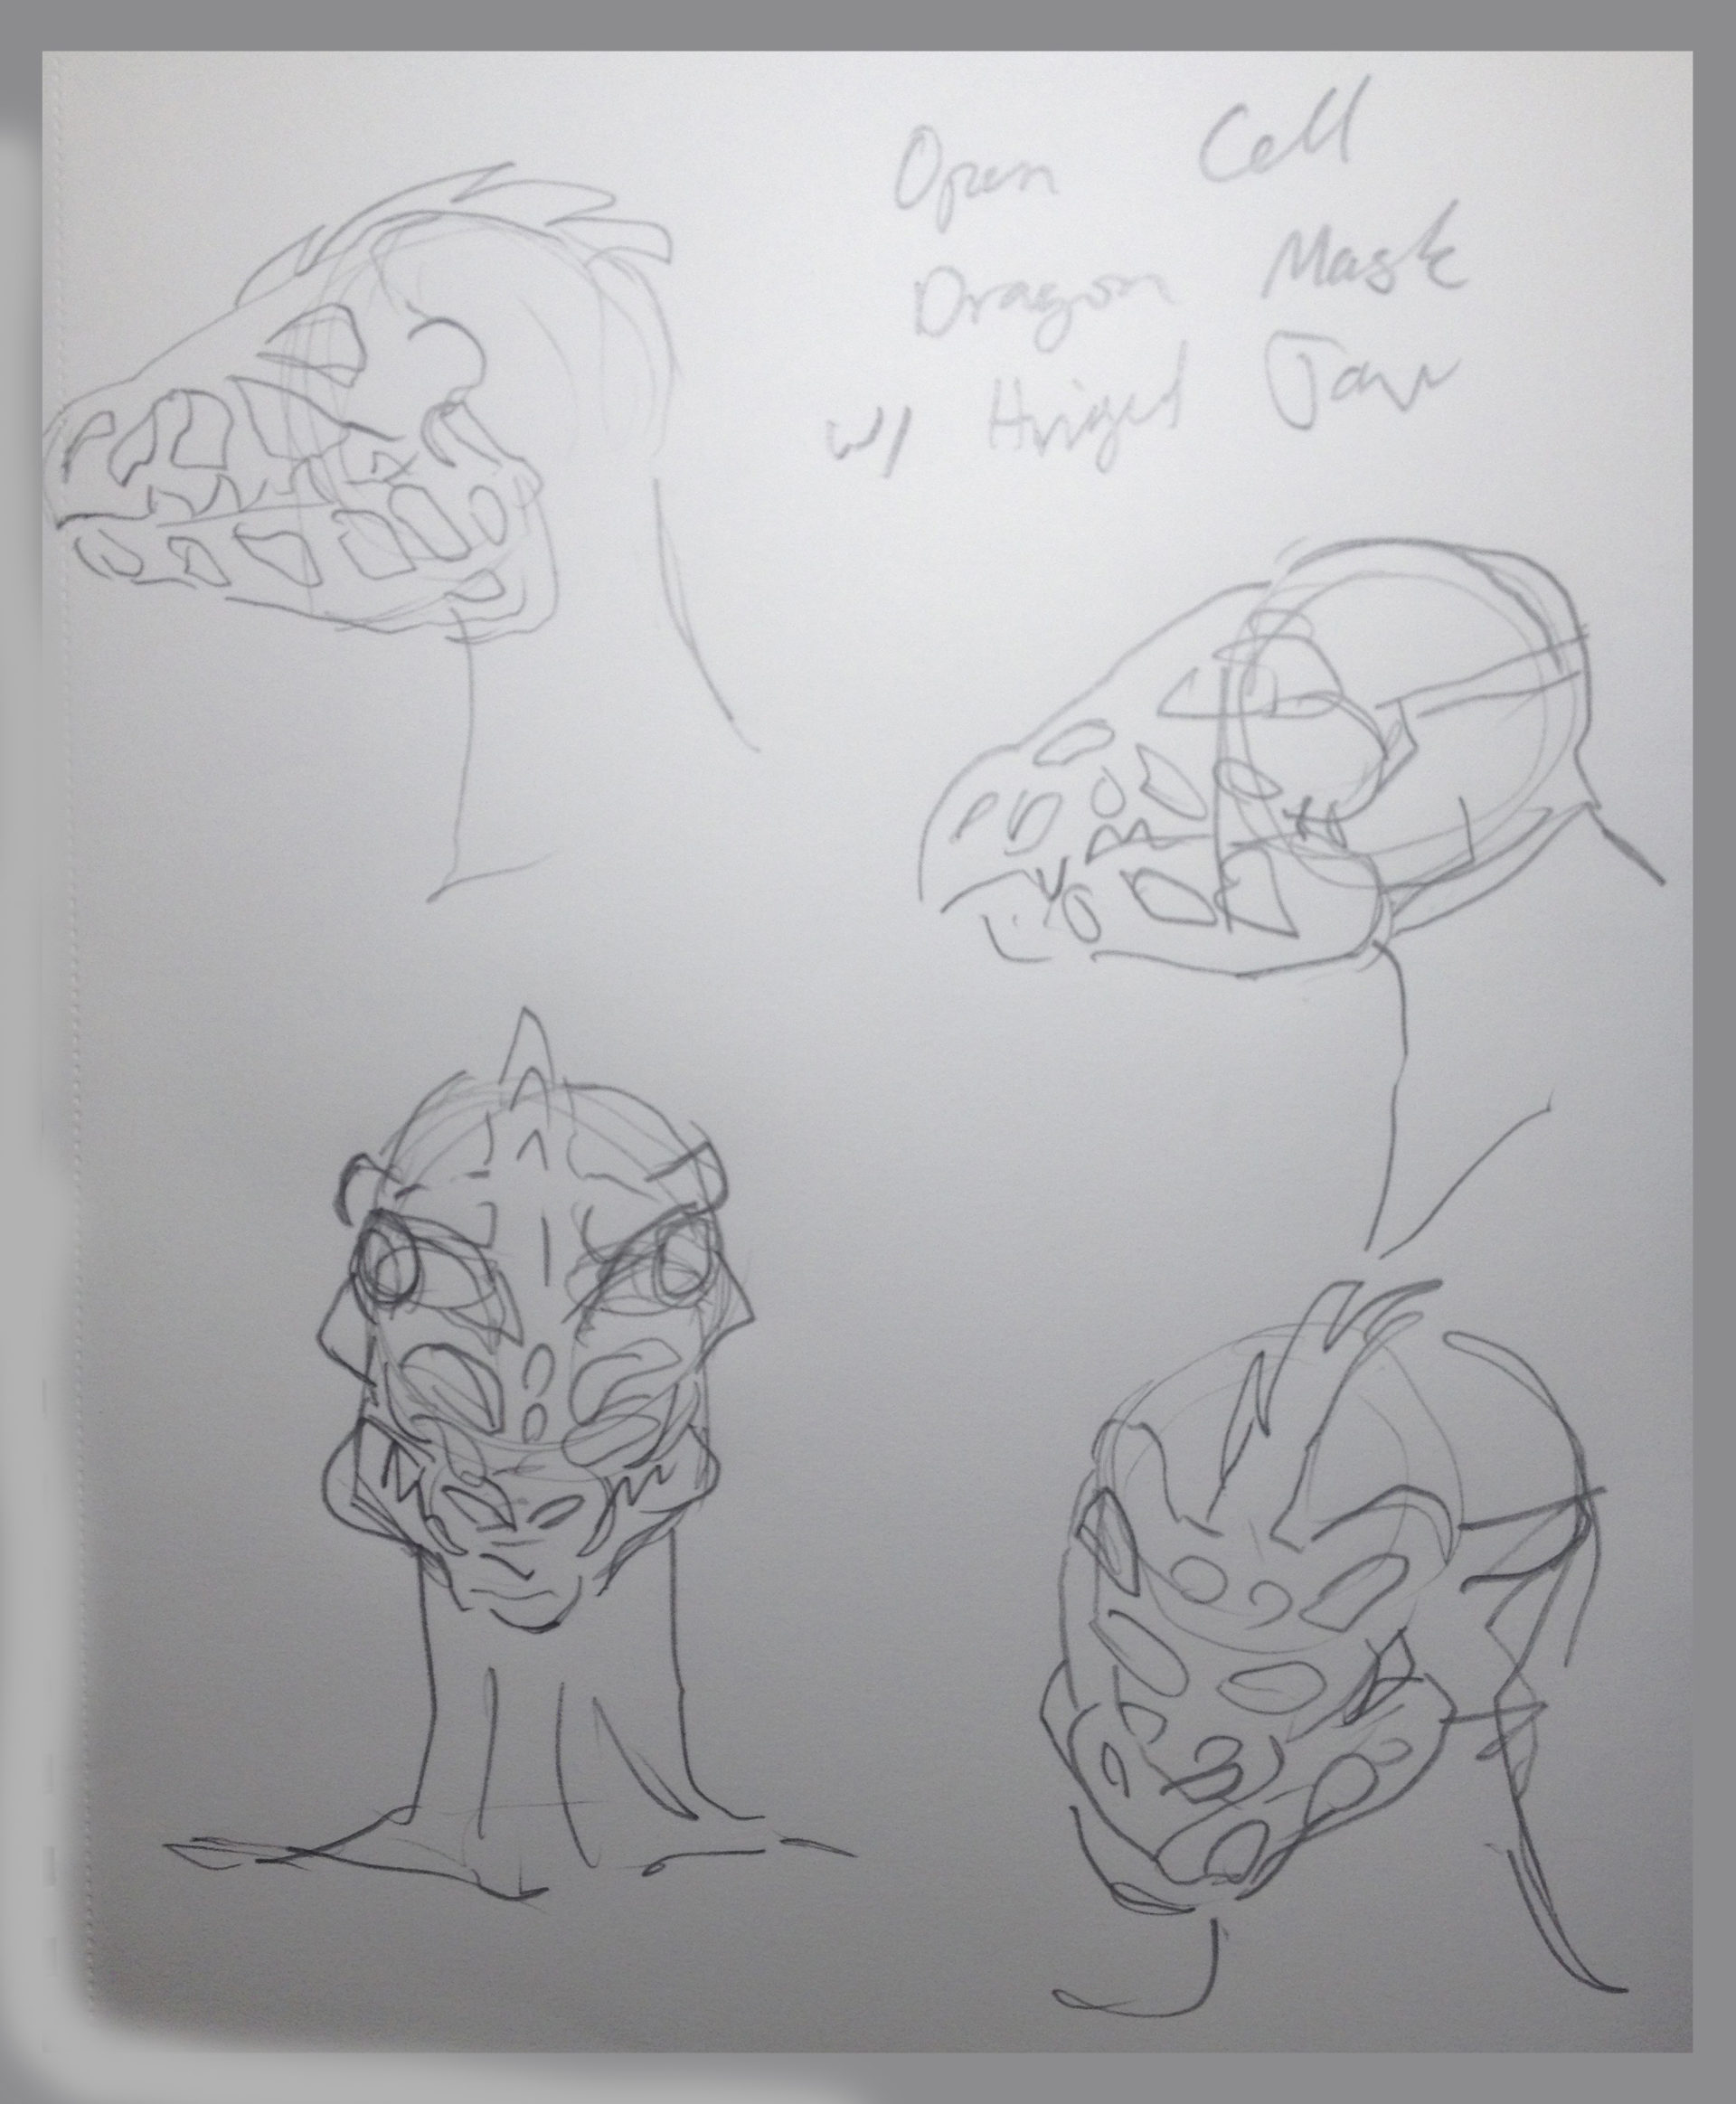
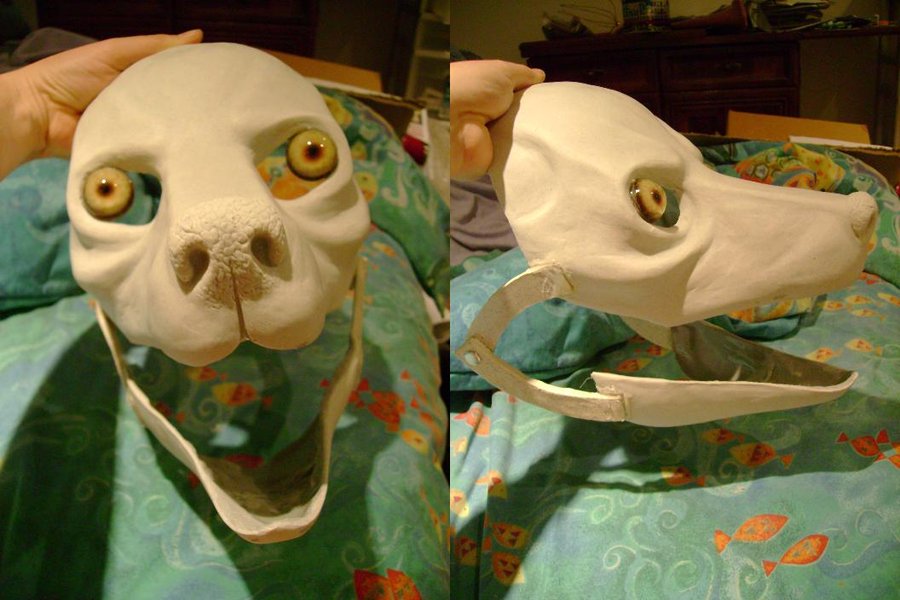
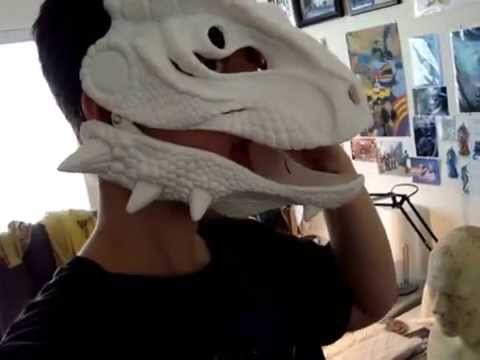
Inspiration/references:
Model and print a multi-part object that is at least 3in X 3in.
LaGuardia Studio tour
Beauty face of your model should face upward. Use real world objects to figure out what works (find out what fits well in your hand and measure it to get the dimensions for your 3D model).
3D print presentation:
Feedback: Make it smaller and thinner and make a spot to hold the optical connector.
Week 3:
FDM: fused deposition print
PLA: poly lactic acid
ABS: Acrylonitrile butadiene styrene
TPU: thermoplastic polyurethane (Ninja Flex)
Polycarbonate
Nylon
Proper prep of models for the Ultimaker 2+
Ultimaker uses 3mm filament.
Post sketches and post screen caps of models.
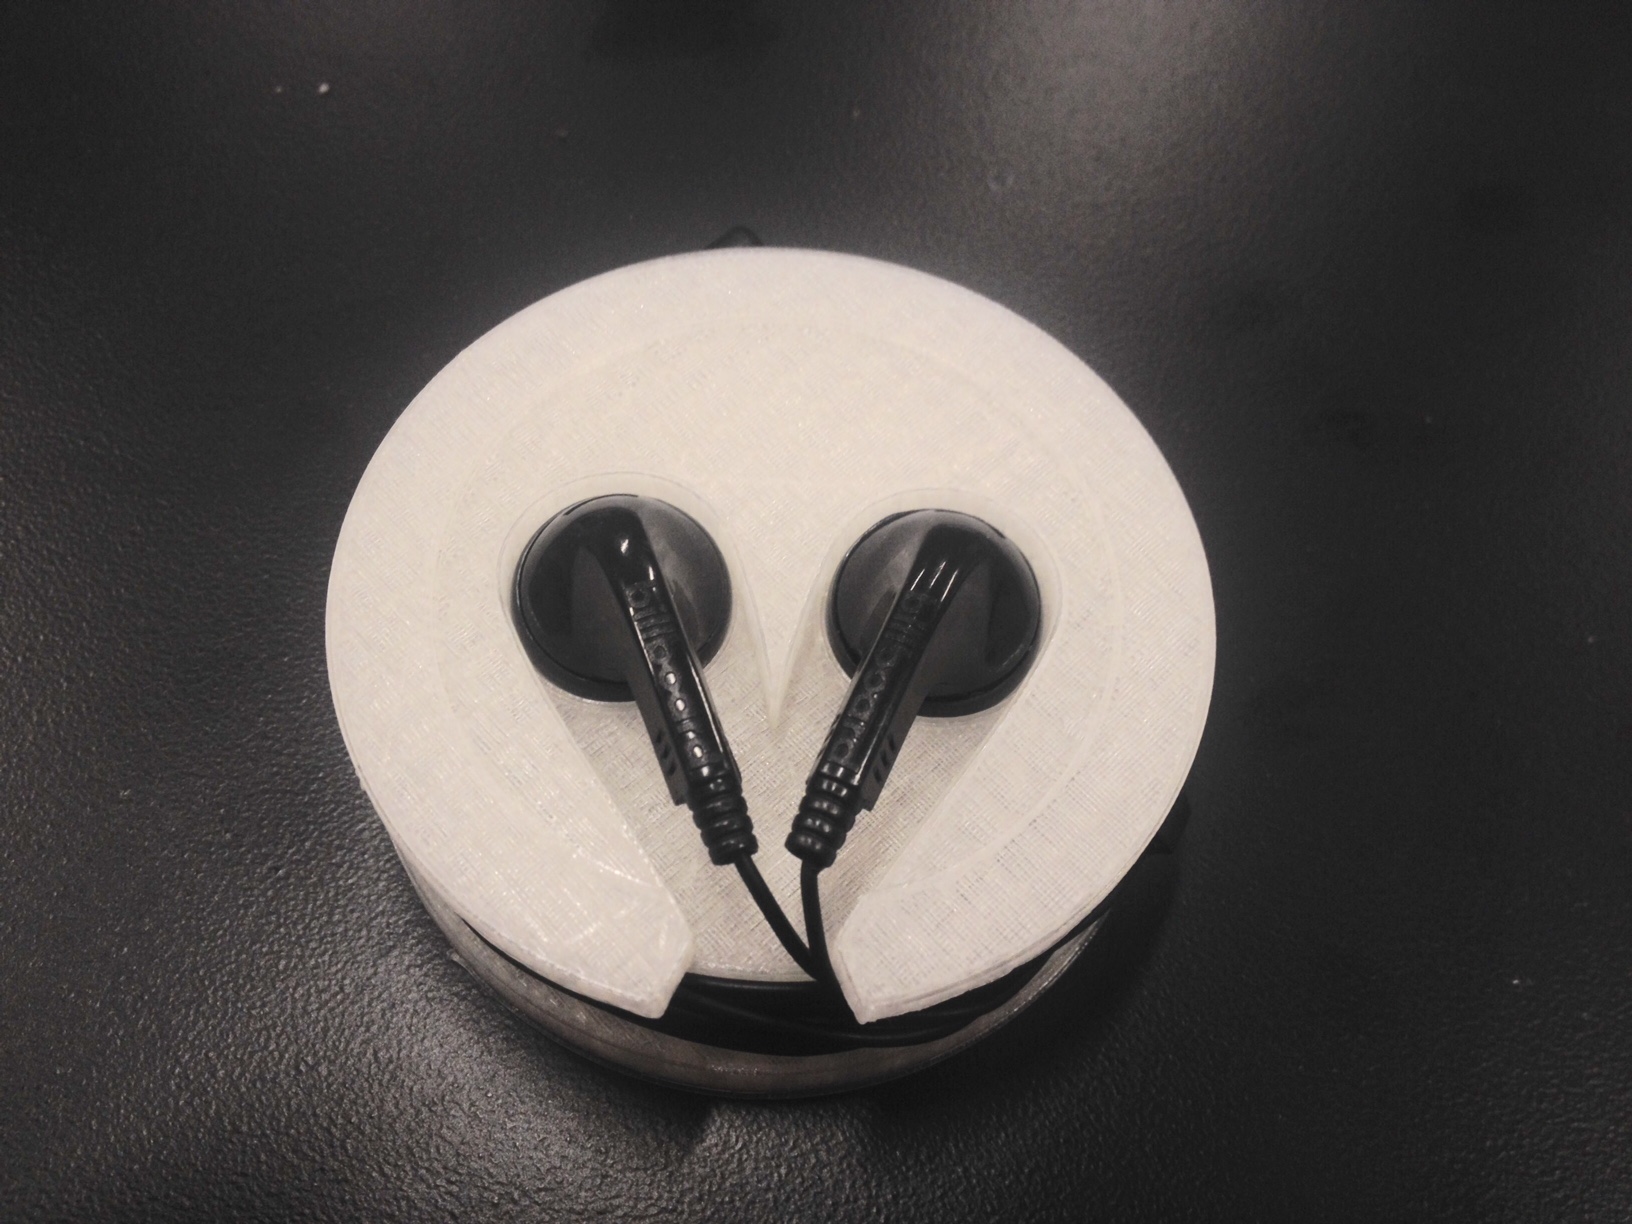
First model: Macbook Charger Case
My charger’s cord is going to break someday. It gets a lot of use and the weak points in the design are where the cords enter the plastic body of the device. Every time the cord is wound up, no matter how carefully, it puts mechanical stress on the cords. The design I came up with coils the cord in a way that does not allow the cords to kink and keeps the device from tangling in a backpack.
On Sunday late afternoon I took the model into the 3D printer software and realized that the print time would be far too long to finish before the floor closed (8 hours). I went back to drawing board to produce a smaller 3D print for a similar purpose for a smaller device.

Less than halfway through the print the 3D printer head clogged.
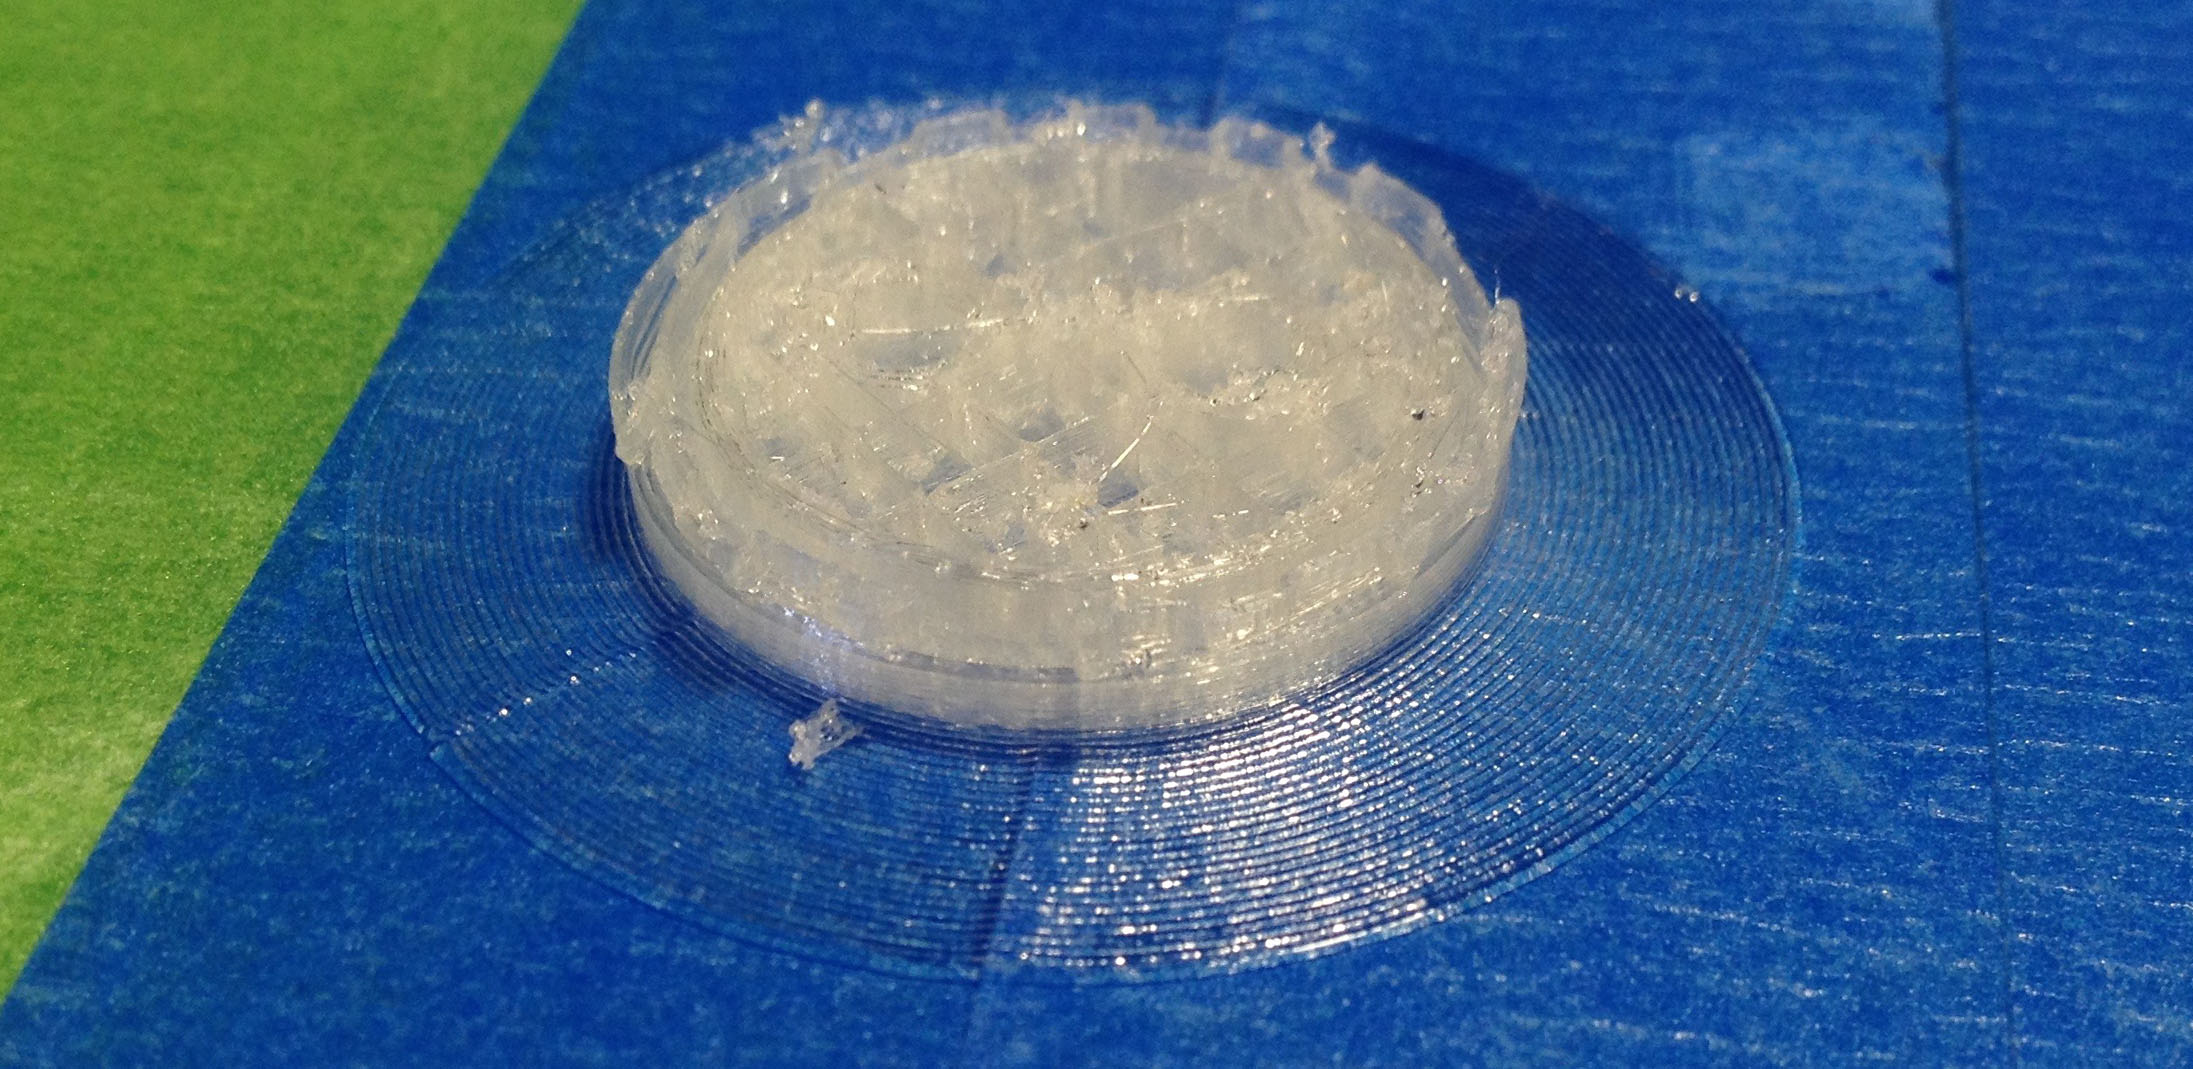
Without anyone on the floor to fix it, this issue halted my 3D printing for the day.
Successfully completed the print.
The fit is good. Now that it is printed and tested with the earbuds I can see some tweaks that could be made.
Week 2:
Design fundamentals. Designers are generalists, they draw from a wide variety of disciplines to do what they do. Deiter Rams’ ten principles of good design.
- Is innovative – The possibilities for progression are not, by any means, exhausted. Technological development is always offering new opportunities for original designs. But imaginative design always develops in tandem with improving technology, and can never be an end in itself.
- Makes a product useful – A product is bought to be used. It has to satisfy not only functional, but also psychological and aesthetic criteria. Good design emphasizes the usefulness of a product whilst disregarding anything that could detract from it.
- Is aesthetic – The aesthetic quality of a product is integral to its usefulness because products are used every day and have an effect on people and their well-being. Only well-executed objects can be beautiful.
- Makes a product understandable – It clarifies the product’s structure. Better still, it can make the product clearly express its function by making use of the user’s intuition. At best, it is self-explanatory.
- Is unobtrusive – Products fulfilling a purpose are like tools. They are neither decorative objects nor works of art. Their design should therefore be both neutral and restrained, to leave room for the user’s self-expression.
- Is honest – It does not make a product appear more innovative, powerful or valuable than it really is. It does not attempt to manipulate the consumer with promises that cannot be kept.
- Is long-lasting – It avoids being fashionable and therefore never appears antiquated. Unlike fashionable design, it lasts many years – even in today’s throwaway society.
- Is thorough down to the last detail – Nothing must be arbitrary or left to chance. Care and accuracy in the design process show respect towards the consumer.
- Is environmentally friendly – Design makes an important contribution to the preservation of the environment. It conserves resources and minimizes physical and visual pollution throughout the lifecycle of the product.
- Is as little design as possible – Less, but better – because it concentrates on the essential aspects, and the products are not burdened with non-essentials. Back to purity, back to simplicity
Simplified Design Process:
- Define: figure out the problem you want to solve
- Ideate: put out as many ideas as possible
- Conceptualize: find a way express your ideas so that others that can understand them
- Prototype: create non-working and working versions of the product
- Test: find out if it works, what are it’s weaknesses and strengths?Repeat steps 3 => 5
Assignment 2: Fitted Parts / Container
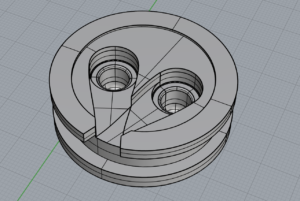
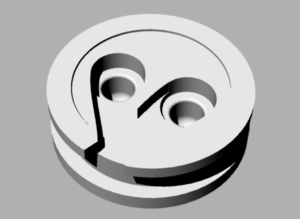
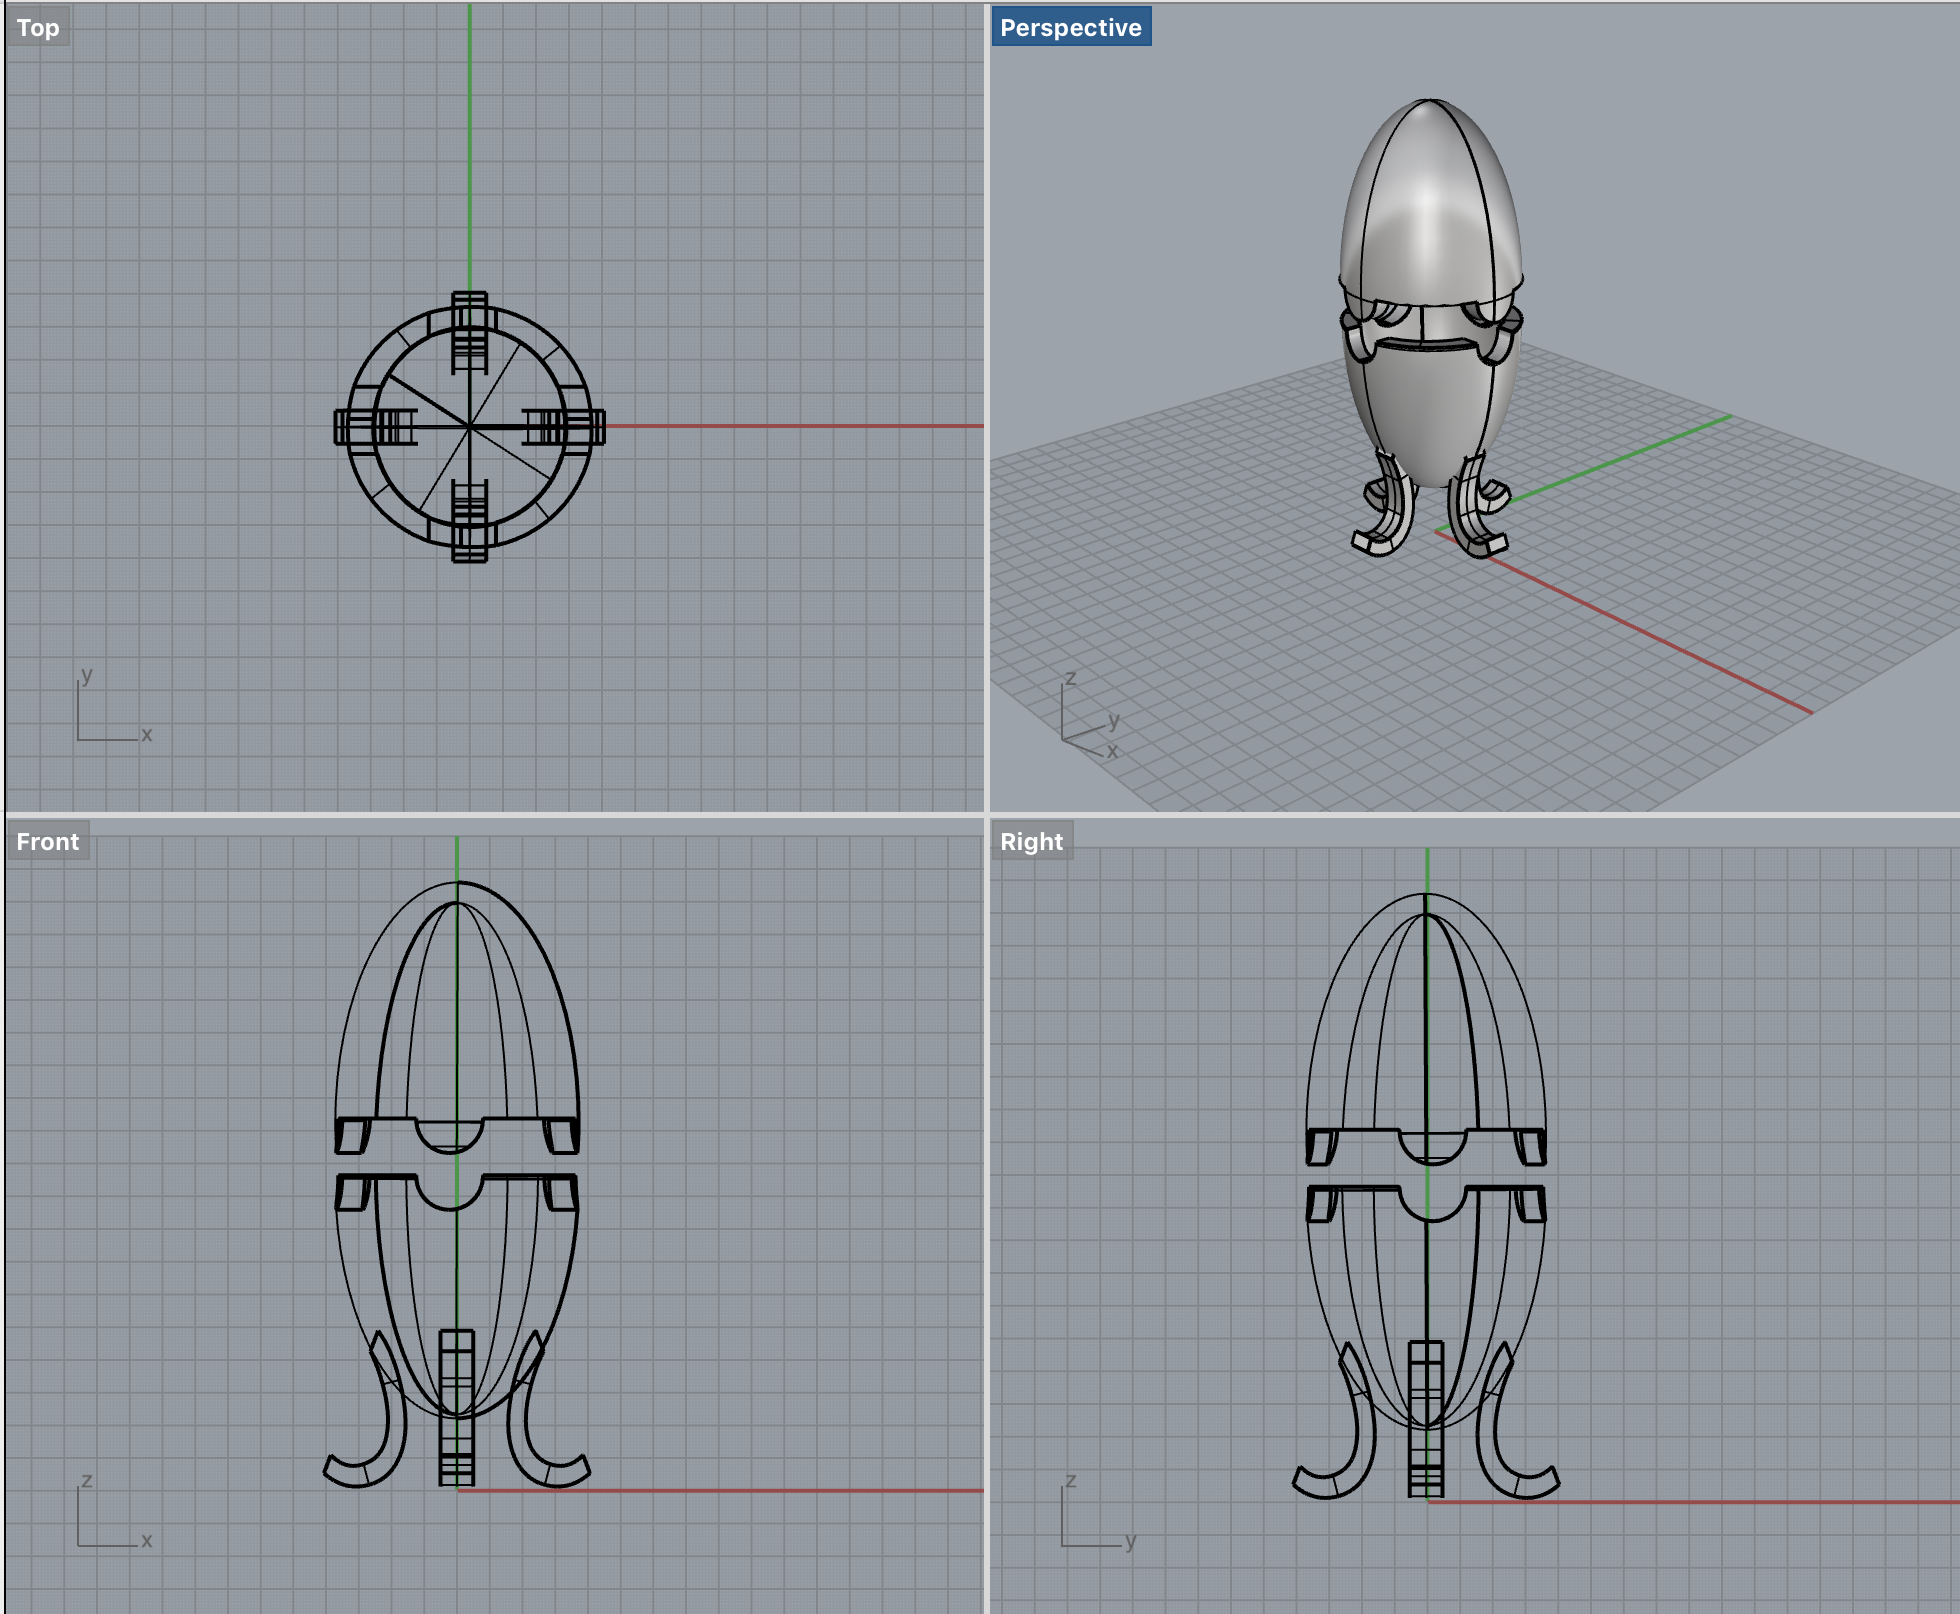
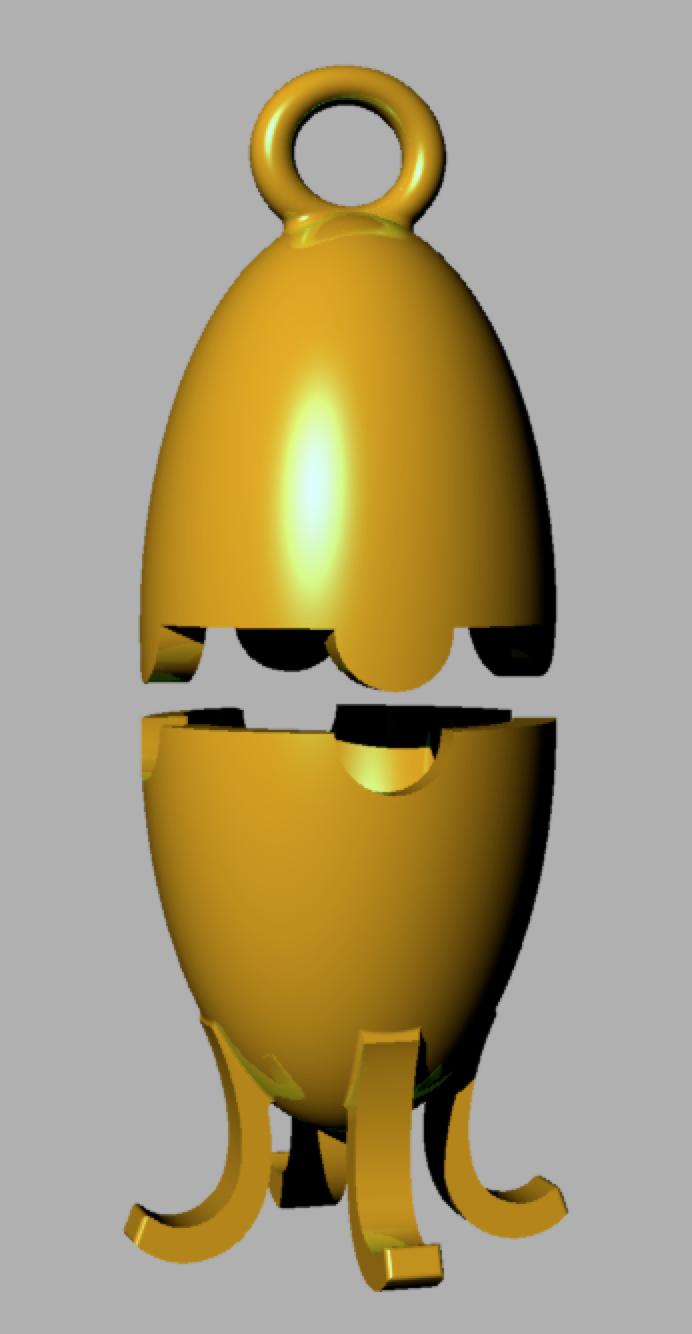
Idea: Faberge egg container.
Process: Started with an ellipsoid solid, used boolean subtract to make a key using three boolean joined cylinders. Boolean subtracted an interior void, and added legs.
Rendered:
Week 1:
Course introduction. Rhino for 3D modelling. NURBS: Non-uniform rational Basis spline.
Assignment 1:
Idea: Organic abstract bud vase.
Process: Create curve 01, create curve 02, execute revolve on rail command, translate solid 01, create curve 03, execute revolve command, translate solid 02, execute boolean difference.
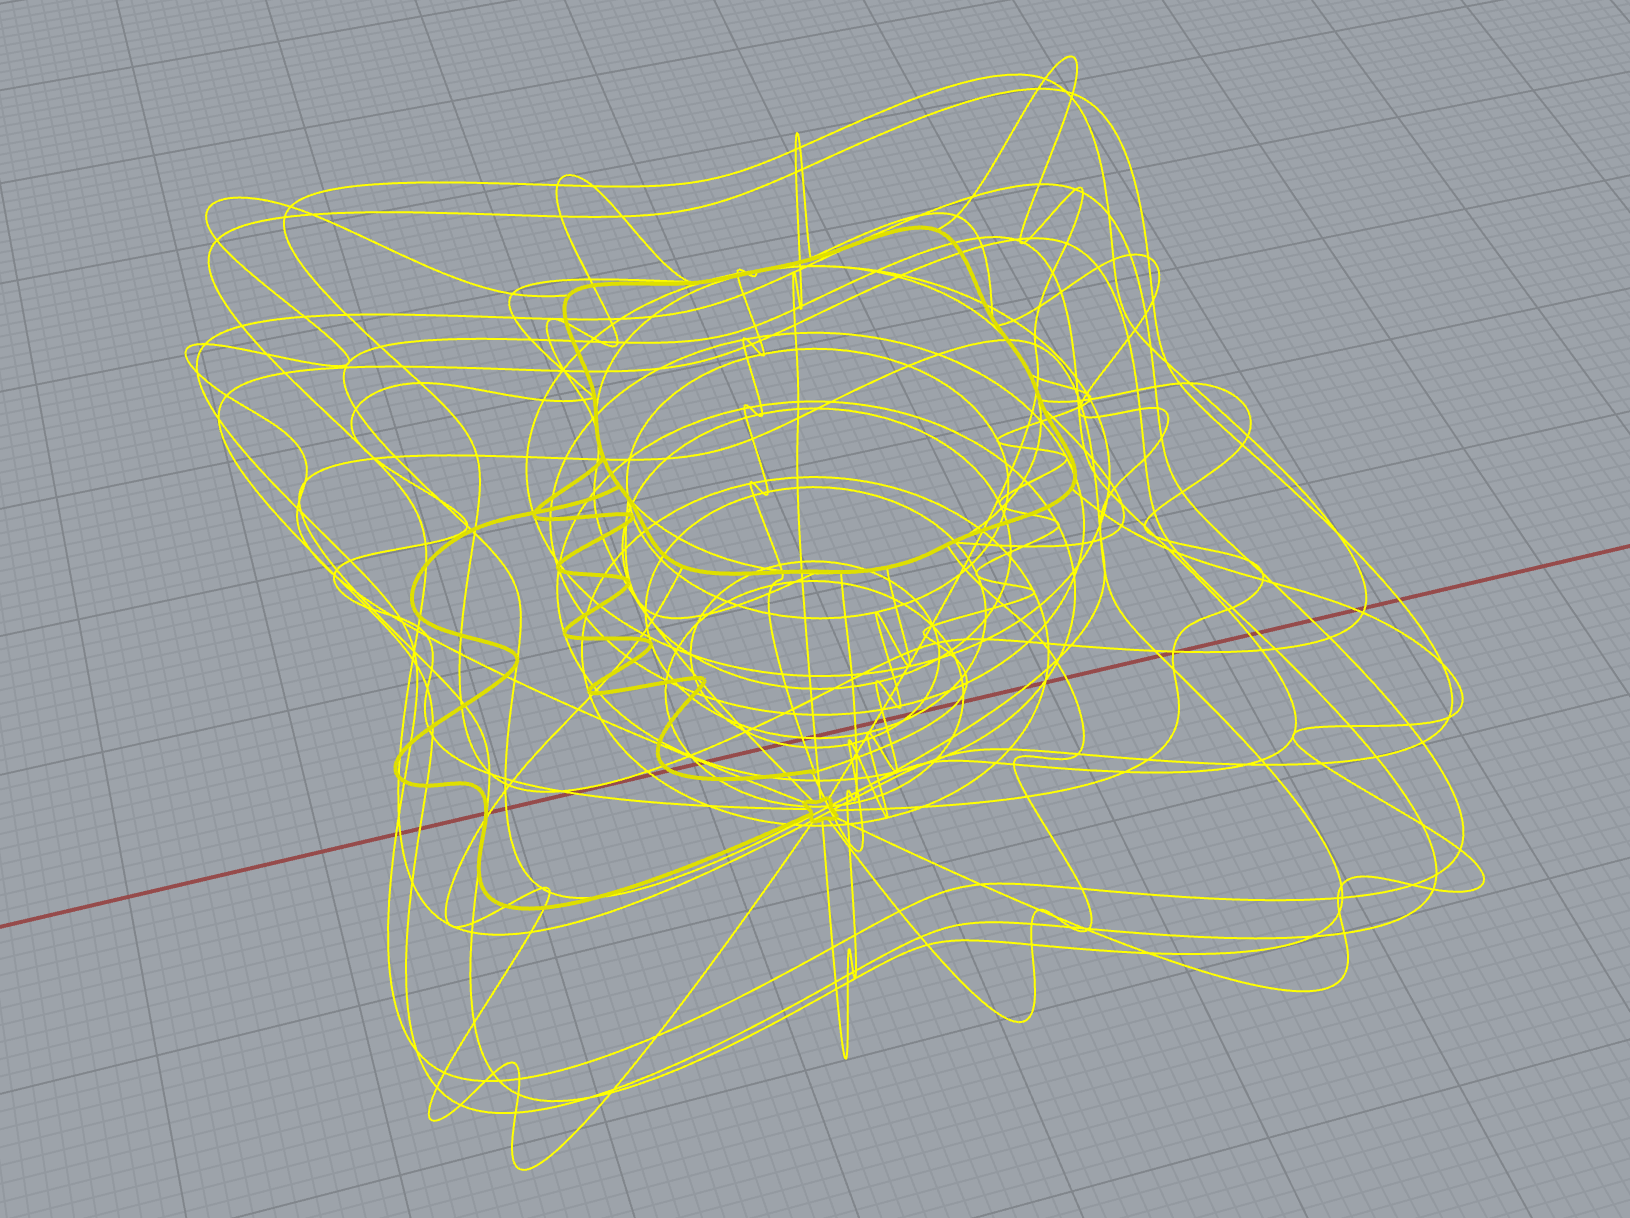
Scale to fit 3 X 3 cube.
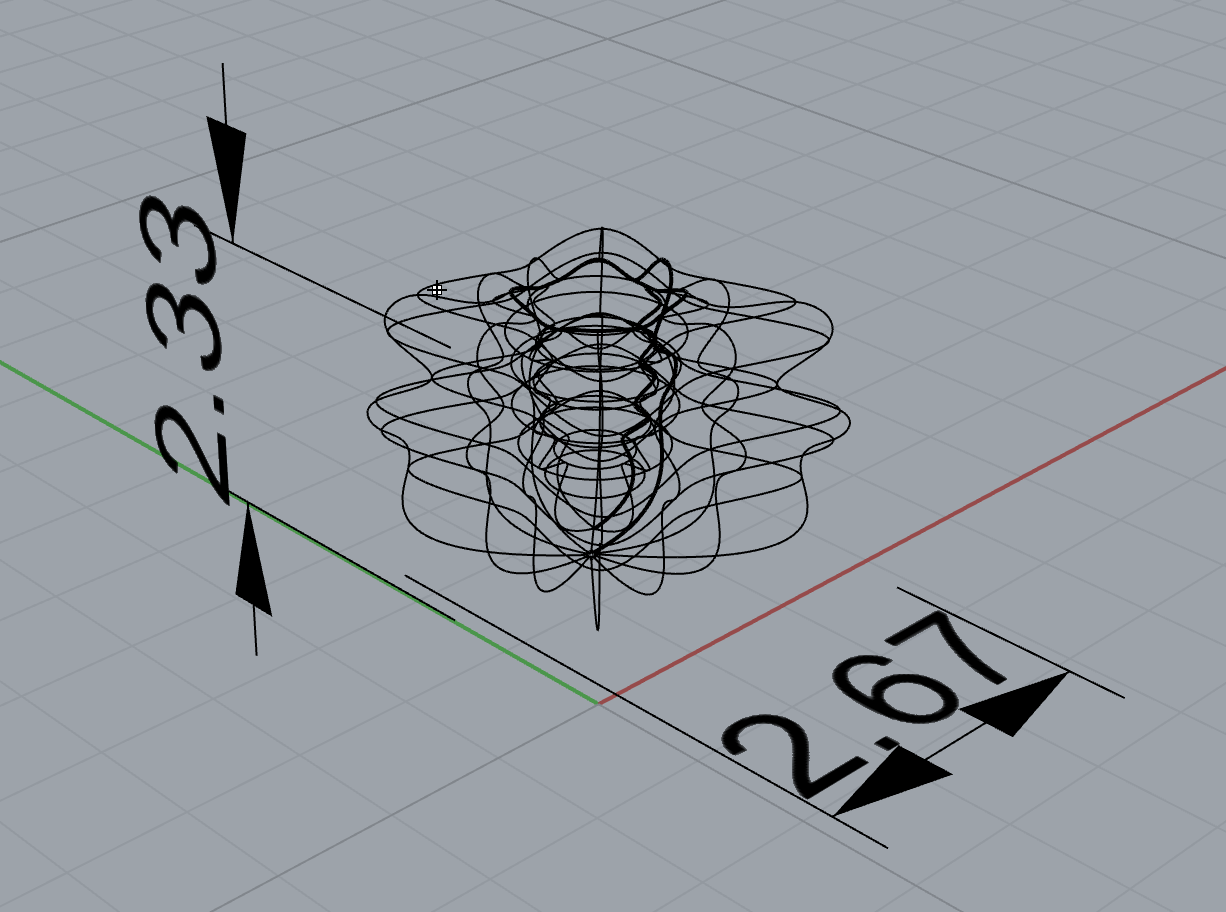
Change material preset. Render.
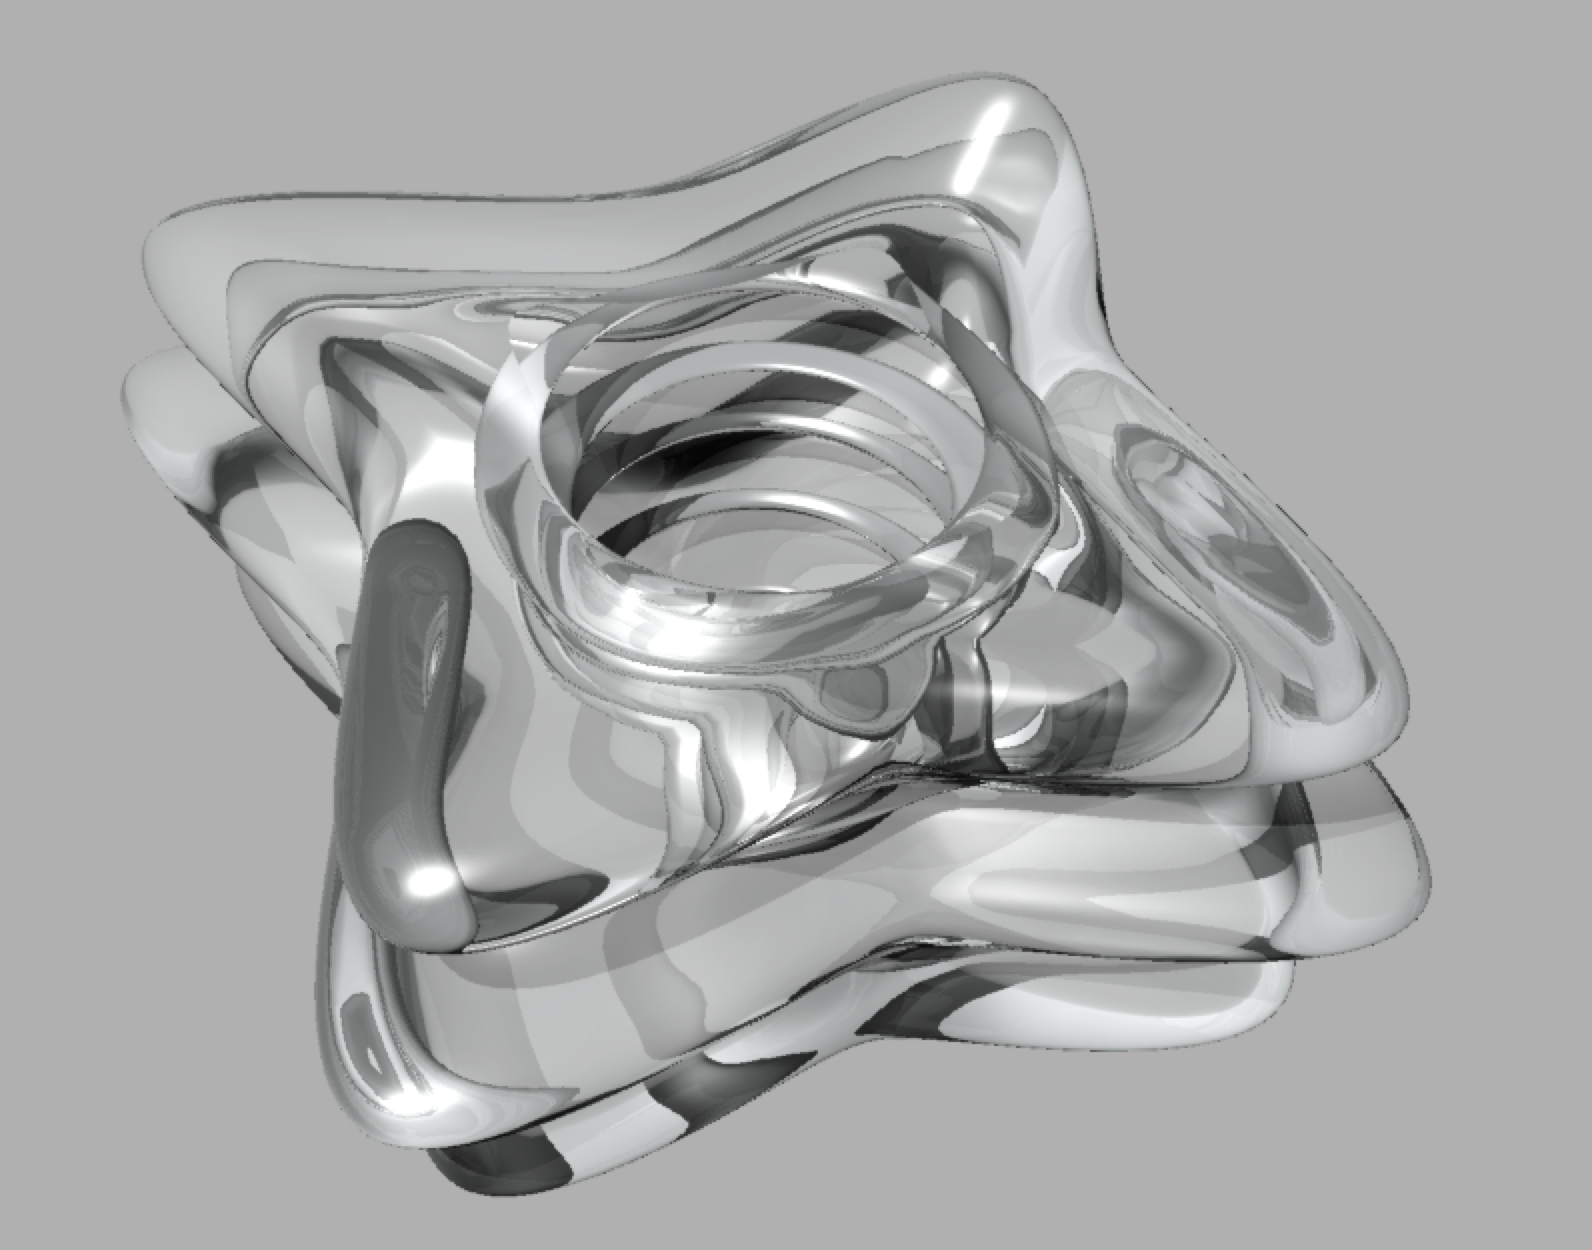
Bingo.